


I wanted a long sleeve apron that’ll cover my sleeves when I cook.
Japanese aprons (Kappogi) have long sleeves to cover the kimono worn underneath, but they require pulling it over your head and tying a bow behind your back… which can be bothersome at times.
So I decided to upcycle an old yukata (a cotton kimono) into a Hippari (or Uwappari) – a half length kimono with elasticated sleeves and front tie ribbons.
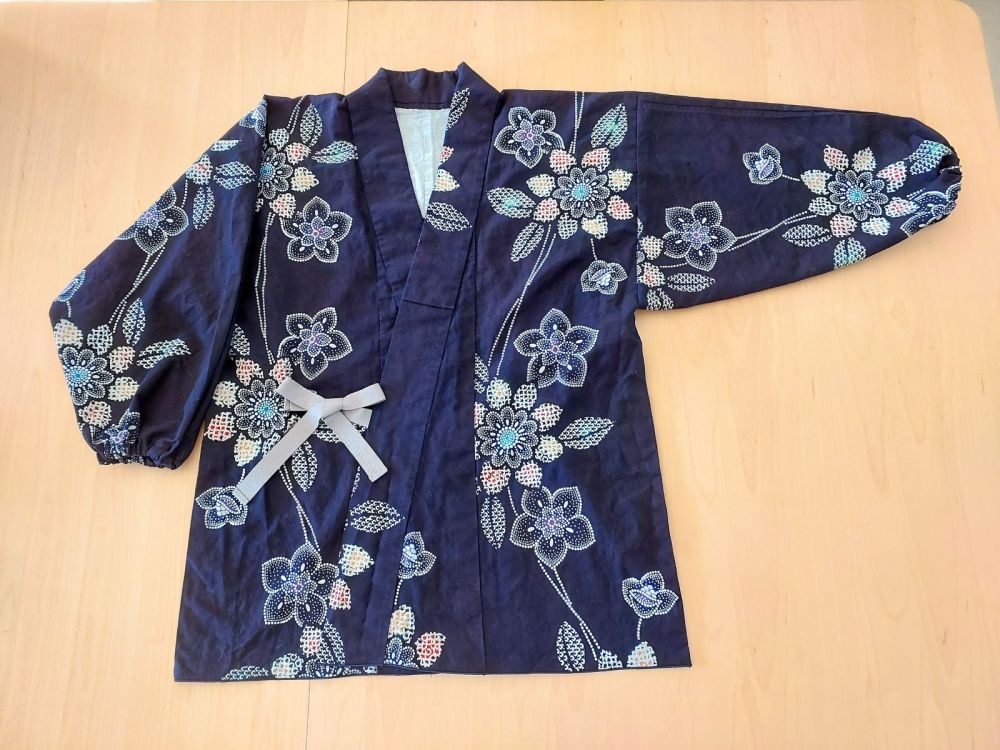
To keep this sewing project simple, I wanted to maintain existing stitches as much as possible:
Cut the kimono to length
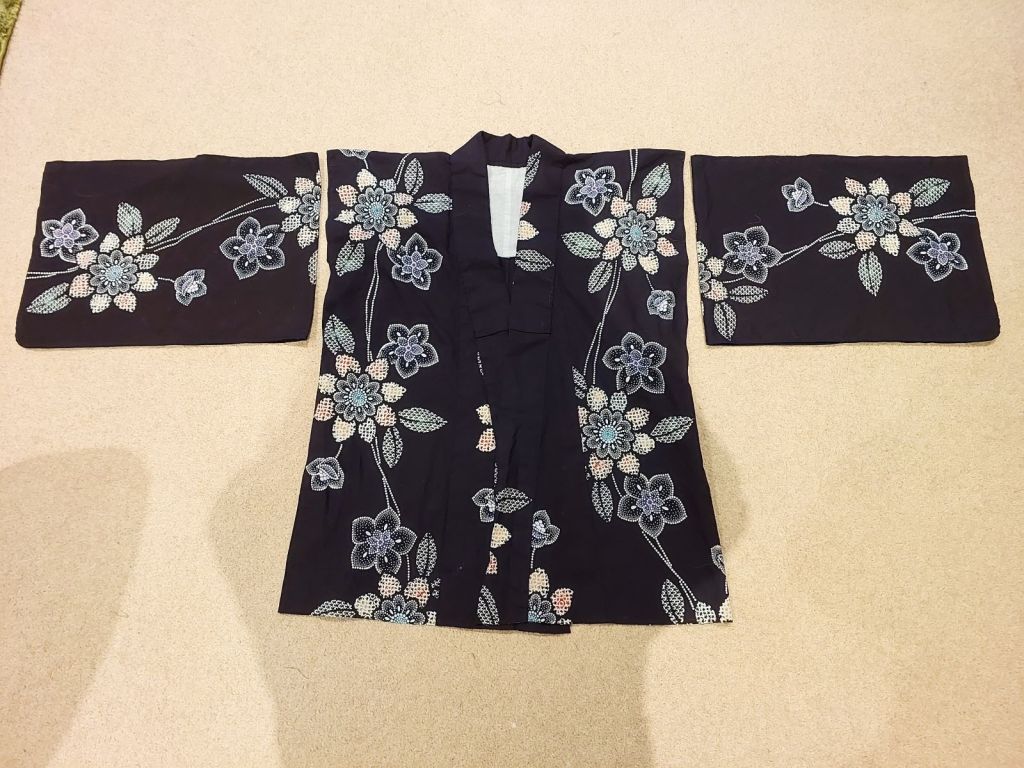
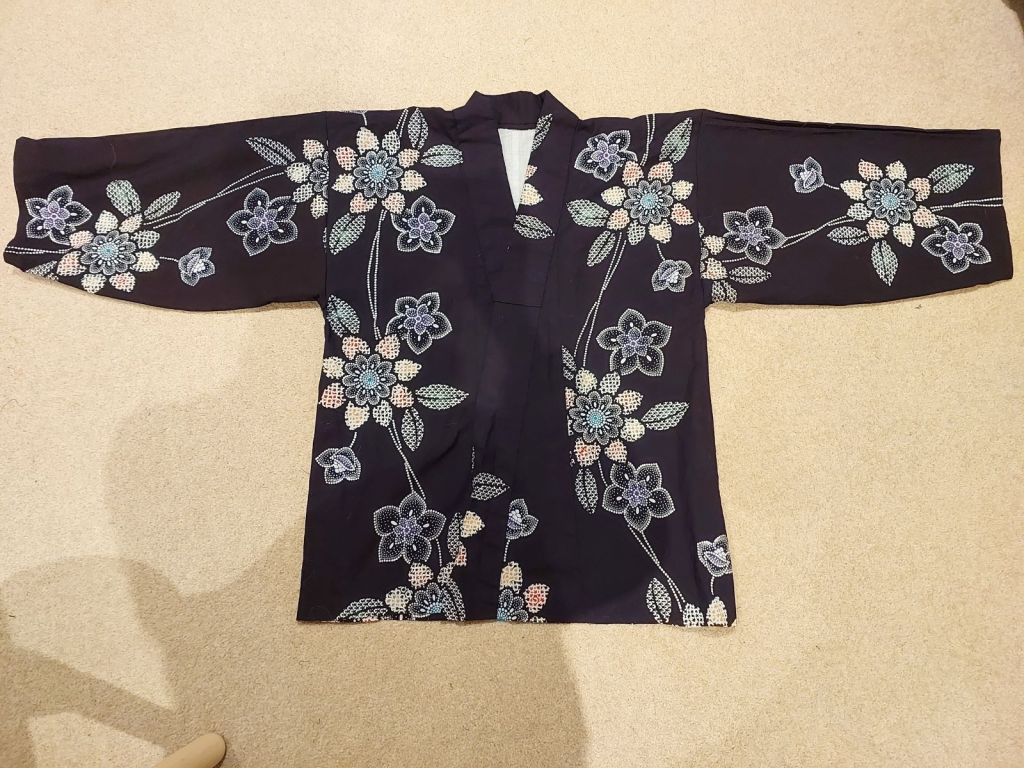
Firstly, the apron length was decided on, and the yukata was cut at 75cm from the top.
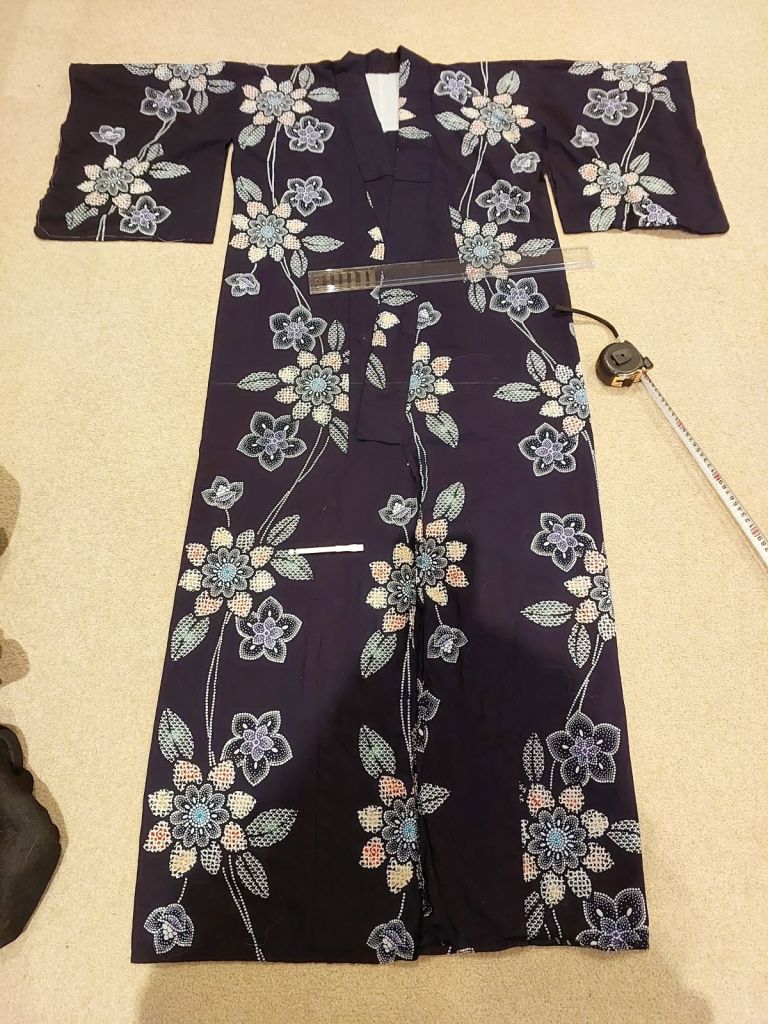
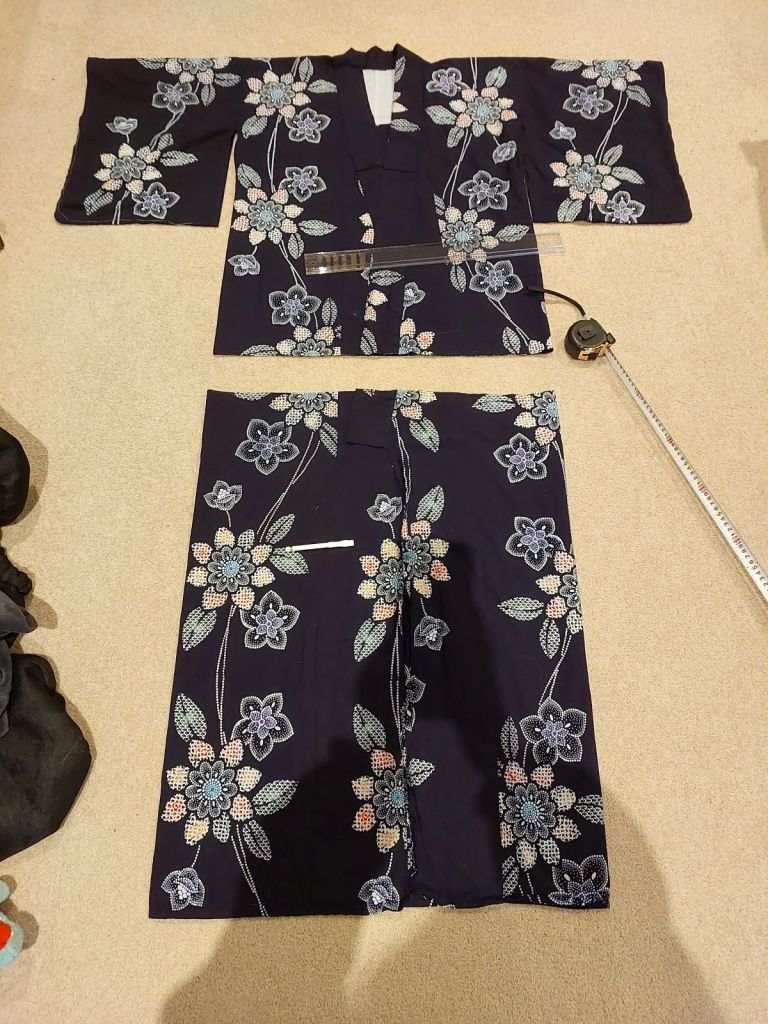
Yukata cut to length of 75cm
Rotate the sleeves
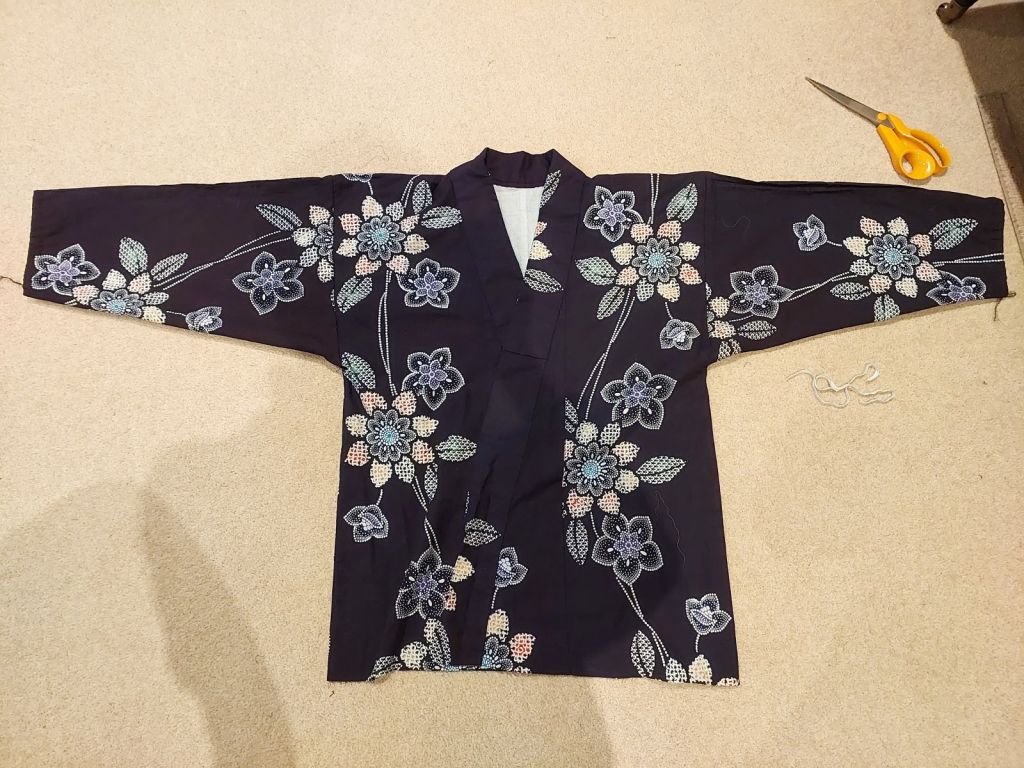
Yukata sleeves are not very long. To add some length, the sleeves were detached by undoing the stitches, rotated, and sewn back on.
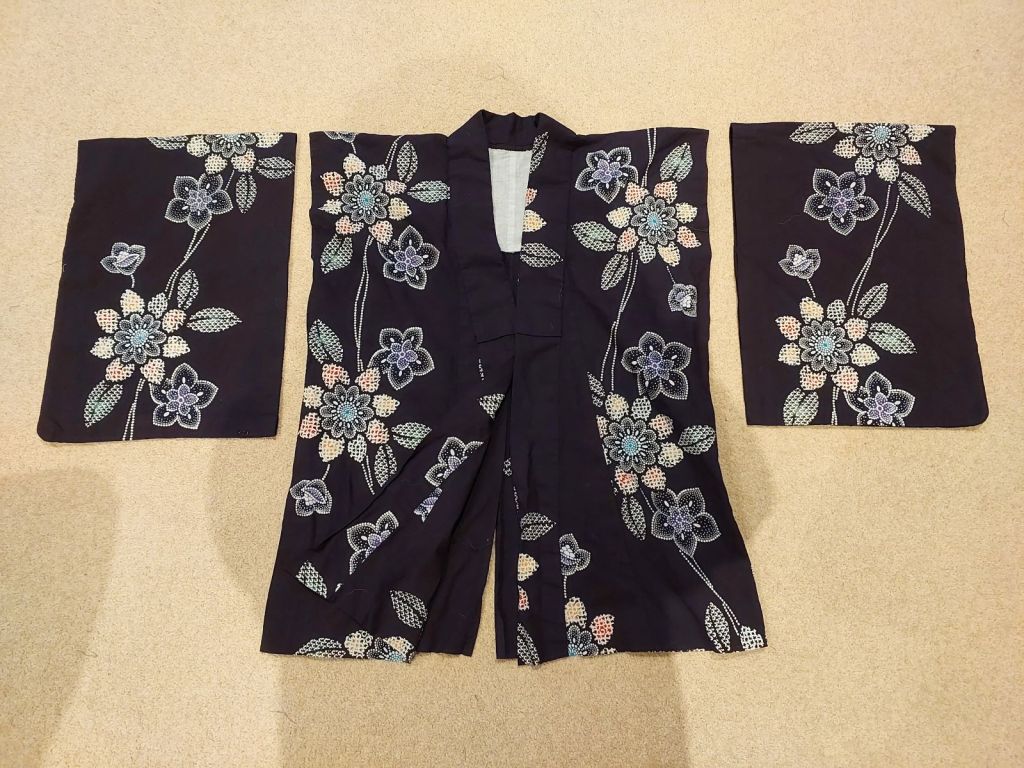
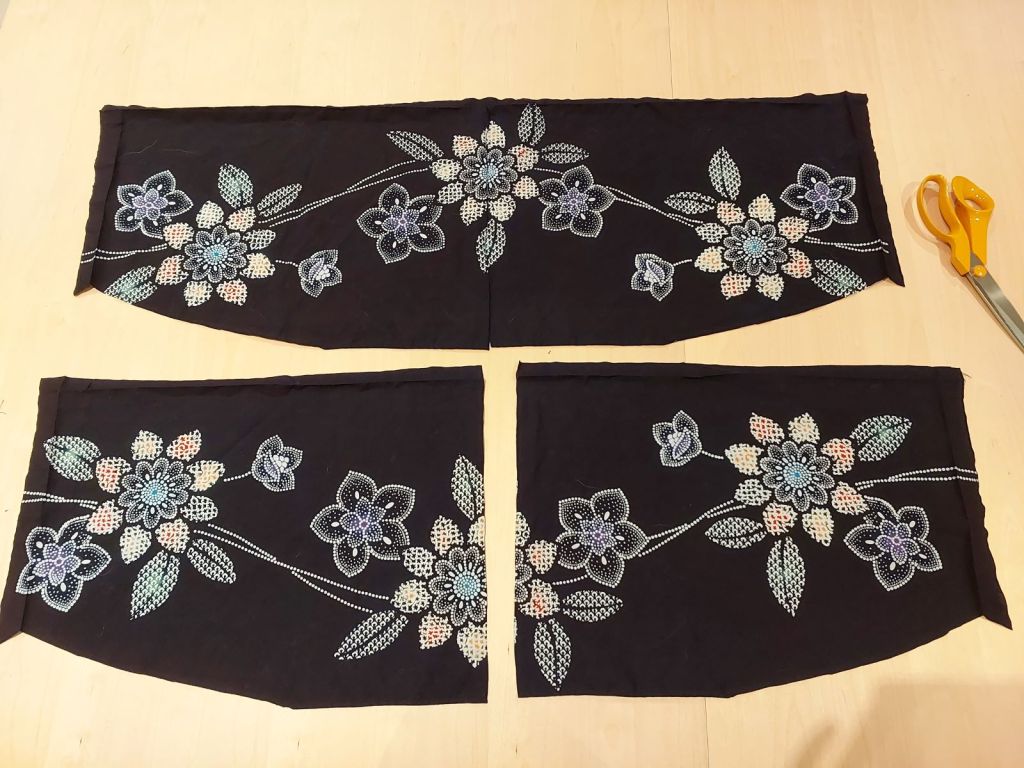
The to-be bottom of the sleeves were cut to a boat shape taper.
The stitches along the to-be top of the sleeves were undone. (It could’ve been cut to make life easier, but I wanted to use the seam allowance as extra depth to match the existing arm hole depth).
The sleeves were then cut in half (where the original shoulder line was) before overlocking the new edges.

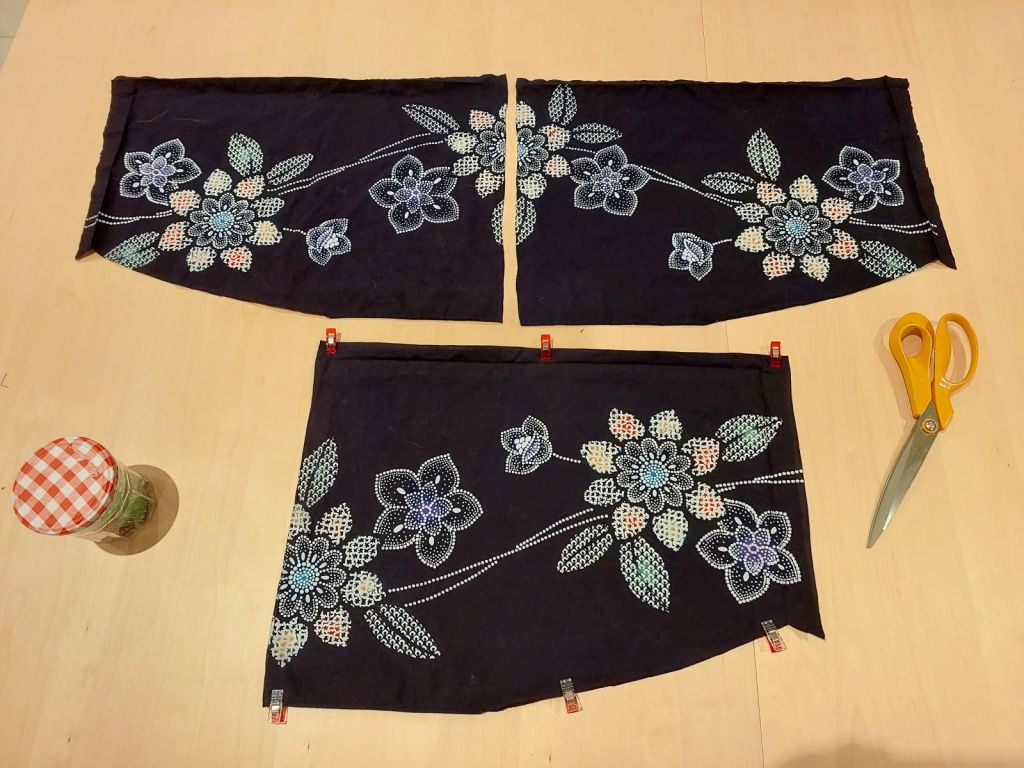
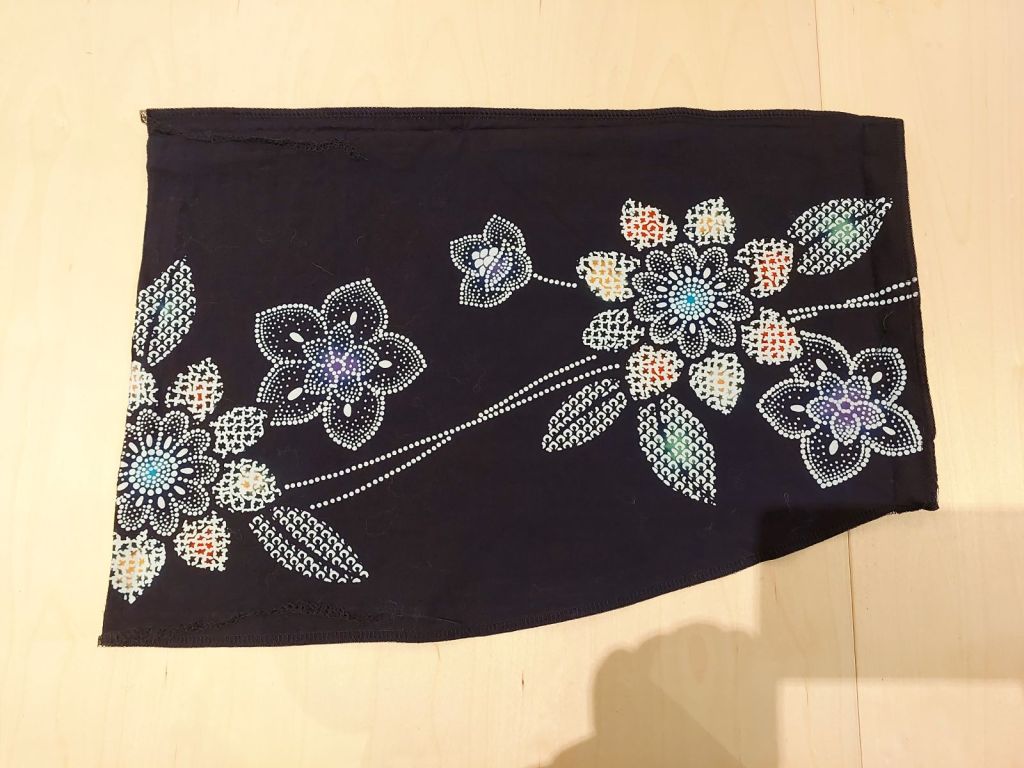
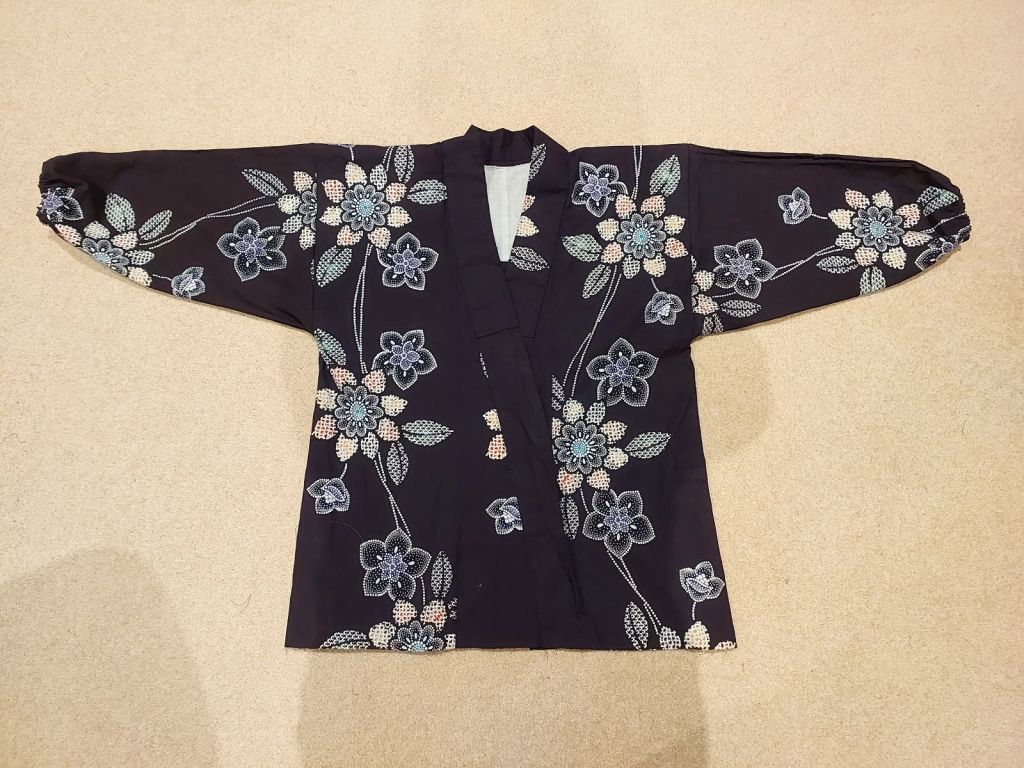
To attach them back onto the bodice, the sleeves were serged in the round with the body. (This was done with the blade locked, to maintain the existing overlapping seams of the bodice, just in case I wanted to extend the width later.) The cuffs were serged, folded and sewn in the round to allow elastic to be inserted.
I tried it on once the sleeves were sewn back on, but I found that the boat shaped sleeves were too deep for safe cooking and washing. (Usually the sleeve depth allows for kimono sleeves to fit inside, but I won’t be wearing a kimono underneath.)
So I removed the elastic and re-serged the sleeves so it’s a straight diagonal line from the armpits (30cm deep) to the cuffs (20cm deep), re-sewed the cuffs and inserted elastic (8mm wide x 24cm long including the knot).

Finish the hem and opening
This was a relatively slim yukata, and there was a lot of overlapped seams down the sides. The back seam was simpler to unsew and add a slit to, so I undid about 20cm of the stitches from the bottom, folded around it and lock stitched a slit.
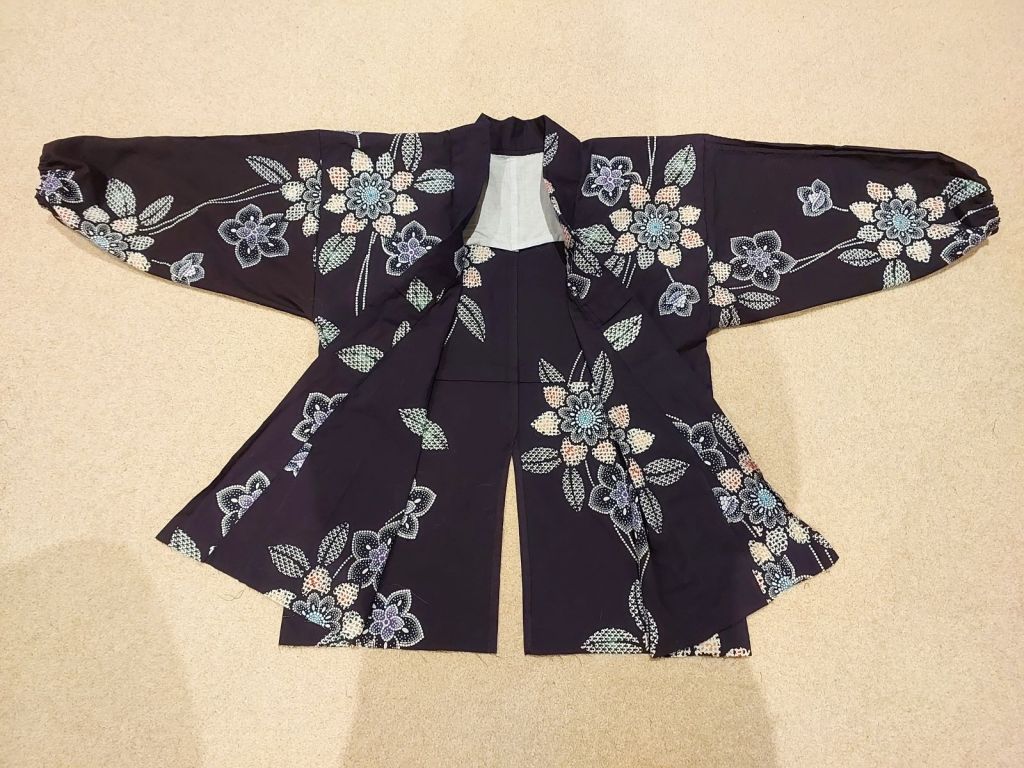
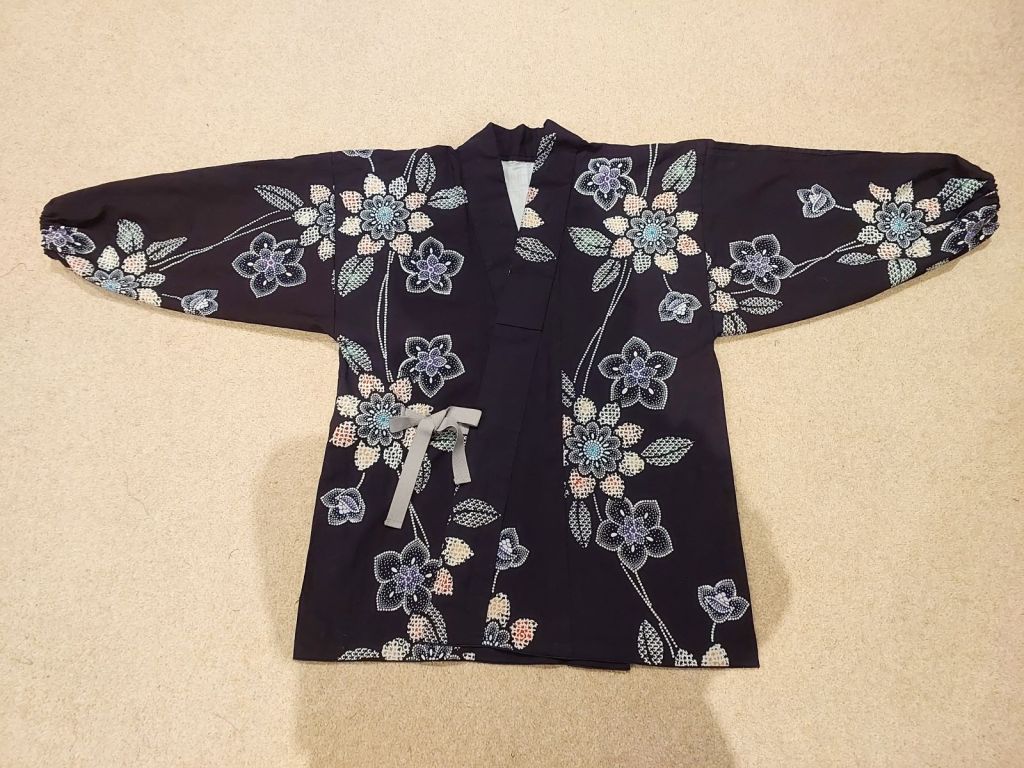
To finish it, I roll hemmed the bottom using a wooly nylon thread in the upper looper of the serger, and lock stitched two 45cm herringbone ribbon at the front near the waistline.
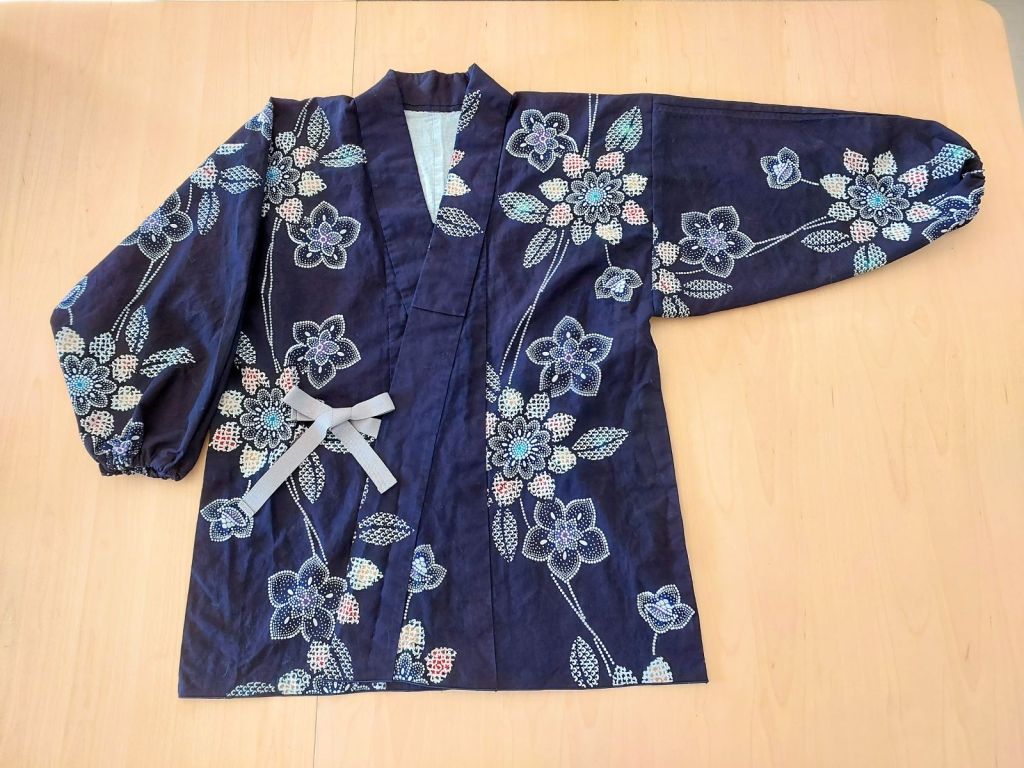


I look forward to cooking (or painting) in it 😊





Leave a Reply