


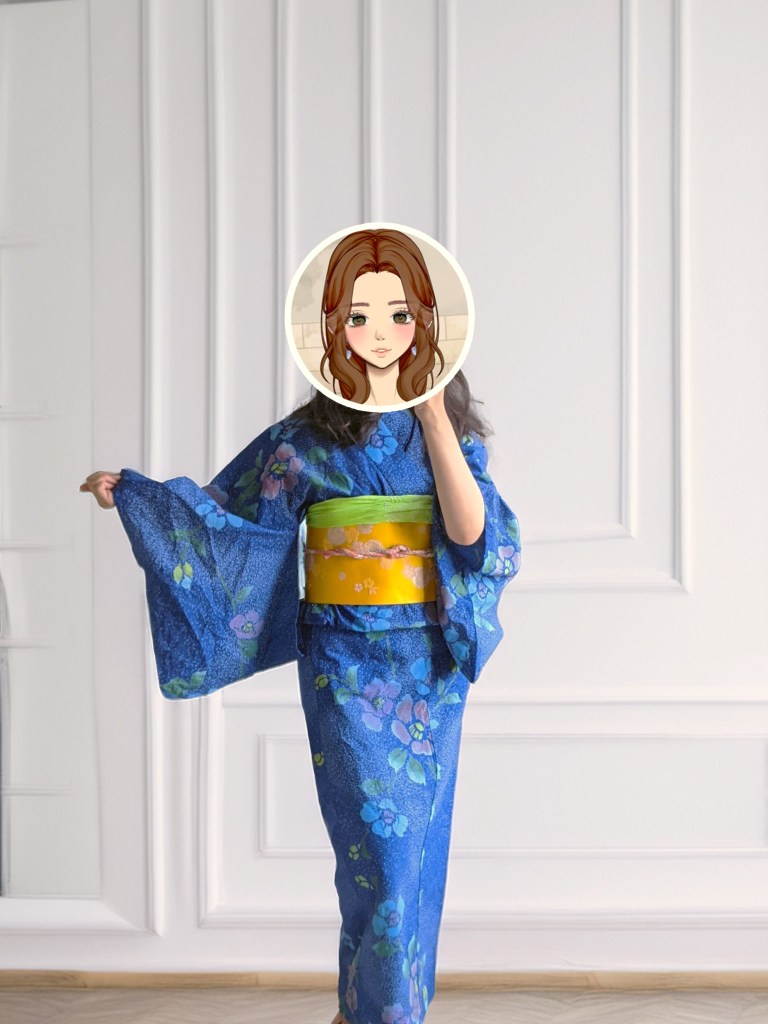
This yukata (summer kimono) had been sitting unused for a while, so I decided to turn it into something I’d actually wear: a tiered maxi skirt.
Here’s how I did the cutting and sewing, and how it all turned out.
How the pattern was cut
Yukata are made from long, straight panels, which makes them convenient to repurpose into a tiered skirt. I planned the pieces so I didn’t need to unpick any seams.
I cut the yukata into:
- Two 64 × 24 cm rectangles (from the front panels)
- Two 76 × 30 cm rectangles (from the sleeves)
- Two 115 × 30 cm rectangles (from the back)
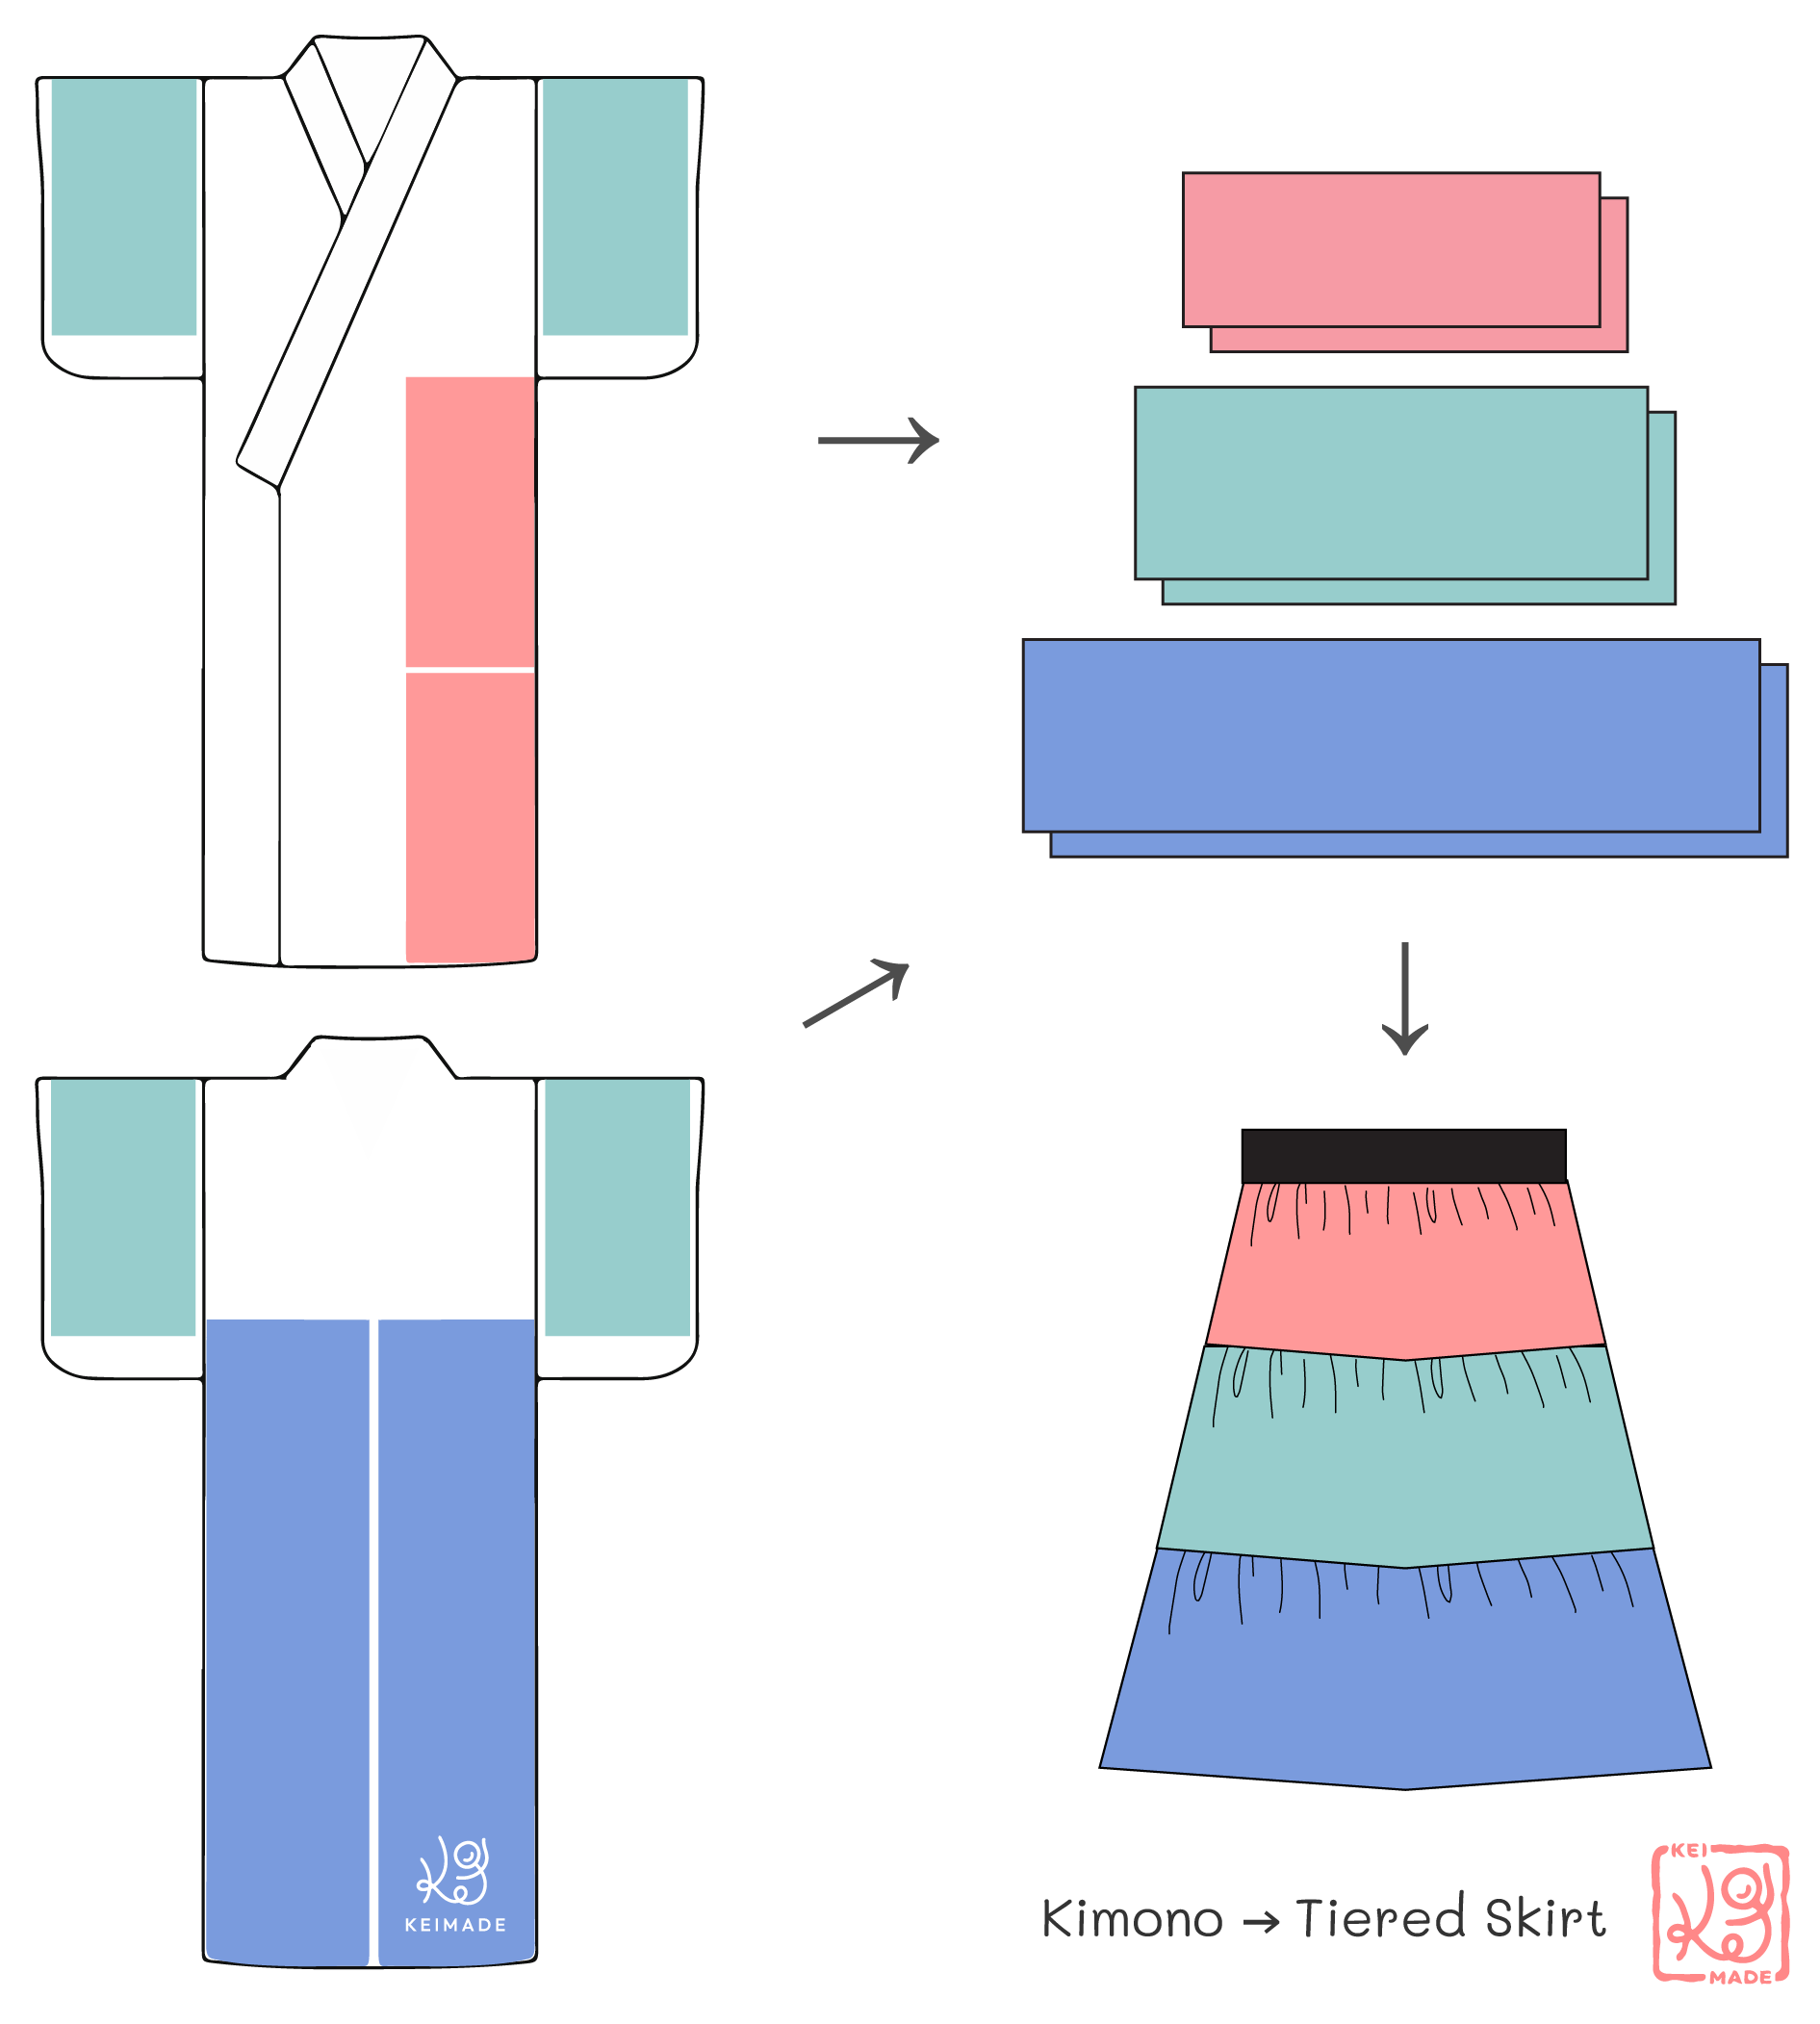
A few structural notes:
- Front panels are narrower than the back, so they were used for the top tier.
- Sleeves are folded along the top edge, so once opened, they provide roughly double the sleeve depth. This worked well for the middle tier.
- Back panel: Kimonos and yukatas have a horizontal seam above the waist. From the hem to that seam was about 118 cm, which became the bottom tier.

There’s enough fabric left over to make pockets too.
How the skirt was made
The same steps were followed as my previous step-by-step tiered skirt post:

How it turned out
Here’s the before and after (just before hemming the skirt).
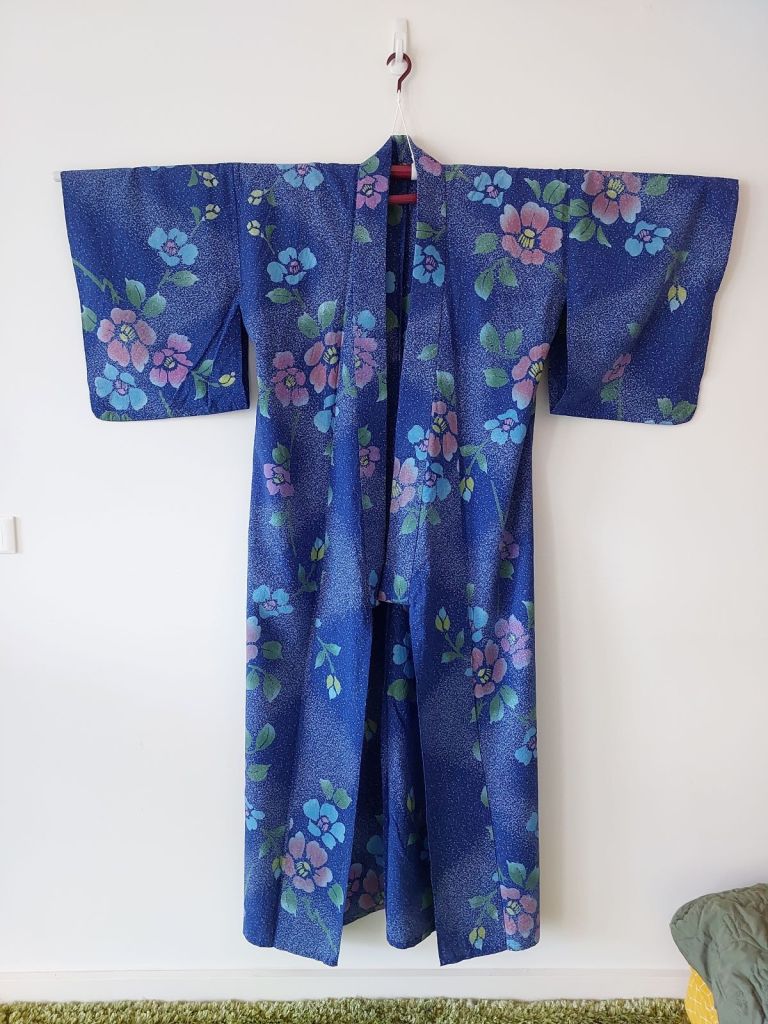
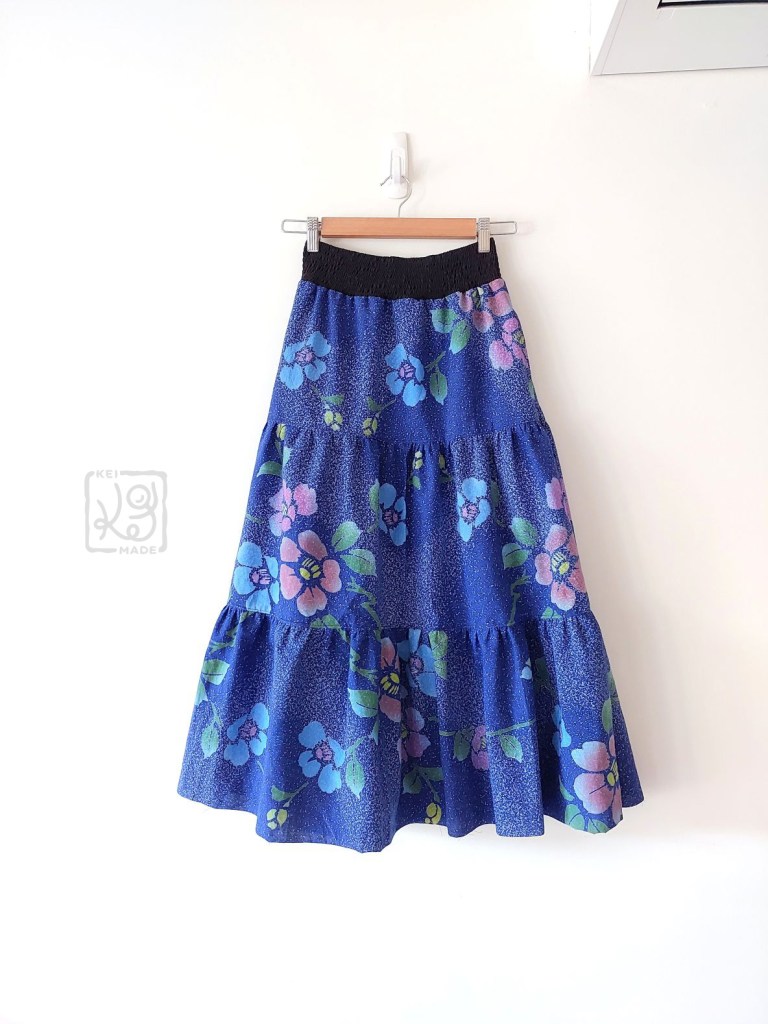
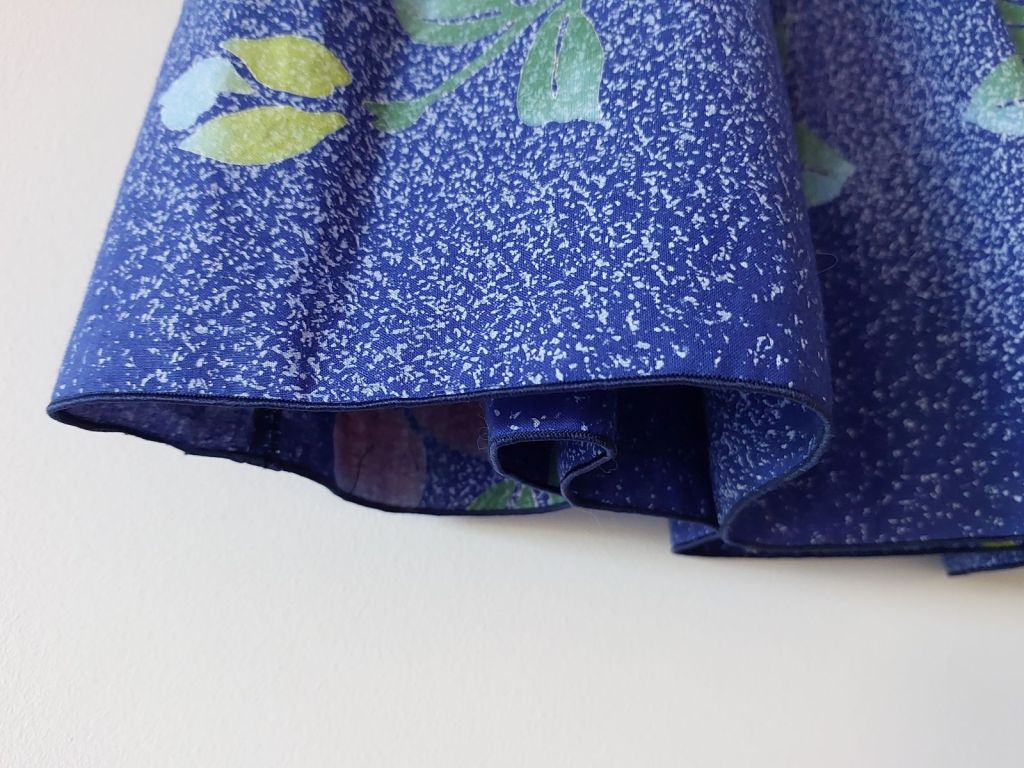
And here’s the finished rolled edge hem 🙂
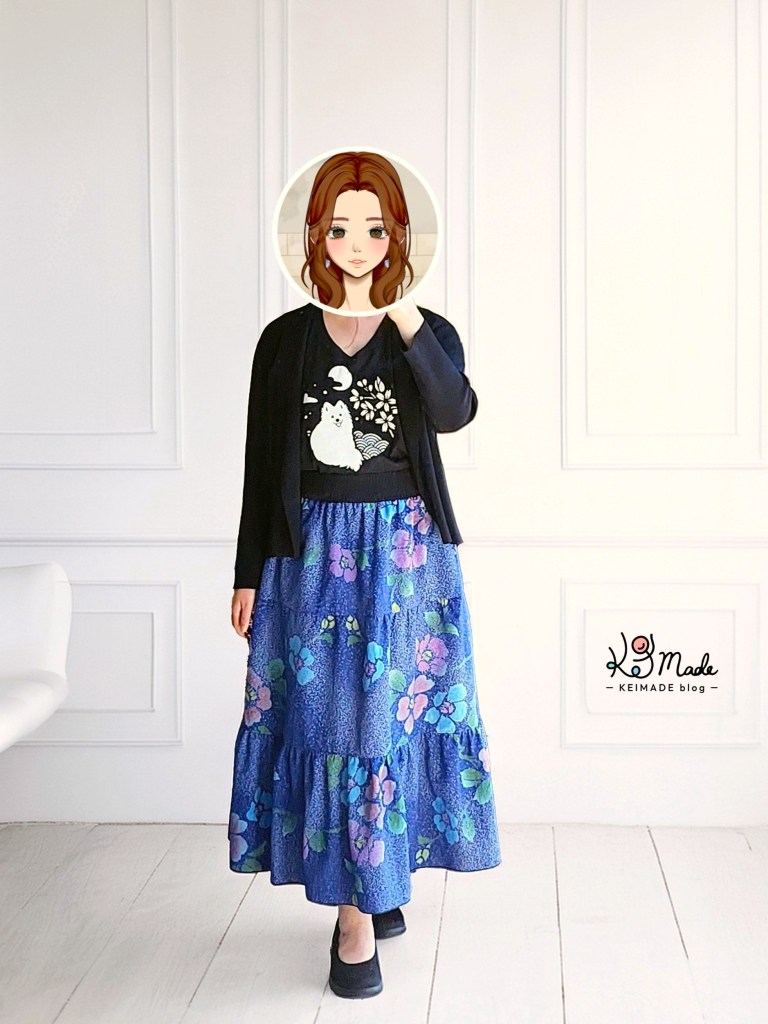
Finally, here’s how it looks when worn.


I’m glad I finally found a use for this summer kimono. The fabric works well as a light-weight tiered skirt — and since it’s cotton, it’s easy to wash and wear.



Leave a Reply