Yukatas (summer kimonos) are pretty, but not always the most practical to wear. I had one that was a tad too small and a bit too loud, so I turned it into a short‑sleeve midi dress, utilising most of the fabric.

Cutting pattern
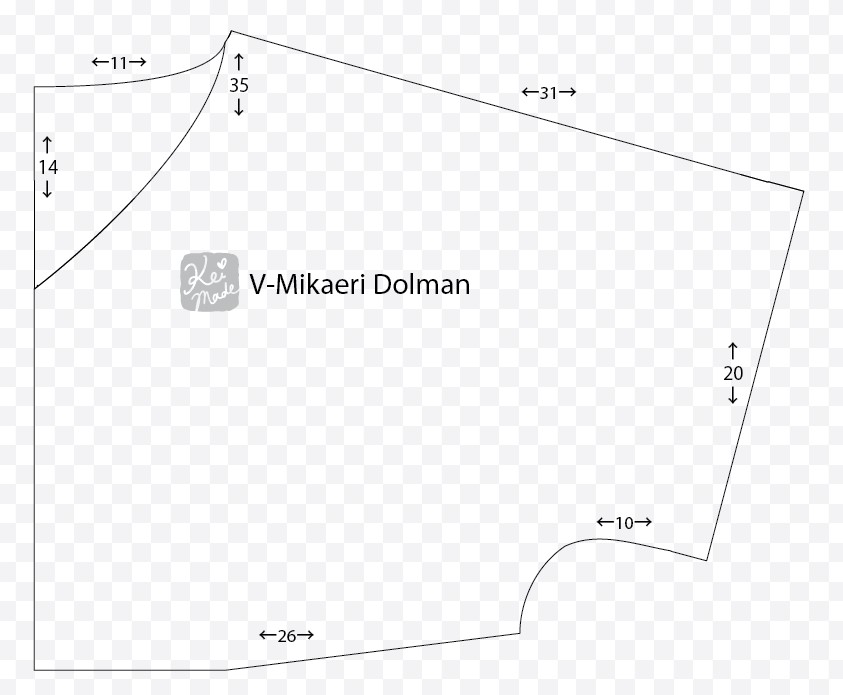
This is how I planned to upcycle the Yukata fabric into a dress. The sleeves will become the top, the hem will become the skirt, and the bodice will become the hem and collar facing.

Apart from the v-neck dolman top, the fabric panels are rectangles. The neckline will become slightly larger when the collar facing is sewn on.
Sleeves to Top
The sleeves of the Yukata were taken off and turned 90degrees to make the dress top. This Yukata sleeves only had ~30cm width, but after unstitching the seams it became ~35cm.
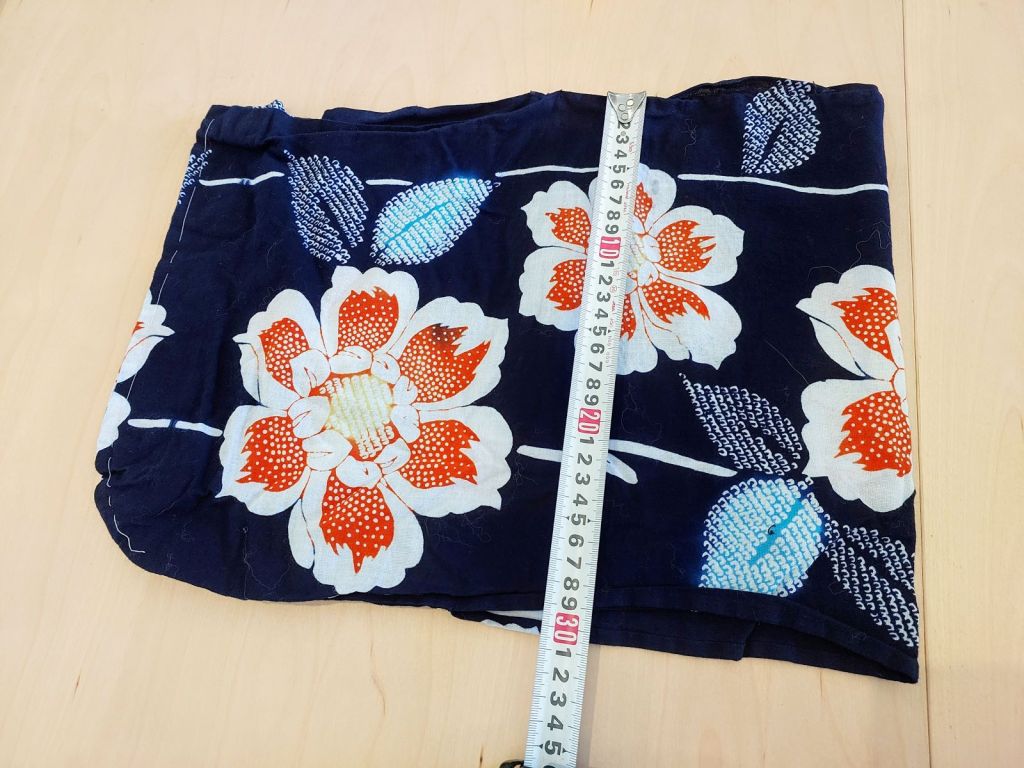

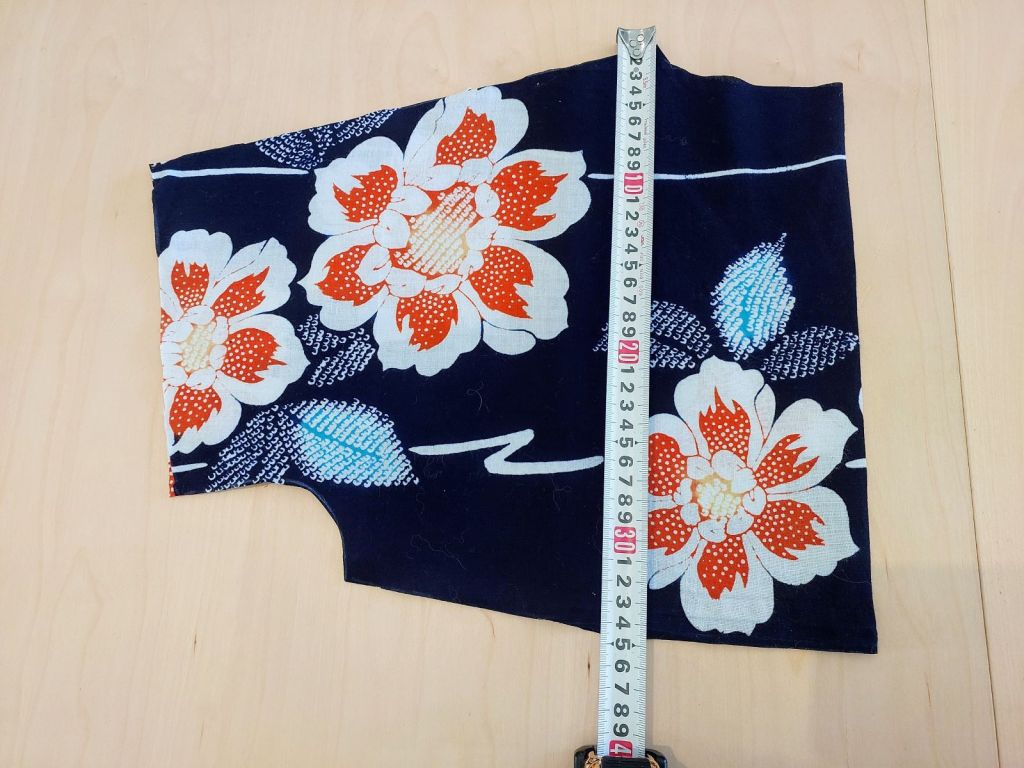

The shoulder line was serged together, the sleeve ends were overlocked, and the sleeve to armpits serged together.
Hem to Skirt
The hem of the Yukata was cut at about 62cm to make the skirt. The two sides were cut diagonally so that the top of the skirt became 55cm to match the top.
A further 8cm – just until the bottom of the collar – was taken off the hem for the waistband. (Next time it’ll be better to take the waistband fabric from the torso so it’s easier to thread the elastic.)


An elastic casing was made and the 3 parts were serged together into a dress.


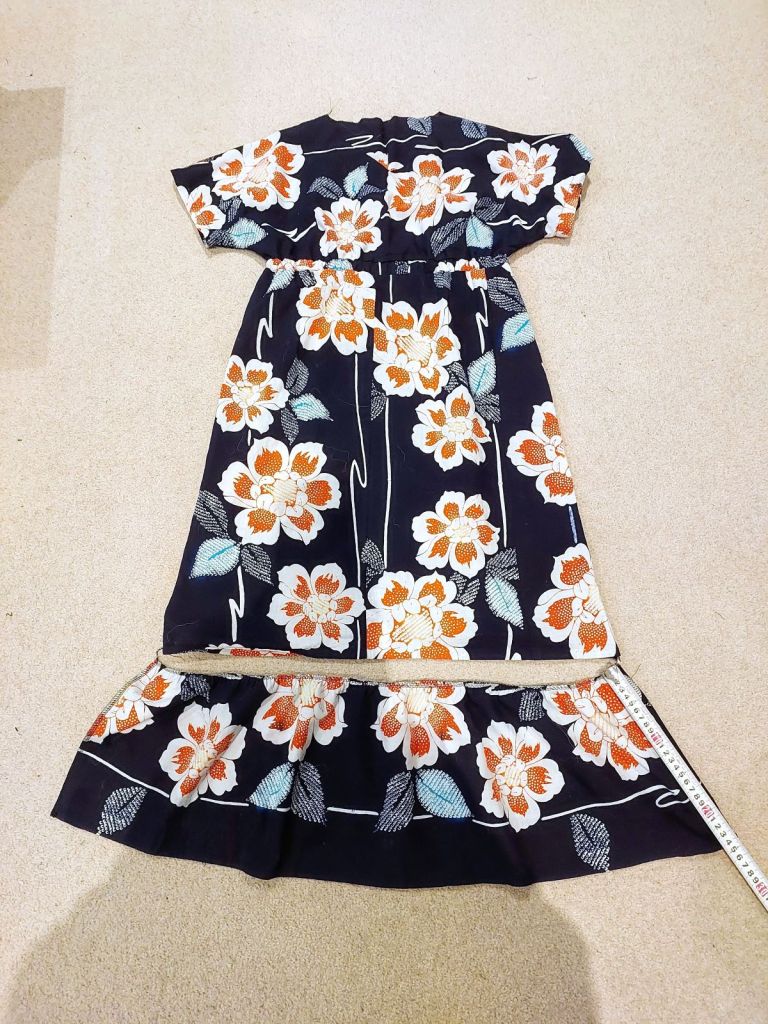
Midway check-in
The waistbelt is located high so elastic was cut at 85cm to be loose fitting, inserted and tied. At this point I tried on the dress; to check the length, ease of walking, and the neckline.


The dress fit just below the knee, and it had enough width to not get in the way of walking. My head fit through the neckline, and the sleeves sat above the elbow.
But because the top of the dress looked quite big (having dolman-like sleeves), I wanted to extend the dress length for better balance. I still had 77cm of the Yukata bodice left, so I decided to make a gathered tier.
Extending the dress
The hem of the knee-length skirt was 62cm wide. Two 90cm long panels were cut from the remaining bodice to make a ~1.5x gathered hem tier.
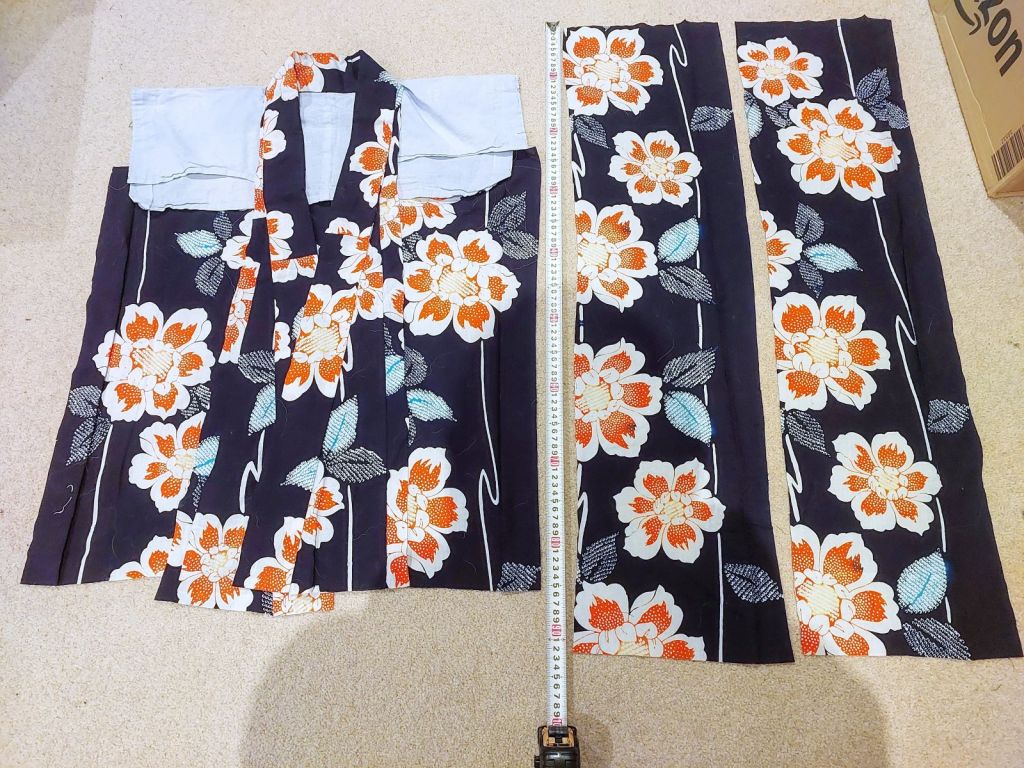
The side stitches of the panels were undone to extend the panel to 24cm wide (it wasn’t hemmed up since the end of the fabric wouldn’t fray), then serged together with the top part of the dress.
A nice bonus with the hem pattern having the white line running parallel to the hem 😀
Finishing touches
The sleeves (that were just overlocked before) were folded 2cm and stitched clean.
Collar facing was cut and sewn from the remaining bodice fabric.


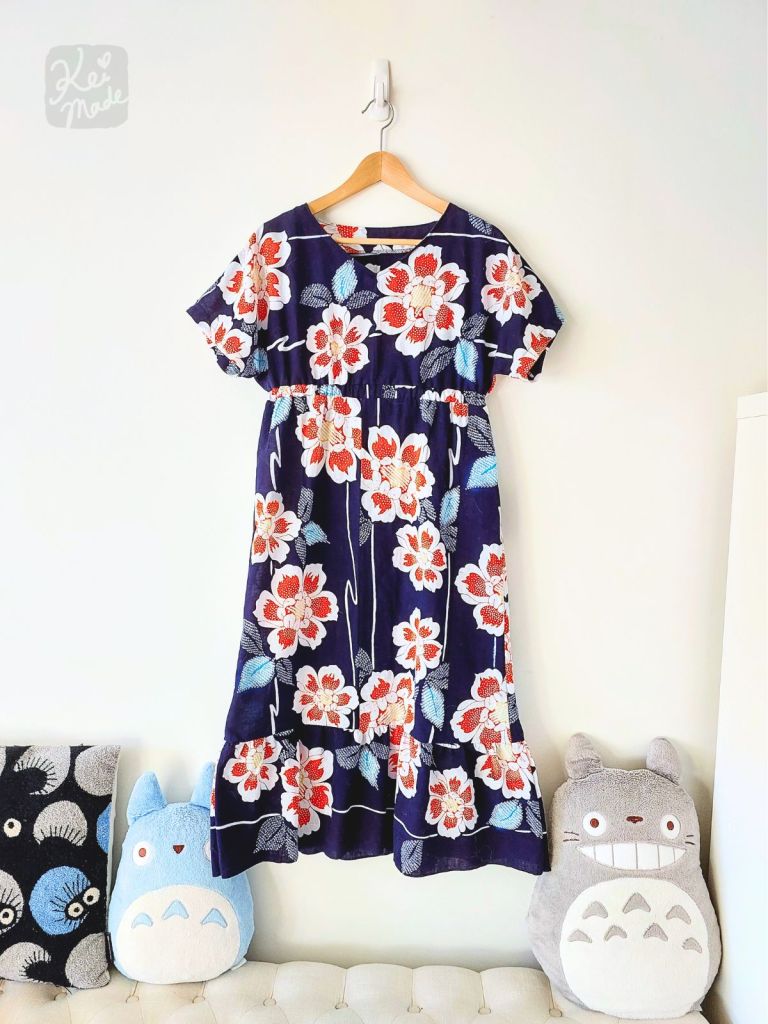
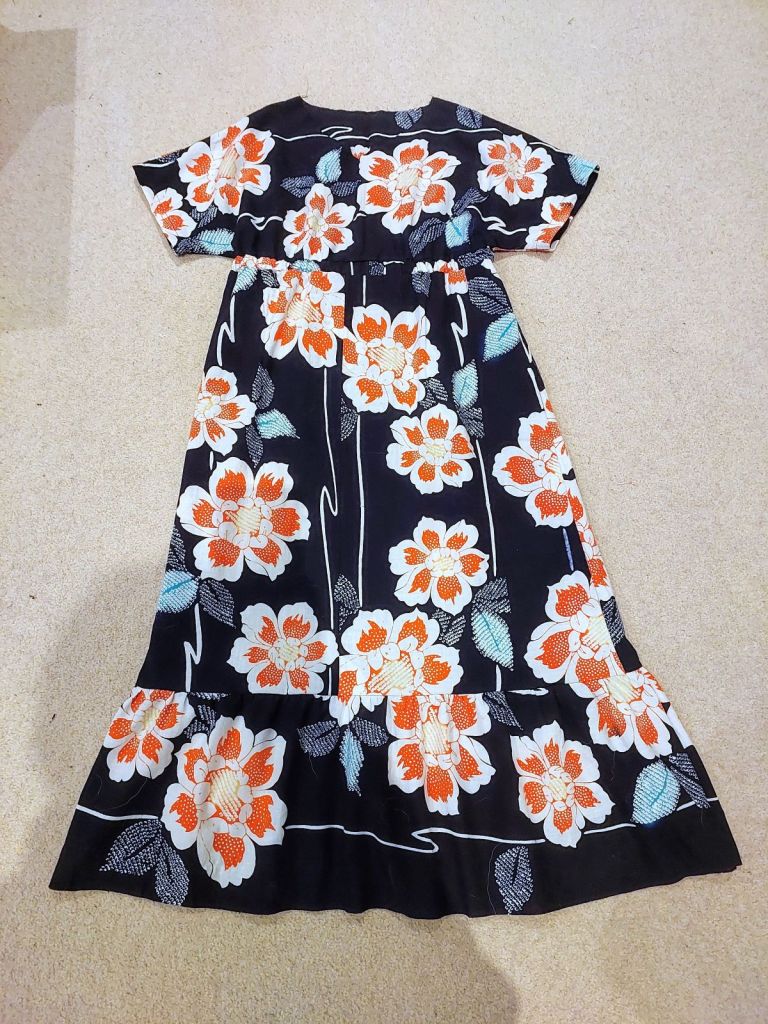
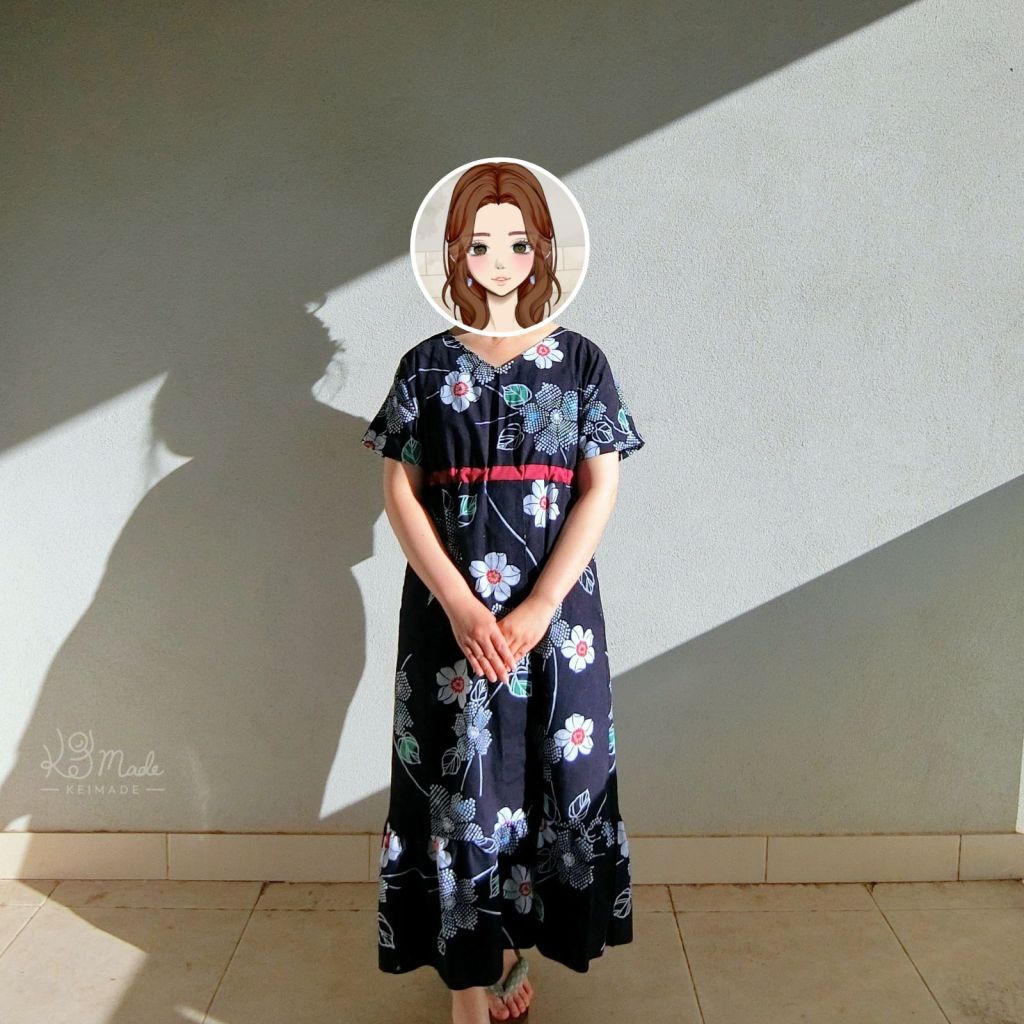
Complete!
The tiered dolman midi dress was complete with little fabric remaining.


Just enough left over for me to sleep on!


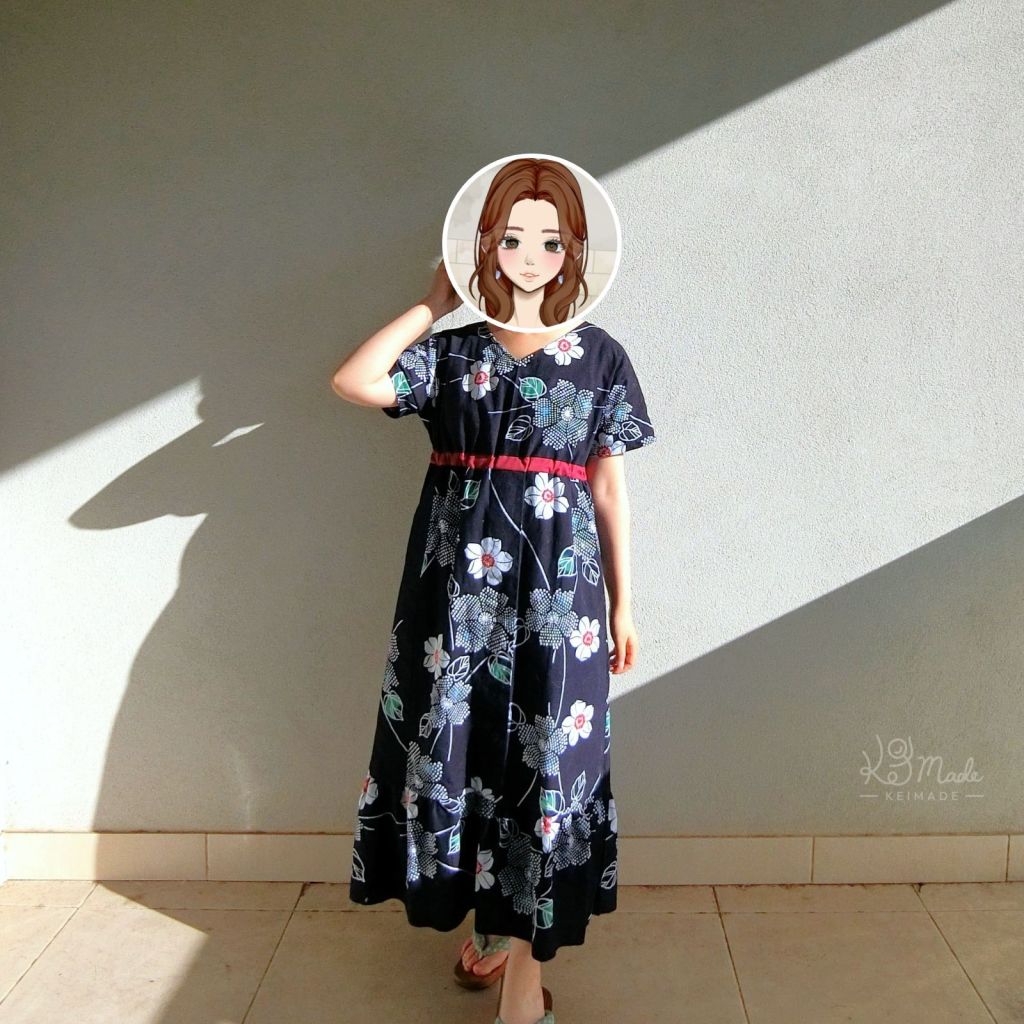
This prototype dress turned out pretty well! I’m happy to have had extended the dress length 🙂

Final thoughts

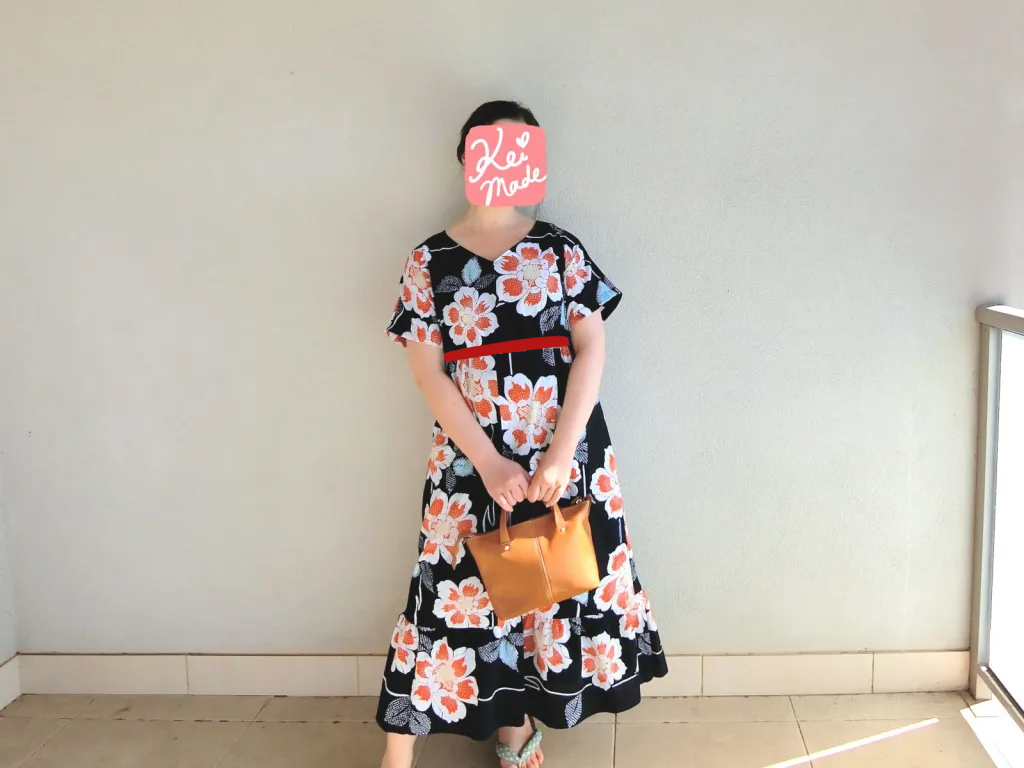
- The dress looks pretty nice – almost perfect with some changes planned for next time.
- At about 115cm long, the length is perfect for me to wear and walk in comfortably.
- The neckline shape is not too deep nor shallow, and fits my head through easily.
- The waistline could be lower, or the waistband taller so the skirt starts at the waist. It could be made with a separate fabric, or cut together with the skirt fabric so the pattern isn’t cut off twice. A tie-ribbon would be a good alternative to inserting elastic.
- The dolman sleeve works better with drapey fabric; with stiffer Yukata fabric the sleeve ends poke up. Adding gathered frills at the sleeve ends might soften the top’s shape.
- The back collar shape should be more curved.
- Don’t use the kimono bottom horizontally to make the elastic casing as it’s super hard to insert elastic. Cut from the remaining torso or use the collar.

I might re-sew the waist band with a contrasting colour.
Updates
Update: I re-sewed the waist band with a contrasting poplin fabric!

Update #2: I was happy with the prototype, so I made it again – with pockets 😀


Leave a Reply