


I designed a convini themed Perler bead tissue box and wanted to get a better idea of how it would look when completed. In case I want to make any design tweaks, I used Fusion 360’s Decor tool to create a quick preview. Here’s a quick post on how to add a texture map quickly onto a cuboid.
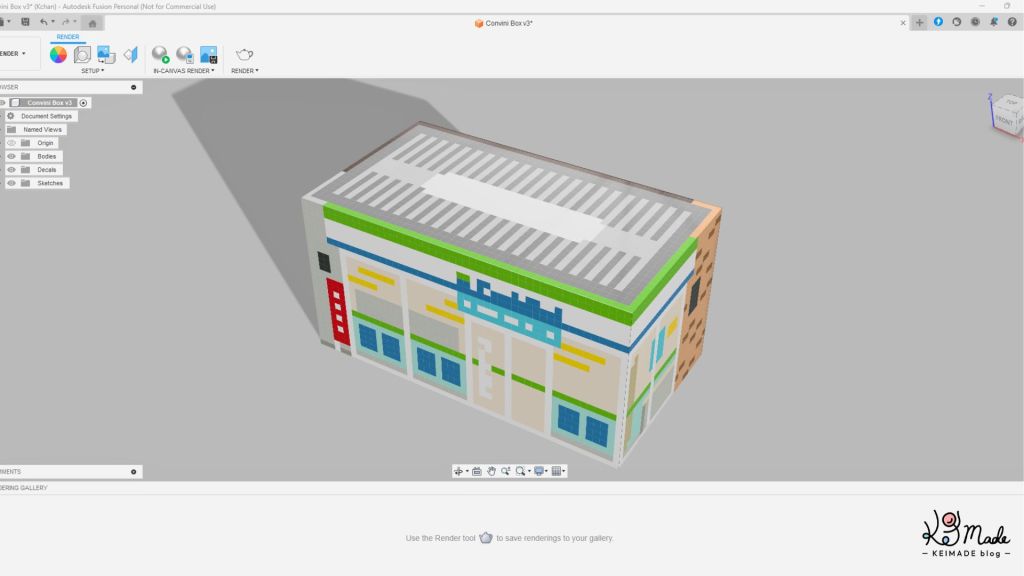
How to use Fusion 360’s Decor tool
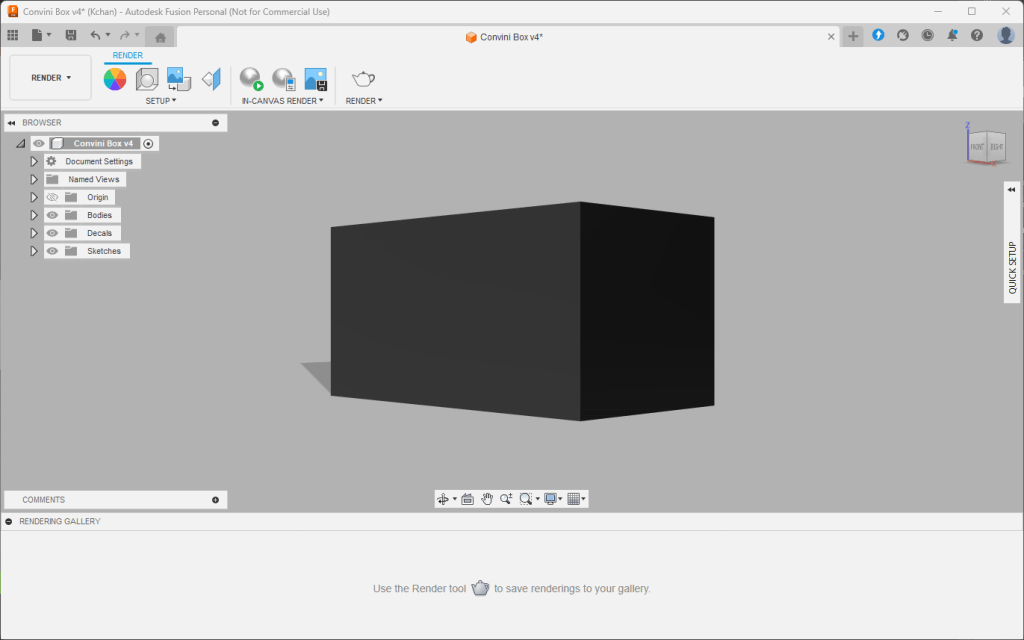
Once you create a cube to size, change the mode from Design to Render using the top-left drop down.
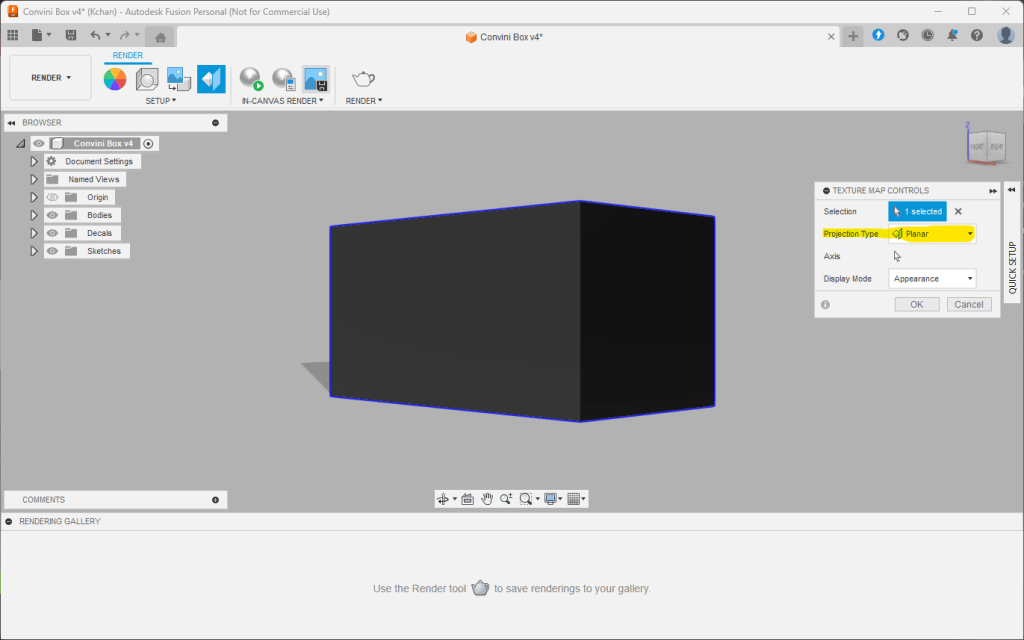
If you go to Setup > Texture Map Contols, the Projection Type should be set to Automatic or Planar.
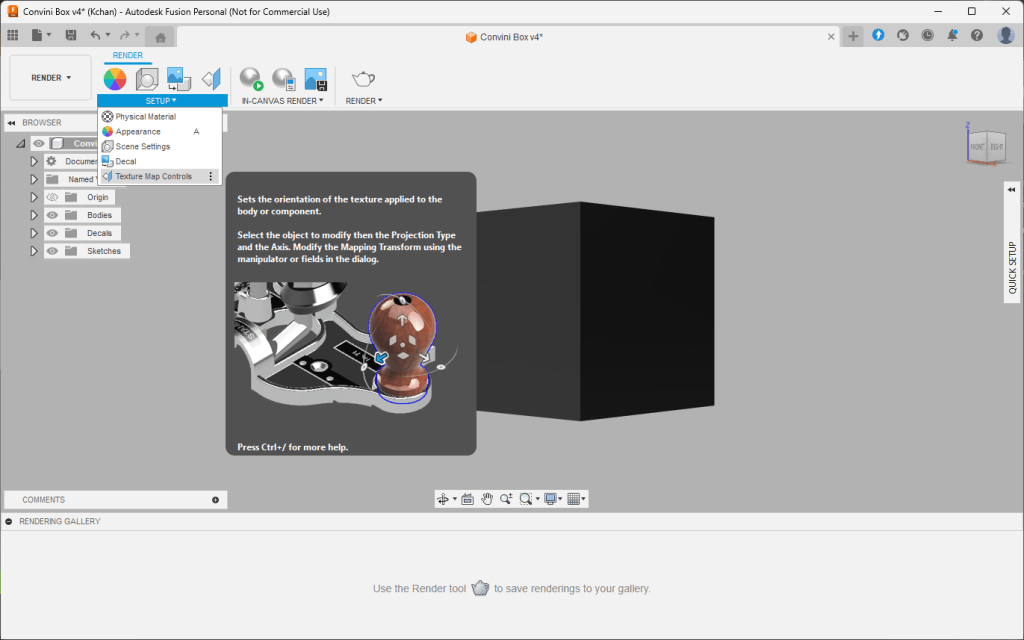
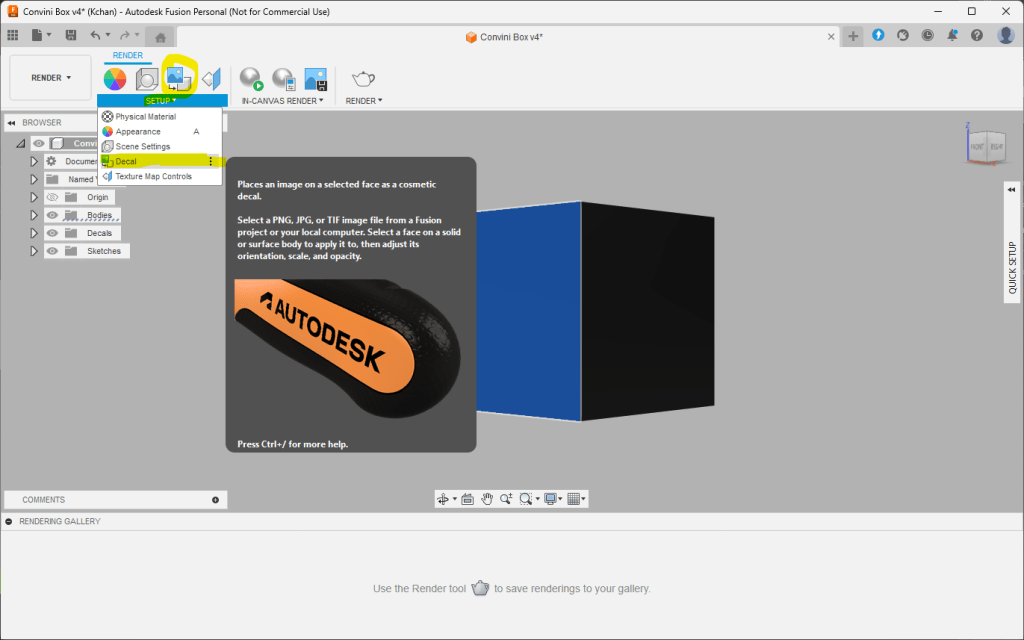
To add a texture map, click on a face and select Setup > Decal (or simply click the Decal button on the main action tray).
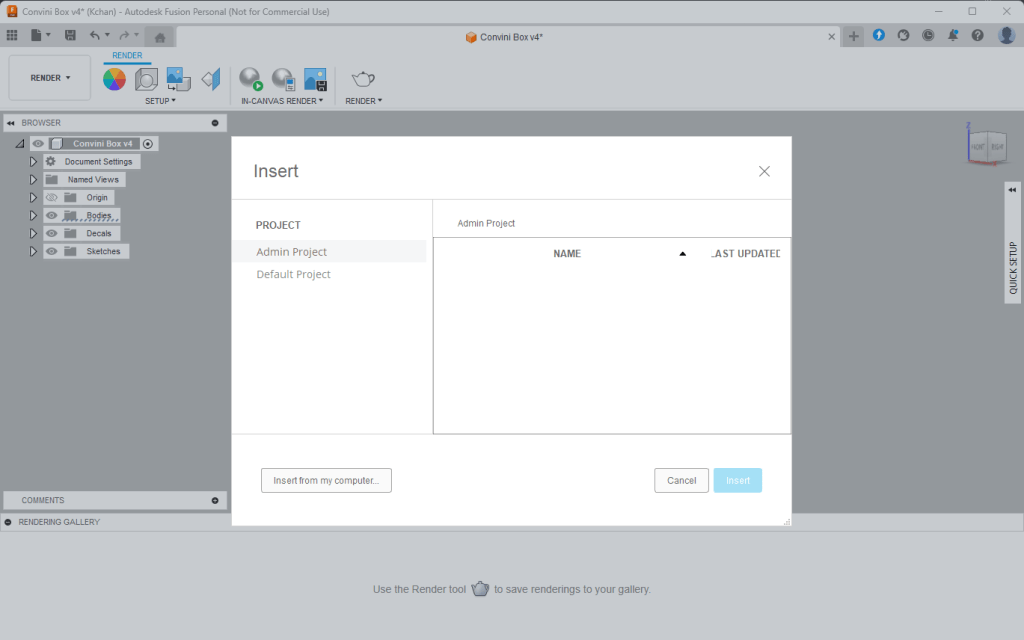
In the pop up window, select the image file you want to project onto the face.
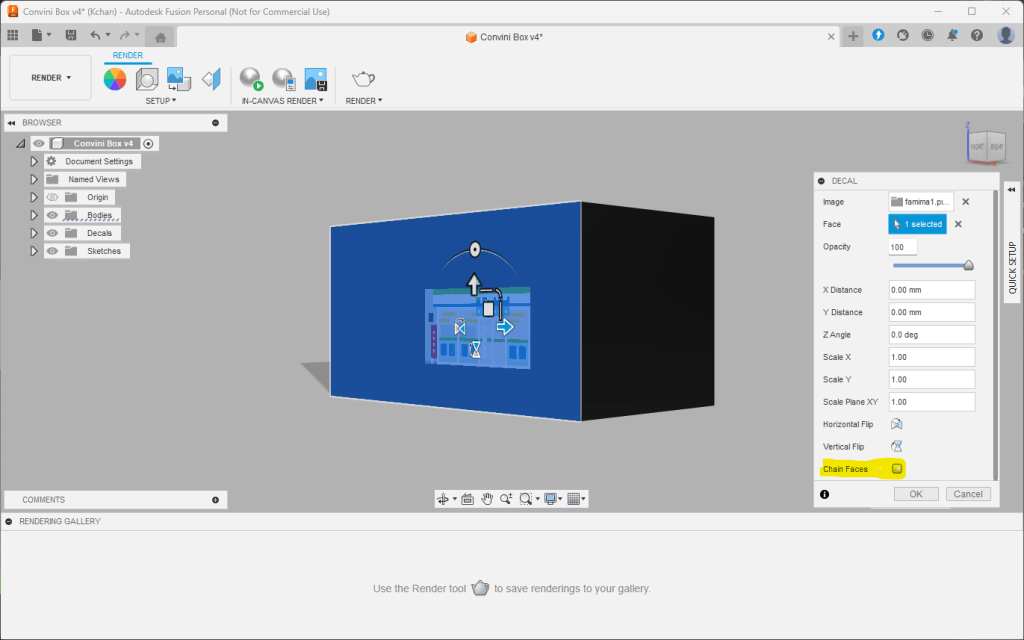
Uncheck Chain Faces, and use the controls to zoom and move the texture map.
One face done!
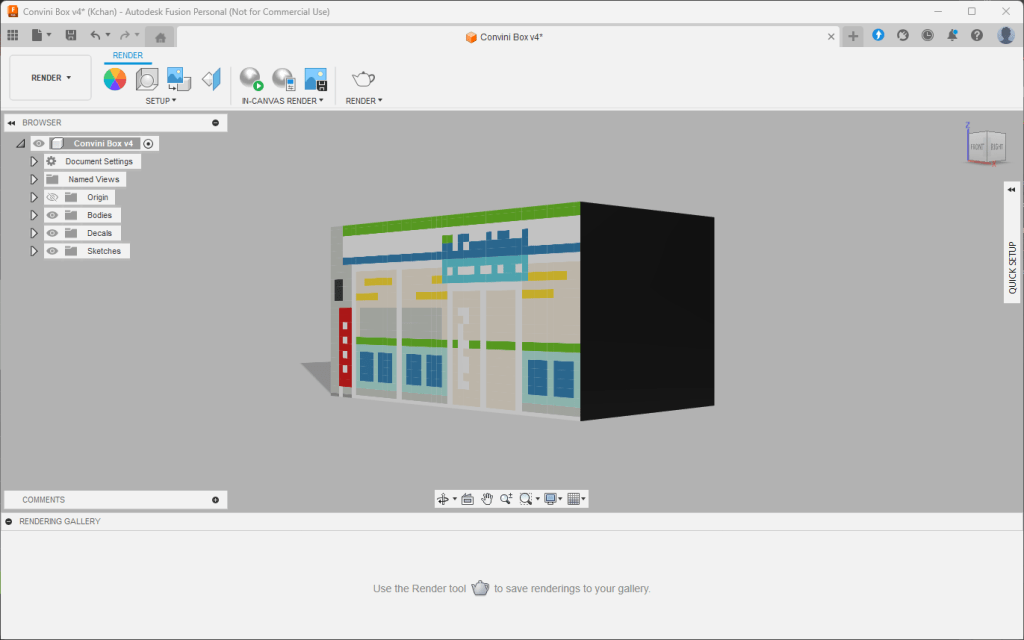
Repeat on other faces.

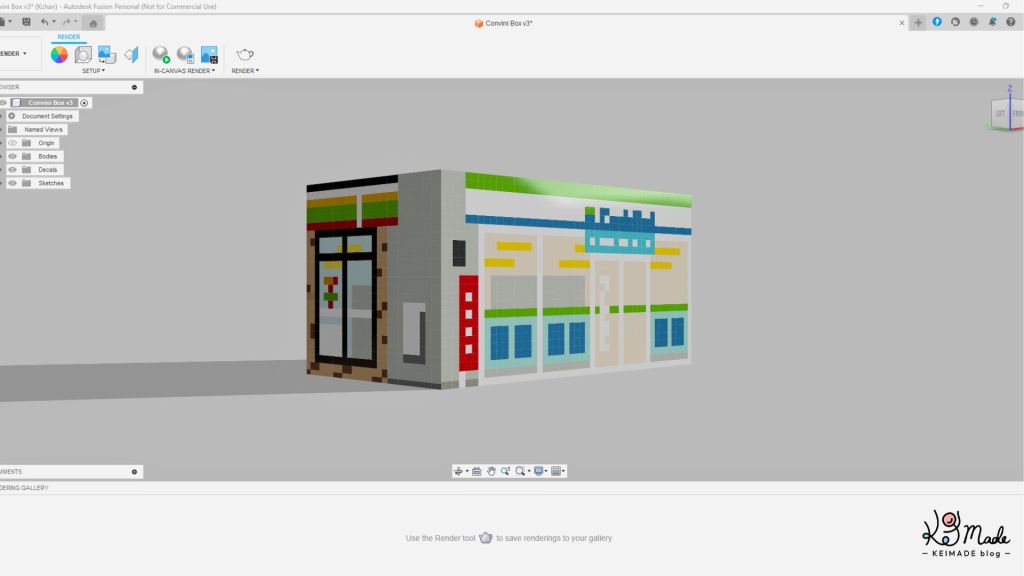

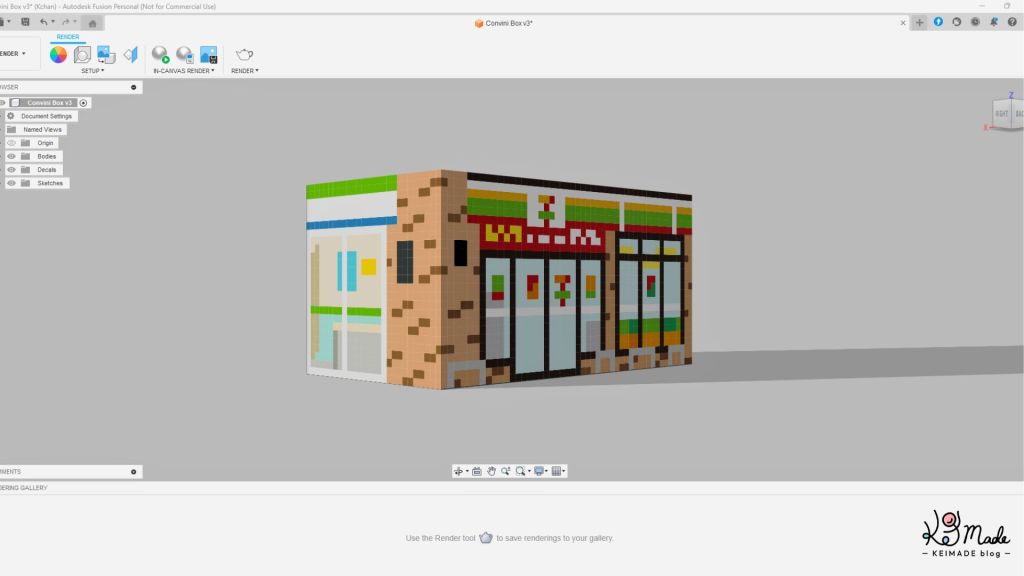
Check out the Perler creation and pattern:
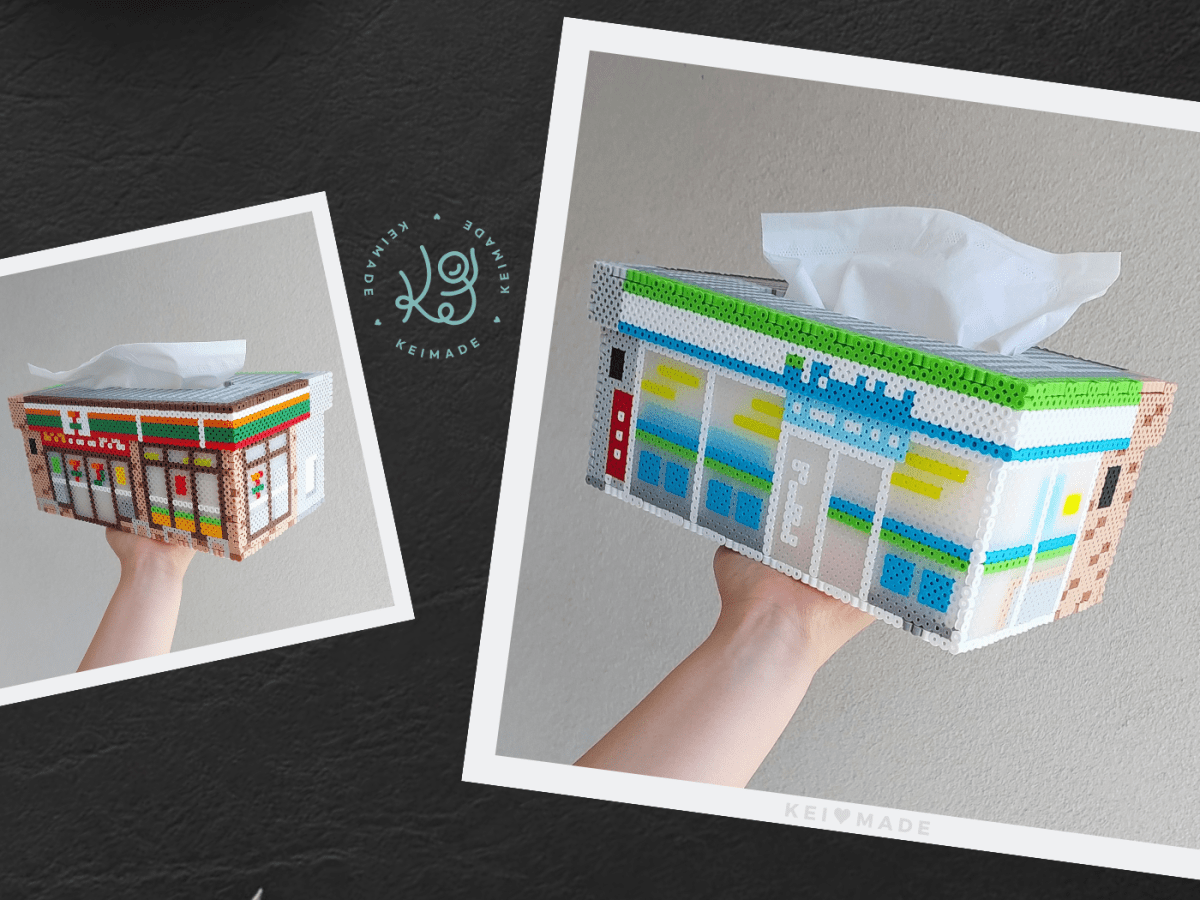
Konbini Tissue Box Case: Perler Bead Pattern
This Perler tissue box case was inspired by Japanese convenience stores. It’s got a snap-on lid and fits a standard tissue box. You can make your own with the fuse bead pattern.





Leave a Reply