






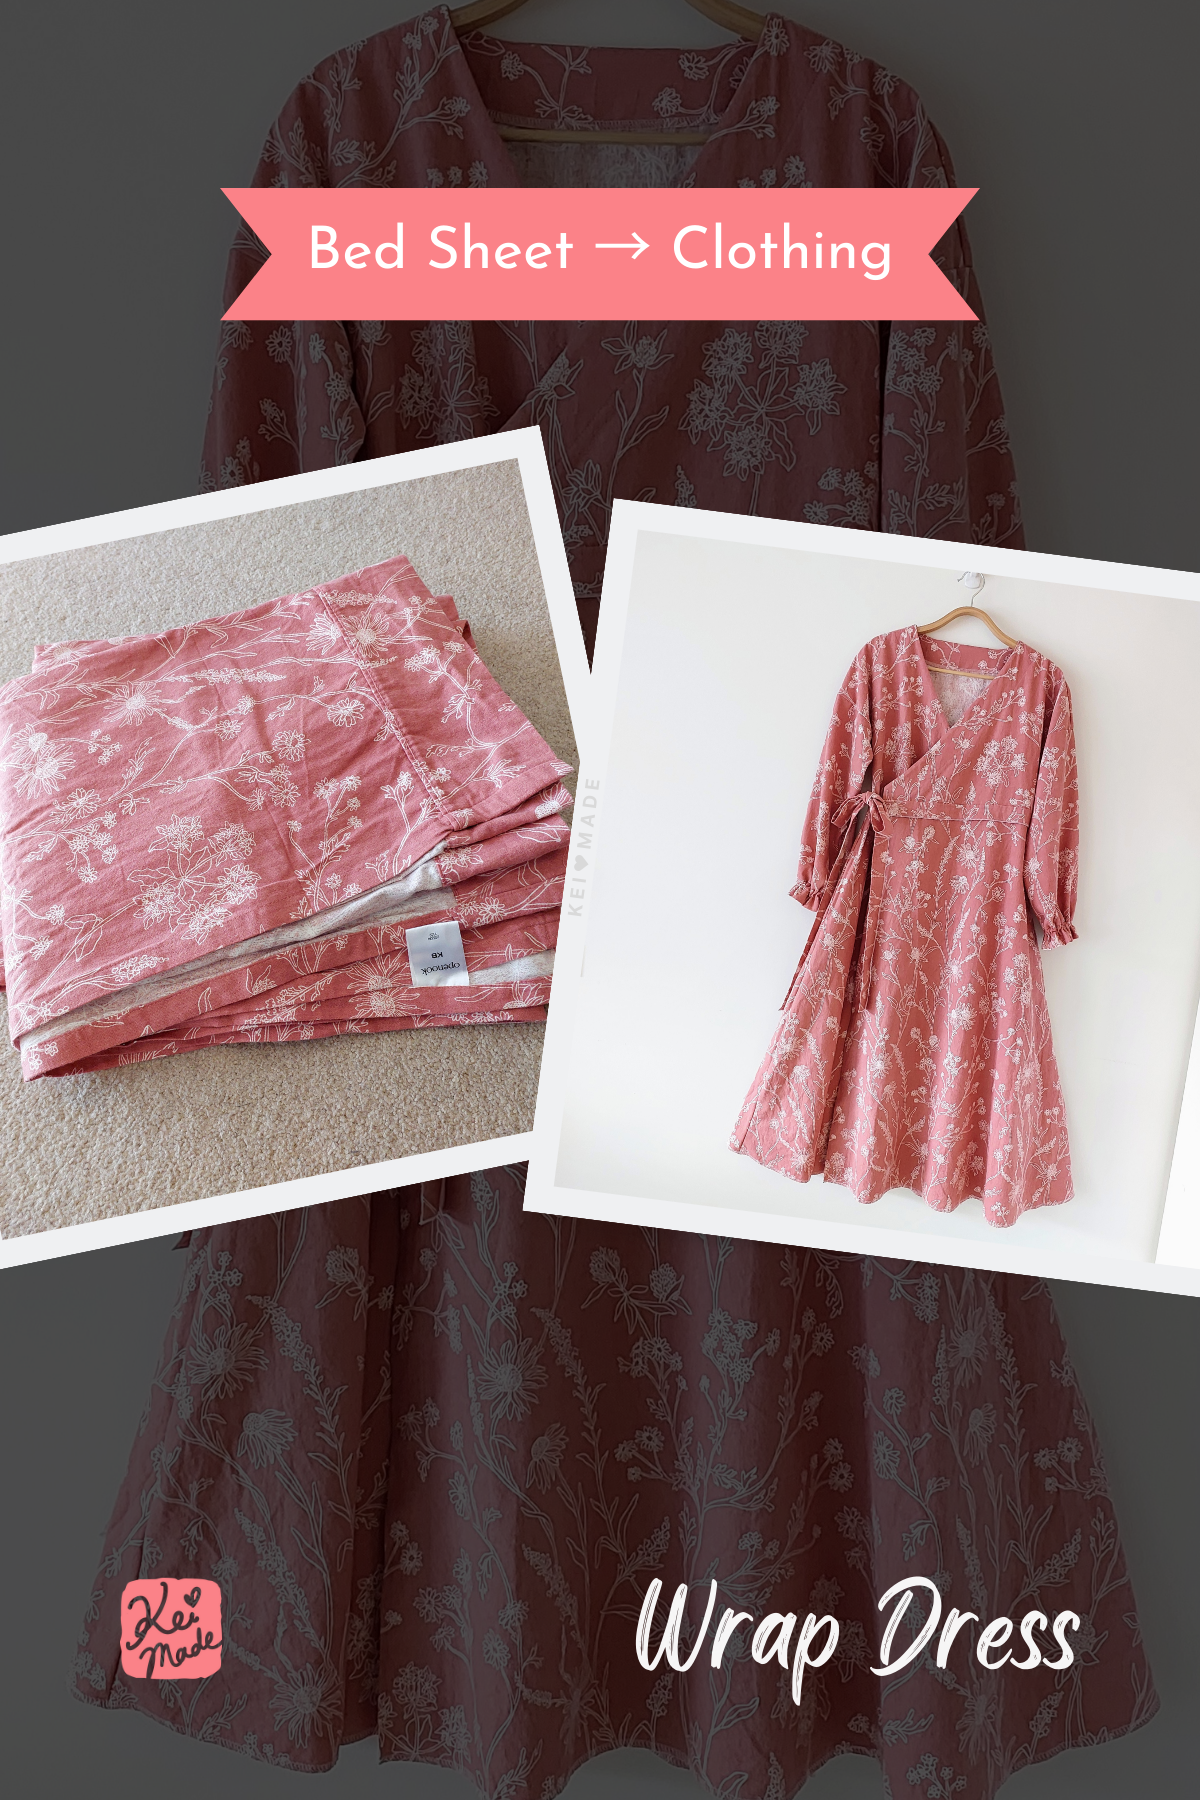
The blueprint (pattern)
The wrap dress pattern bluerpint we’ll be using today is below. Feel free to adjust the length of the skirt or the width at the waist; although it’s a warp dress so it’s rather accommodating.

How to sew a wrap dress
Cut the fabric
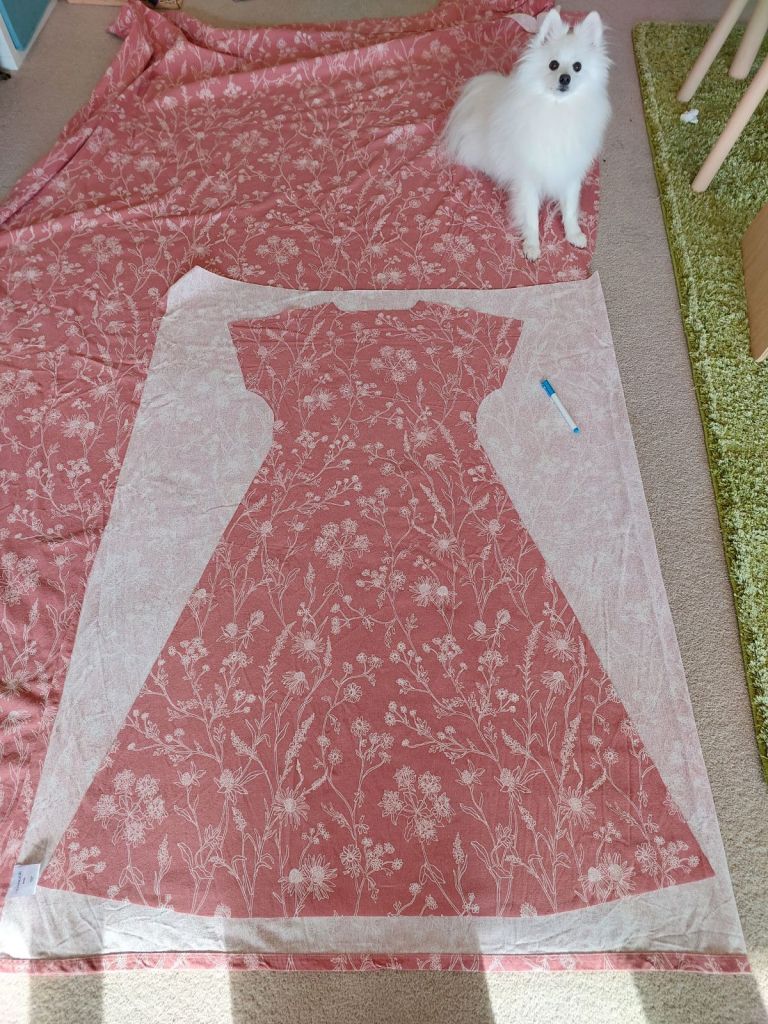
We can make a wrap dress without using a pattern. Using a water-soluble marker and ruler, draw up the pattern directly onto the fabric.
Start with the back panel first. Once the back panel is cut out, use it as a template to draw the front panels.
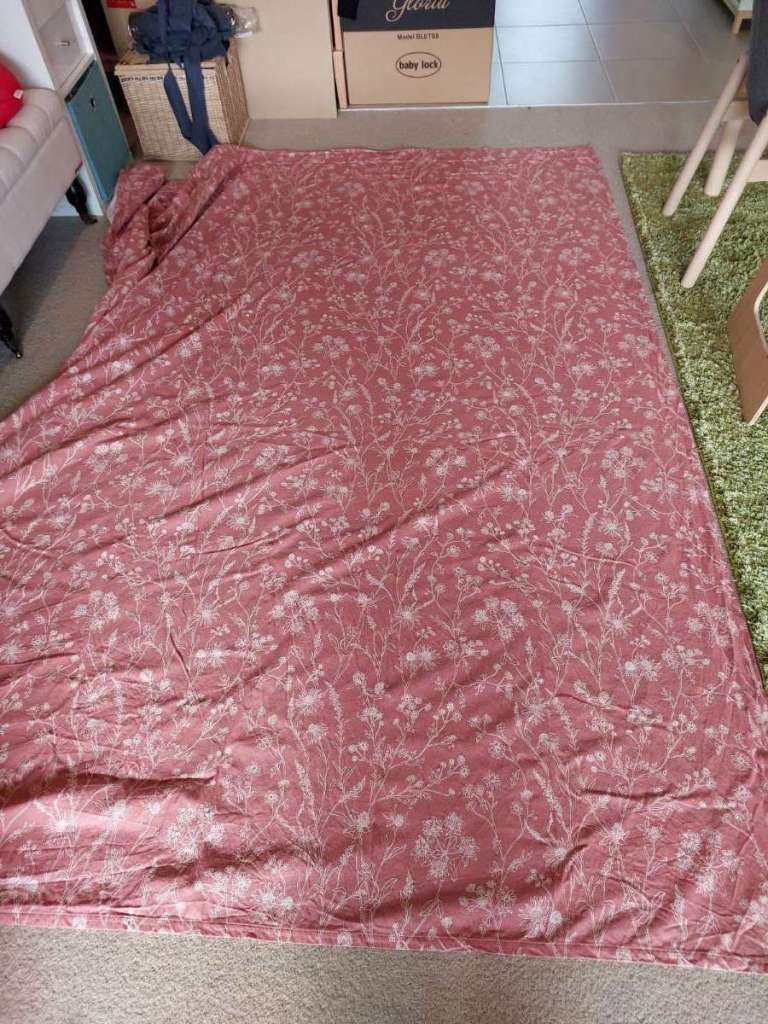
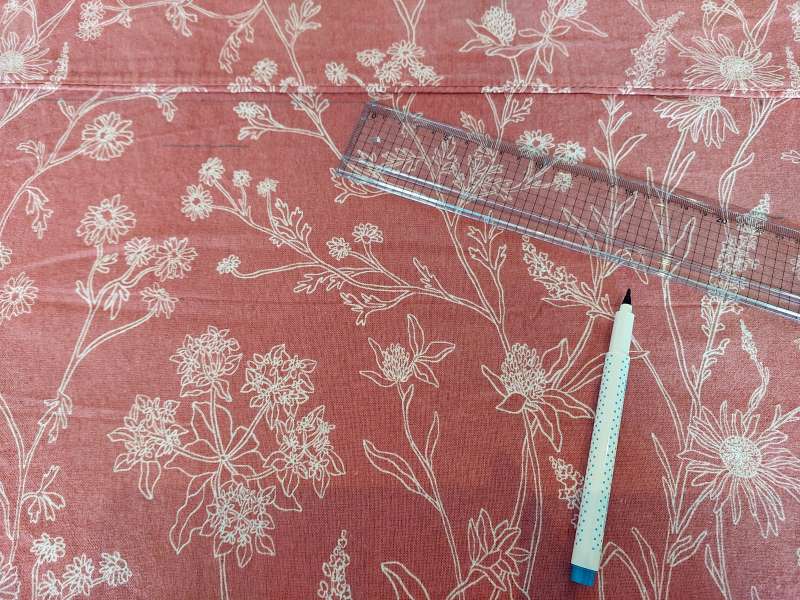
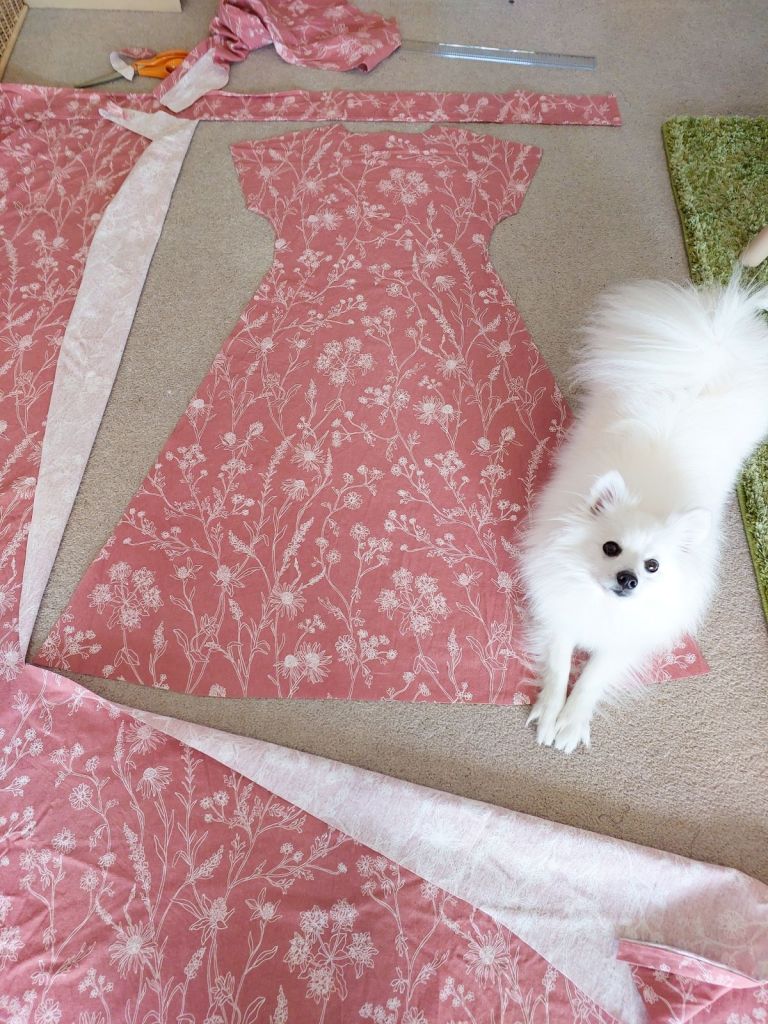
Back panel cut out! Doggie needs a stretch
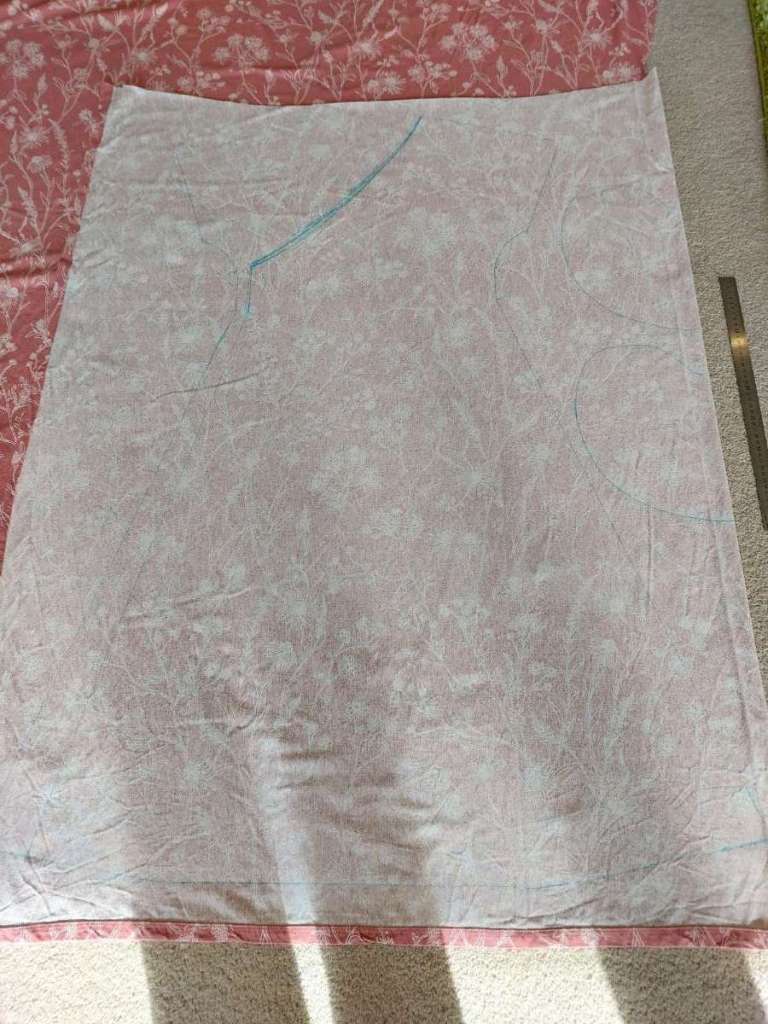
To draw and cut out the two front panels, fold the fabric in half inside out, then trace the back panel onto the fabric. Check back at the blueprint and make adjustments for the collar and along one side of the skirt – otherwise the front and back panels are the same.
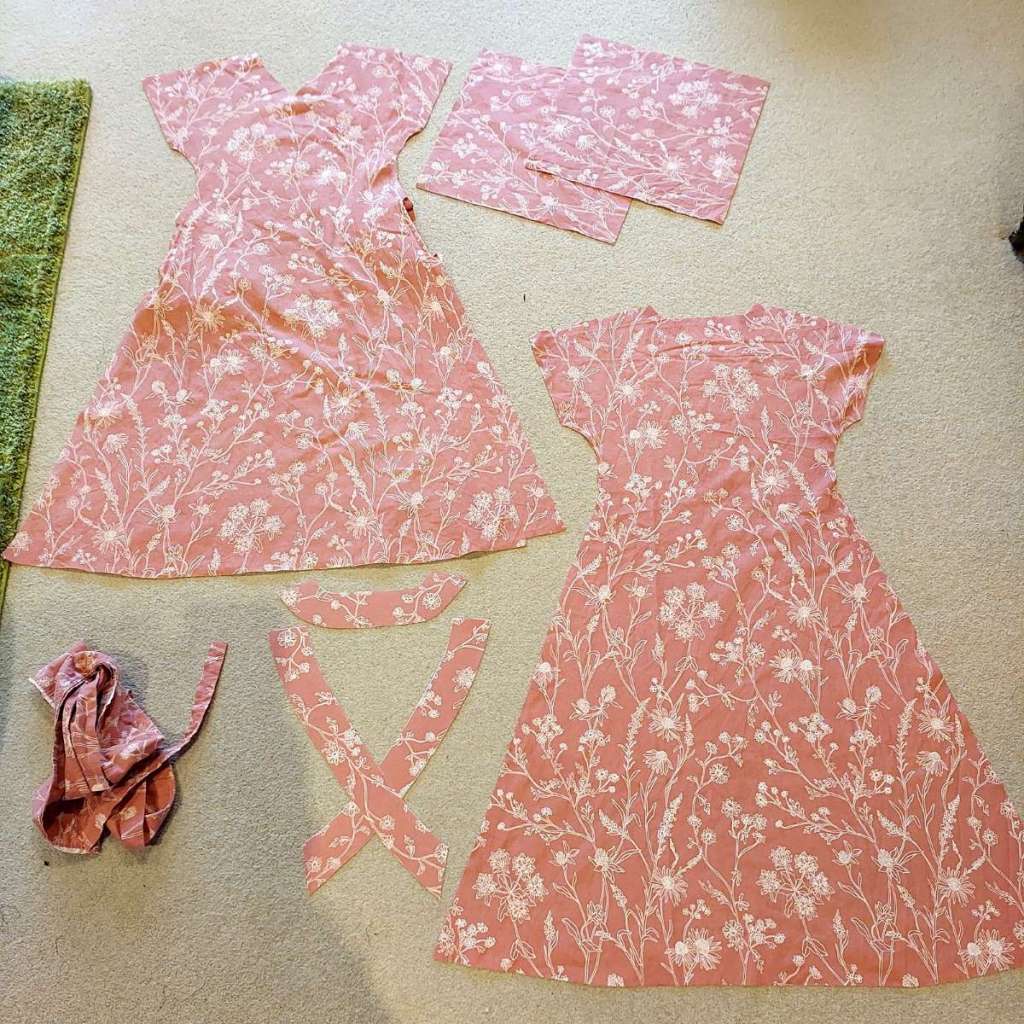
Cut out the folded fabric, both at once, and we’ll end up two front pieces that are mirrored. Yay 🙂

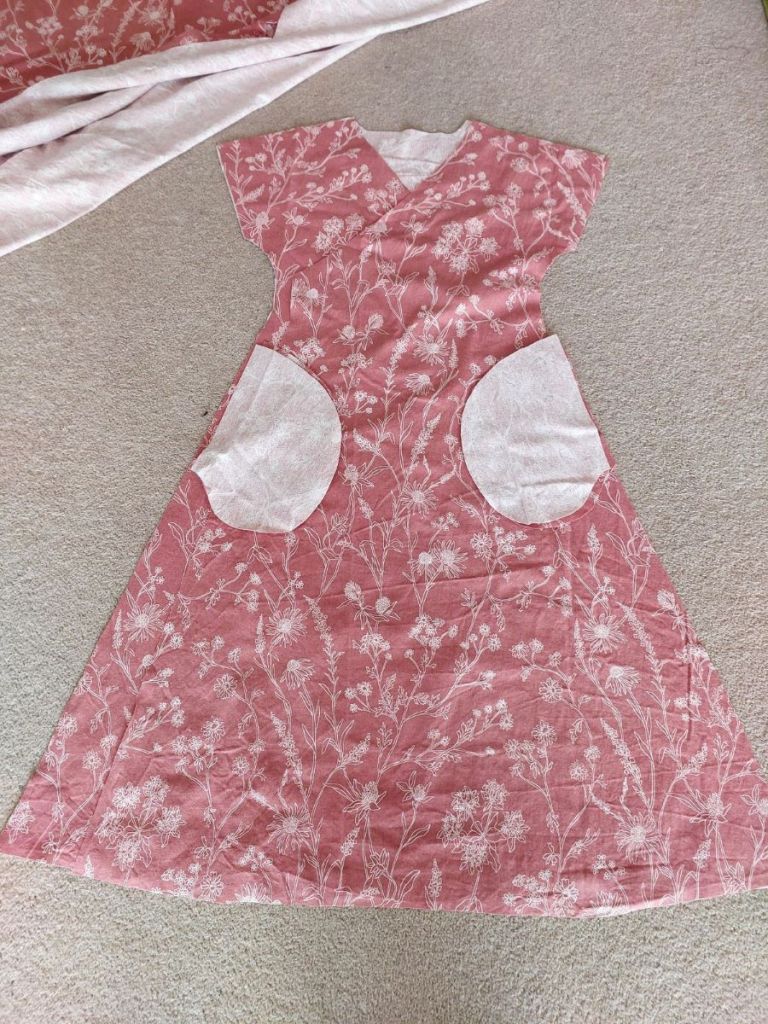
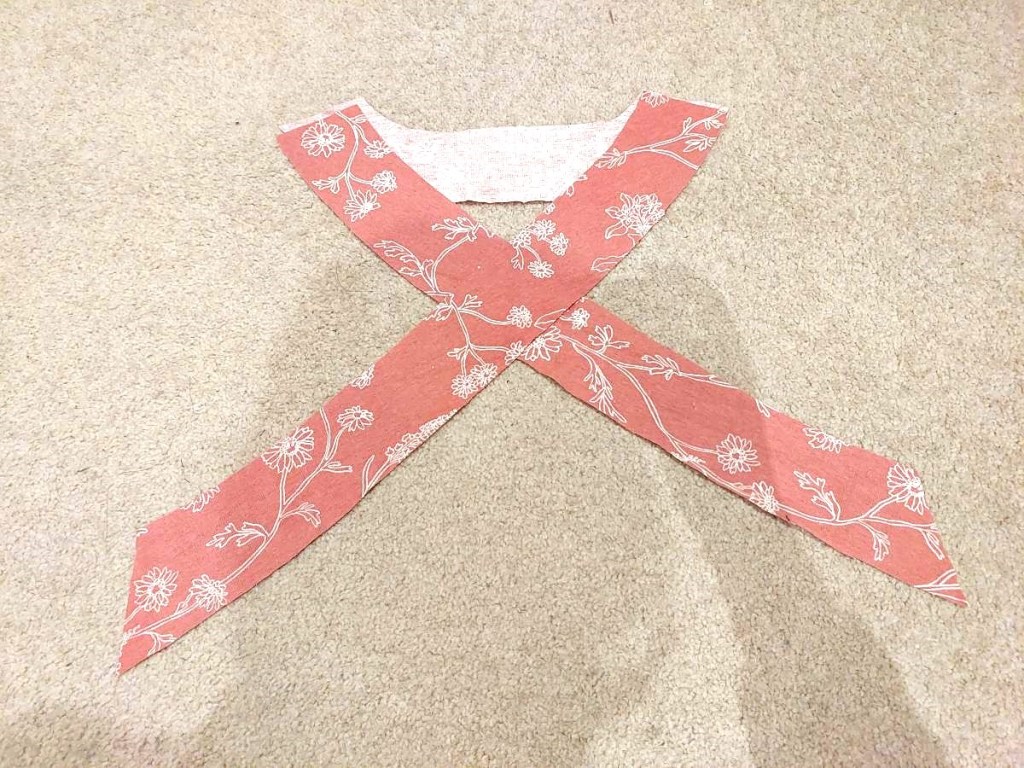
To cut the collar facings, trace the collar from the front/back pieces along the collar then 5cm along the shoulder on each side, and join the lines keeping a 5cm distance from the traced collar.
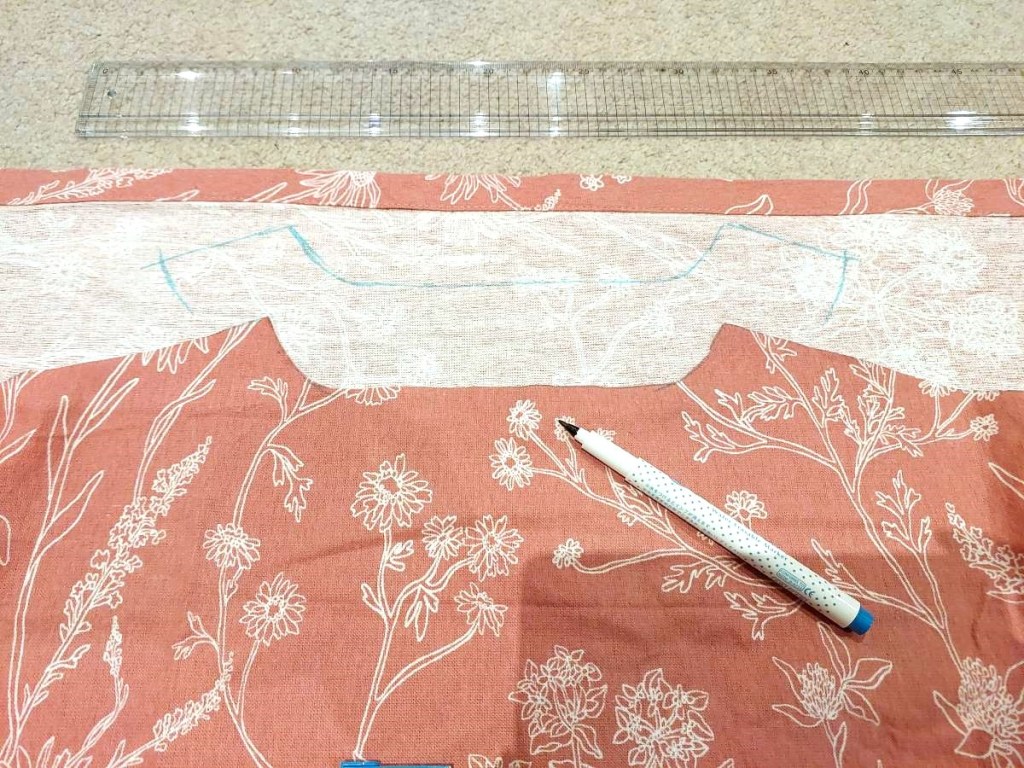
Apply interfacing fabric
Cut out some iron-on interfacing fabric and adhere them on the back of the collar facing fabrics.
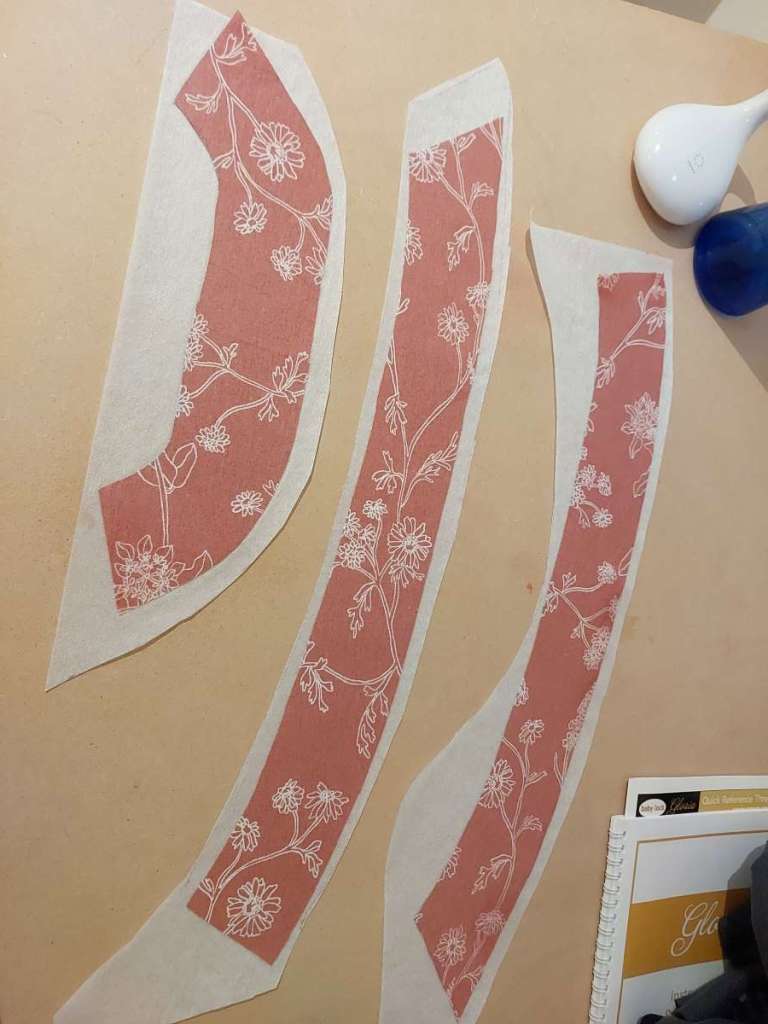

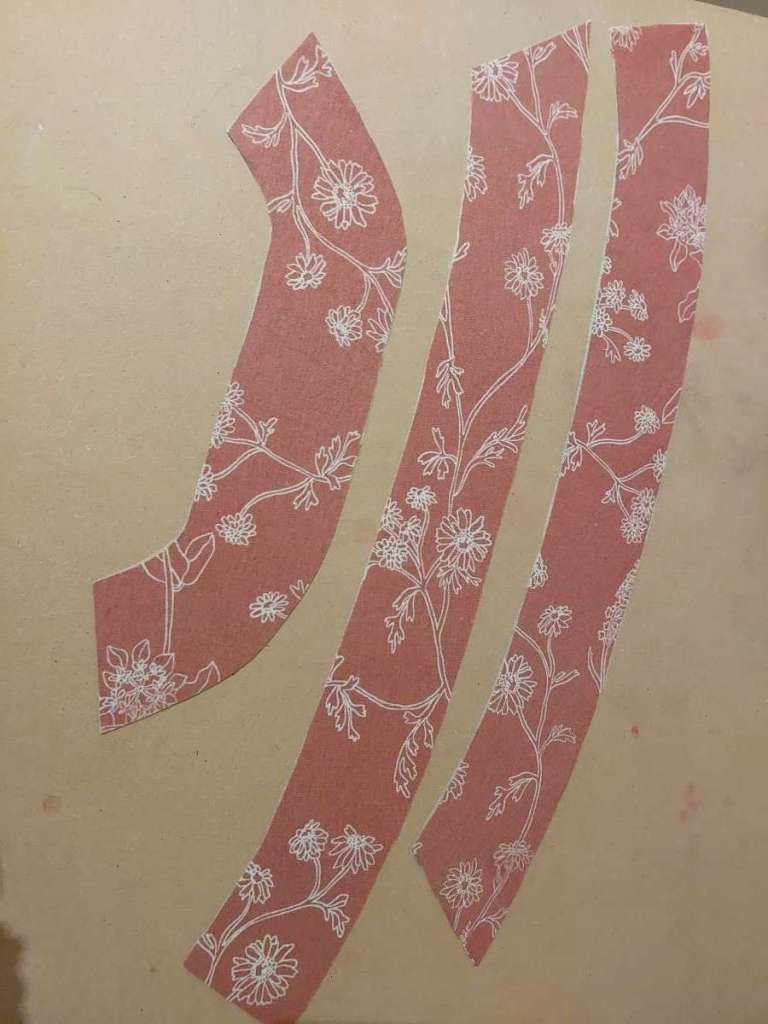
Also apply a thin strip (~1.5cm wide) along shoulder lines on the two front panels.

Sew on pockets (optional)
This part is optional, but pockets do make dresses much more practical!
Here we sew pockets onto the two front panels. I had to separate this section to another post, so please follow how to sew in-seam pockets until step 8:
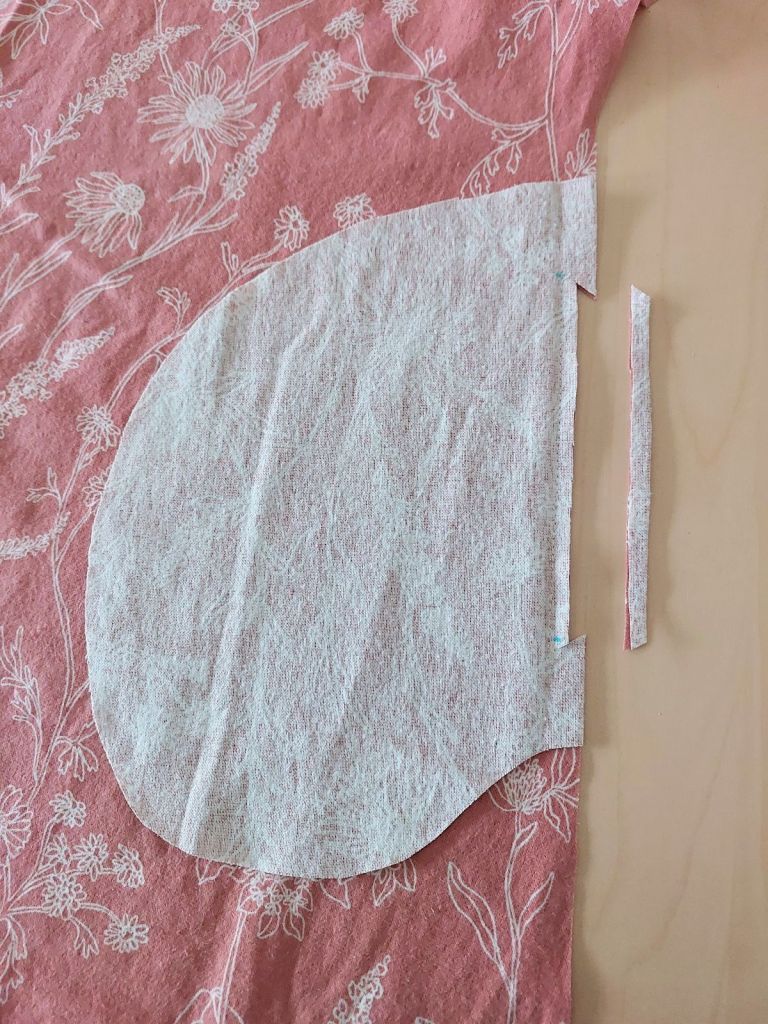
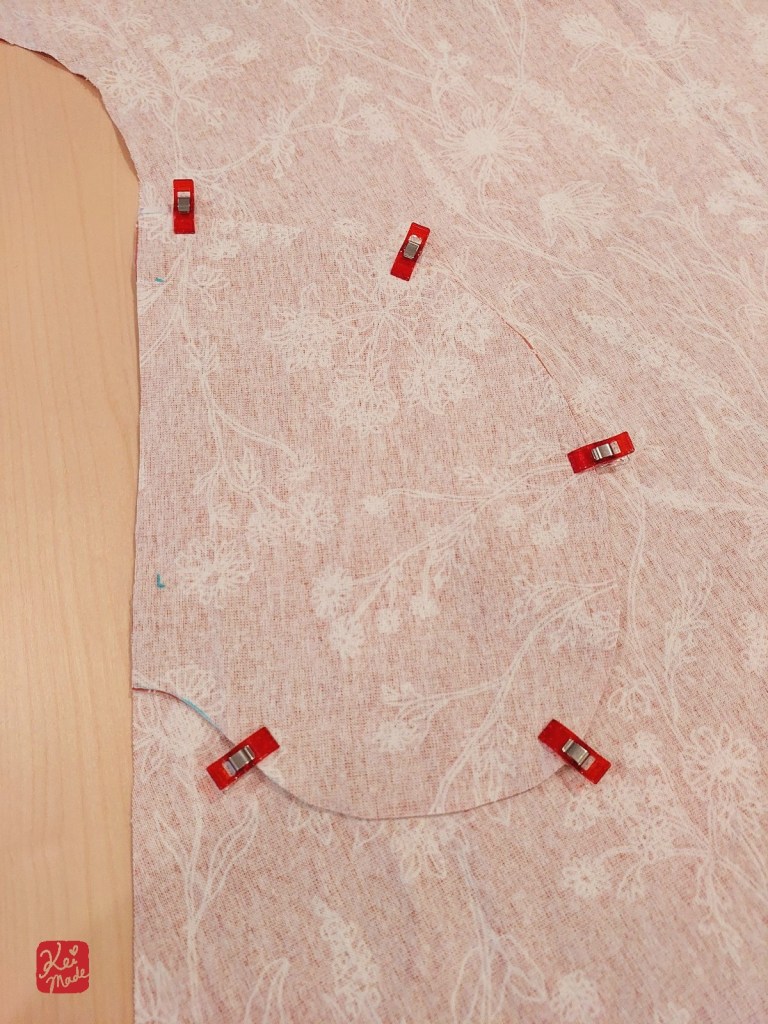
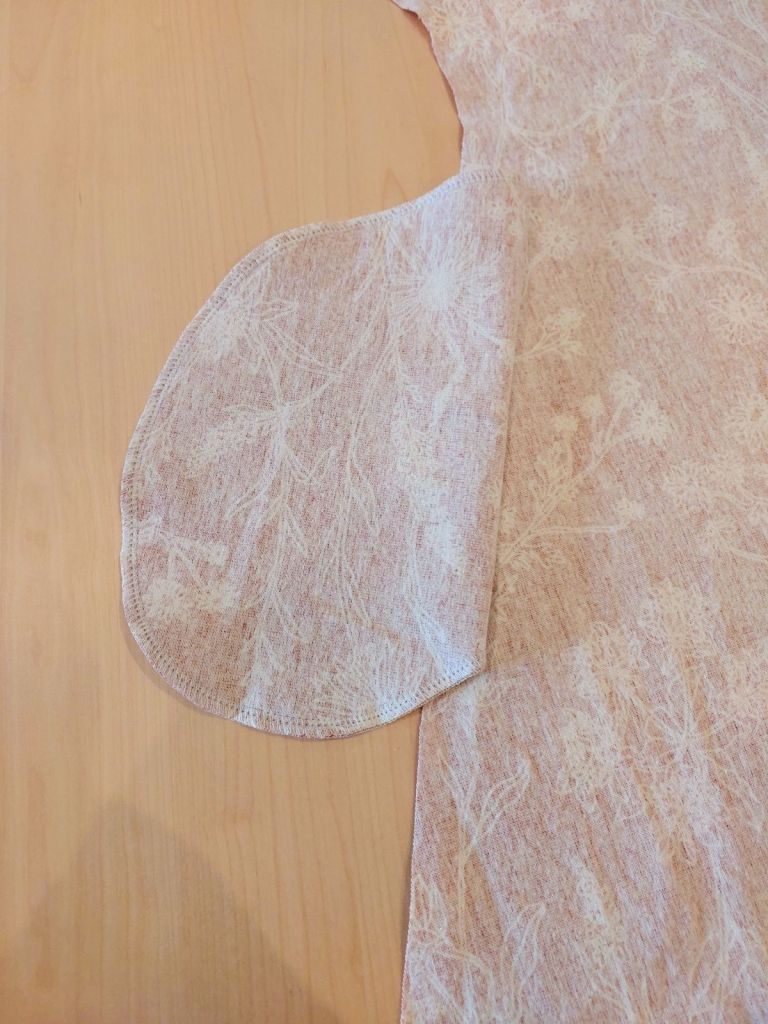
Sew the shoulders together
Now that all the preparation is complete, we can start making the dress panels together!
Align the front and back panels at the shoulders and serge the fabrics together along the shoulder, inside out.
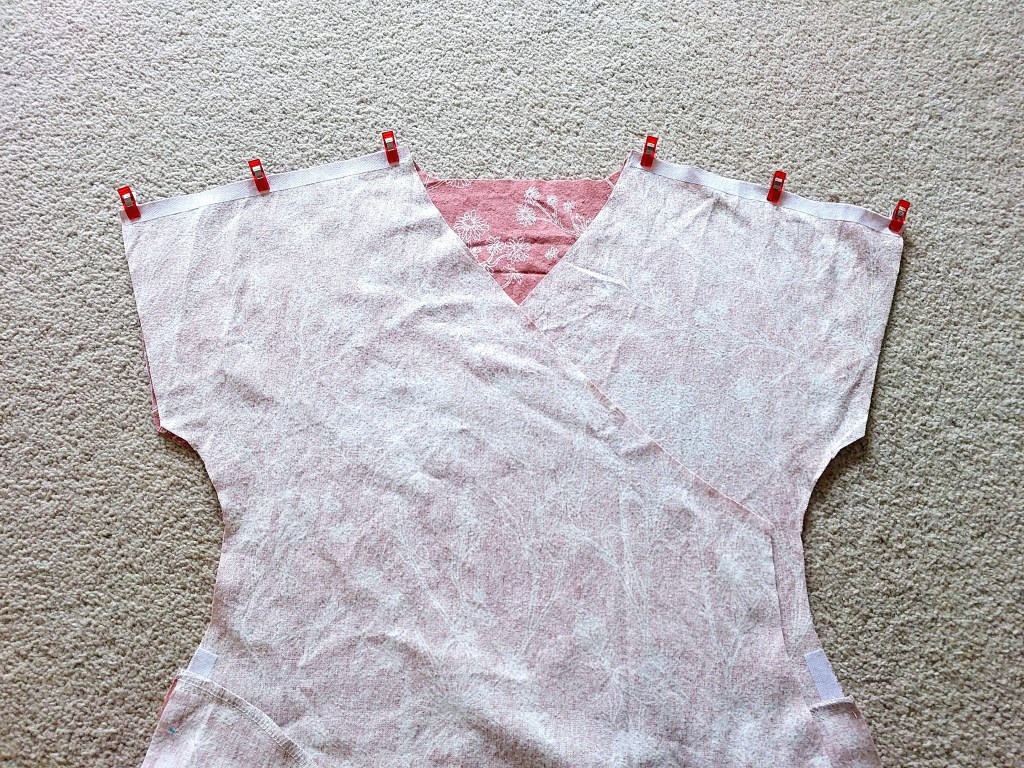

Attach the sleeves
Next up is attaching the sleeves.

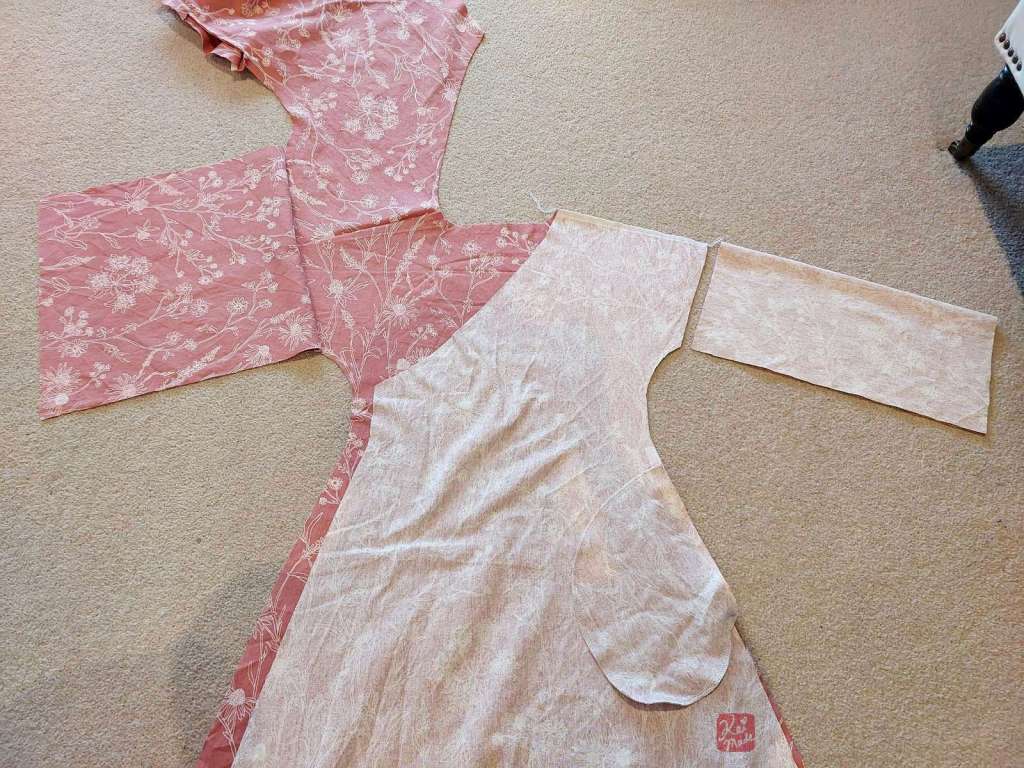
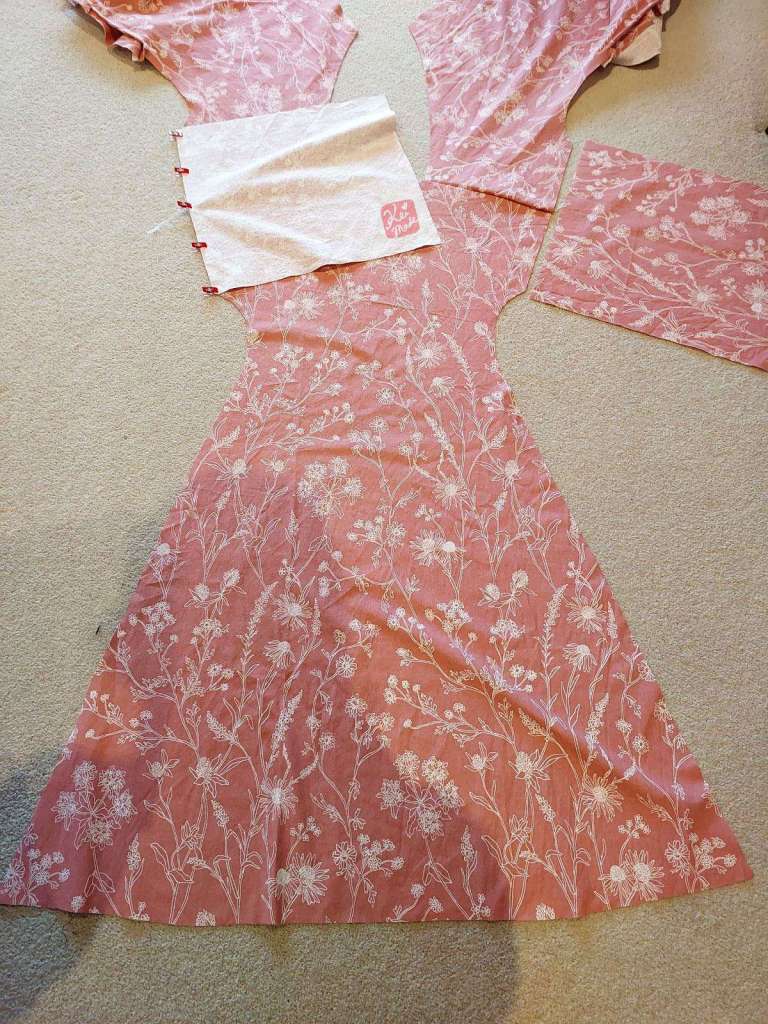
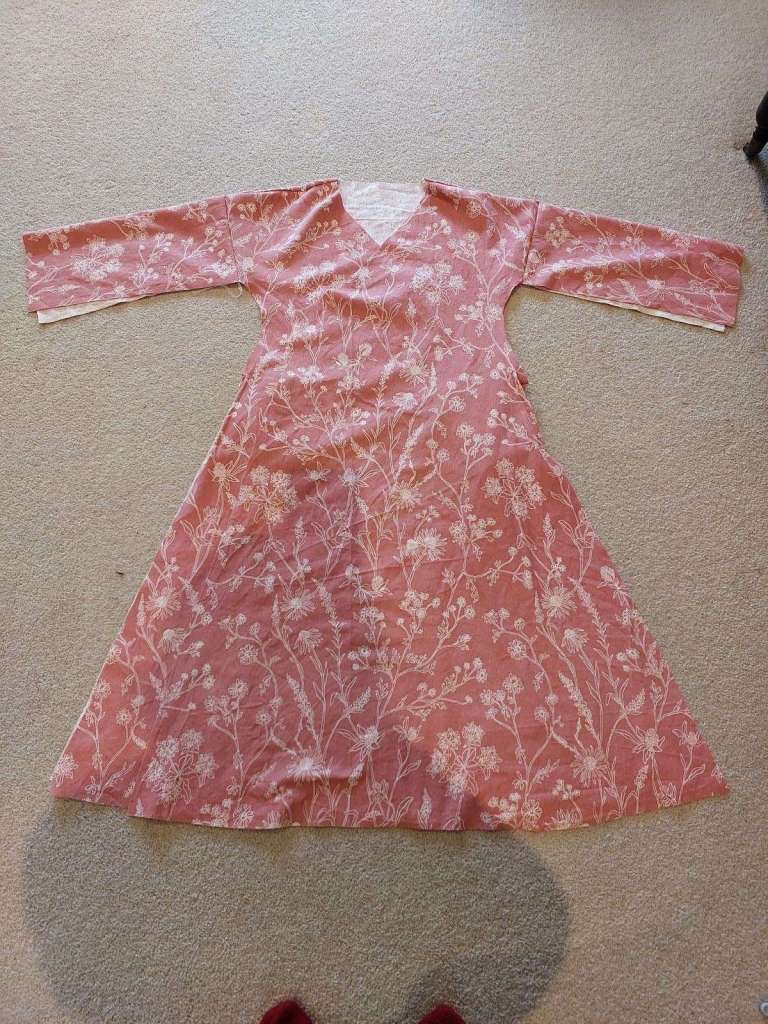
Open up the dress vertically over the shoulders, and sew the sleeve on by serging along the red clips below. Do the same for the other sleeve.

↑ You can buy Spitz merch to support my blog ↑
Sew down the sides
Now we’ll sew all the way down the sides – from the end of the sleeve to the hem of the skirt.
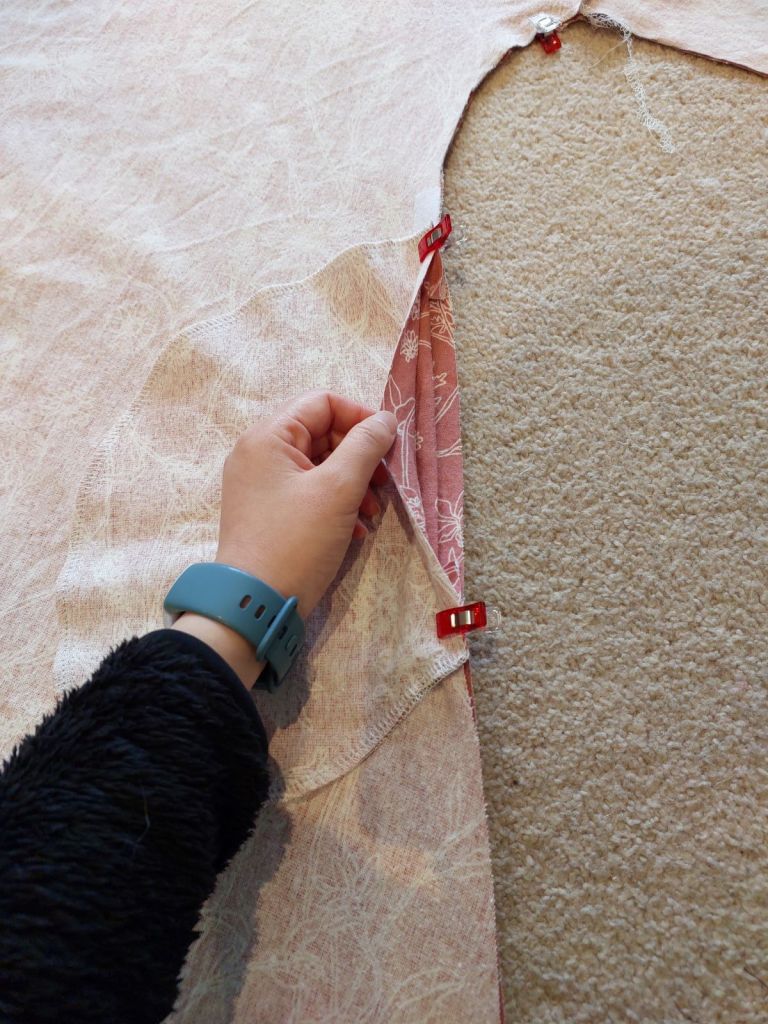
We’ll start with the right side (the side that doesn’t need a tie ribbon). Serge together all the way down – inside out – along the red clips, watching not to serge the pocket closed.
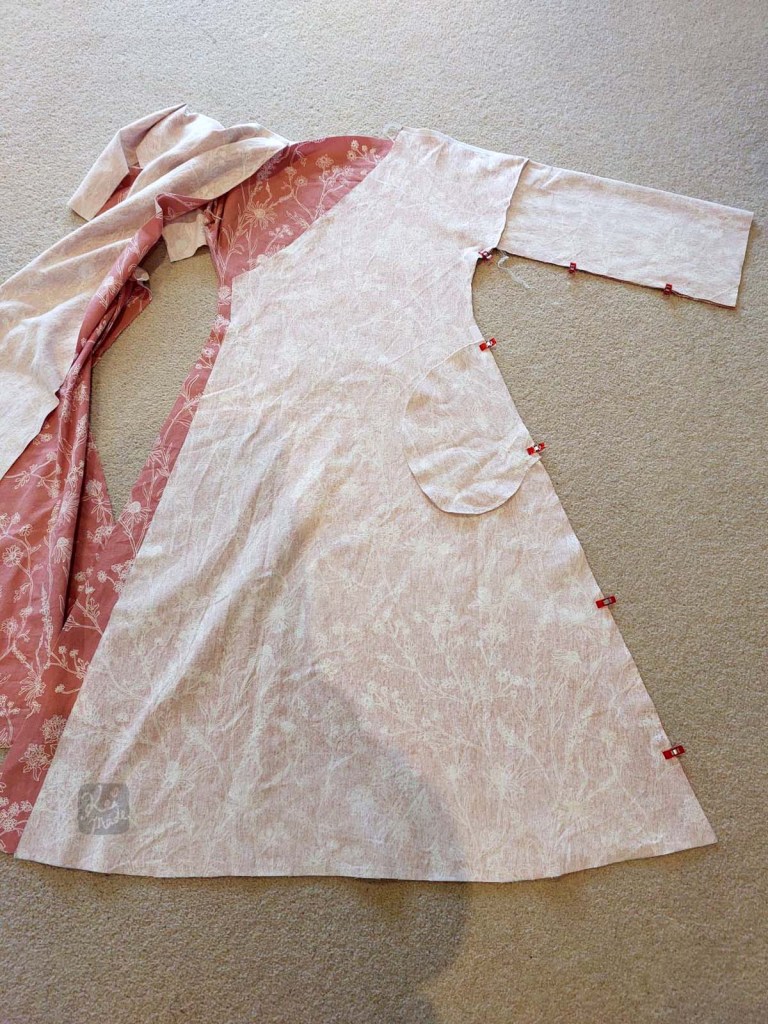
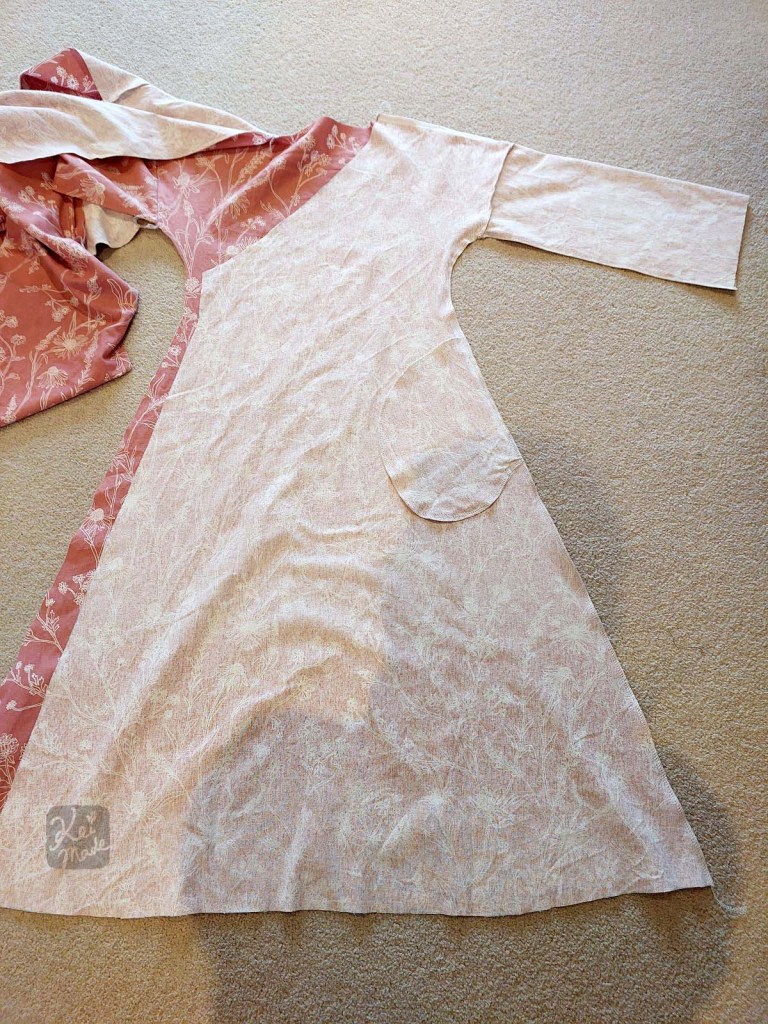
Feeling the pocket opening when sewing helps not to sew the pocket shut.
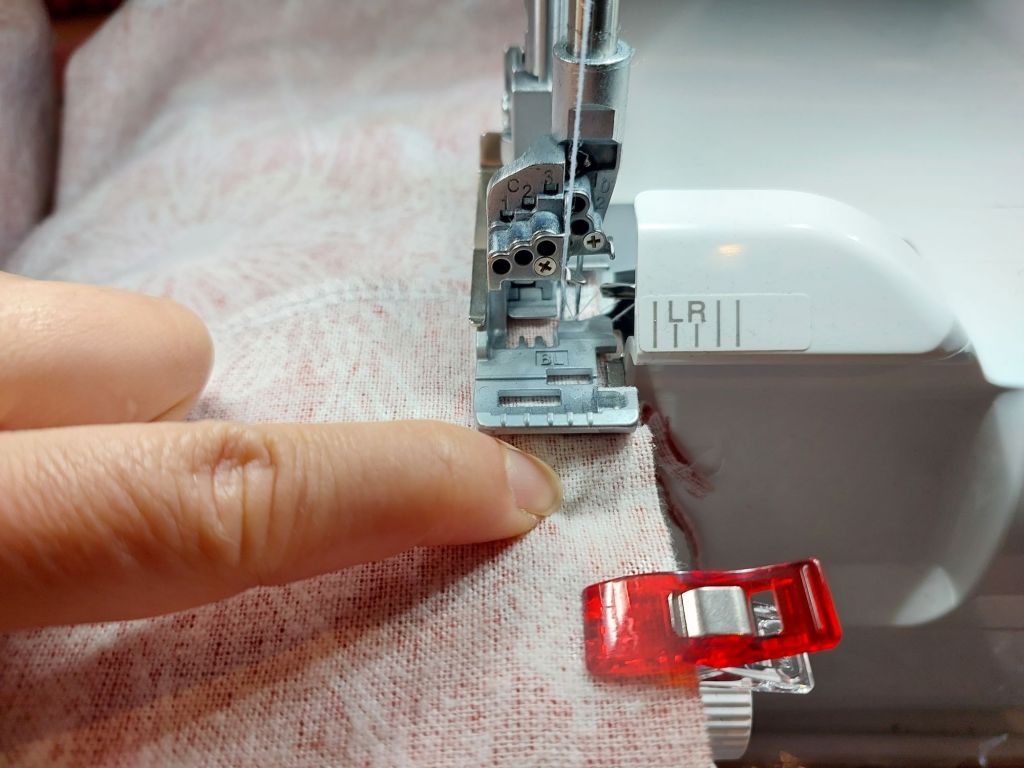
When sewing down the left hand side of the dress, insert one of the tie ribbons at waist height point it towards the middle of the dress.
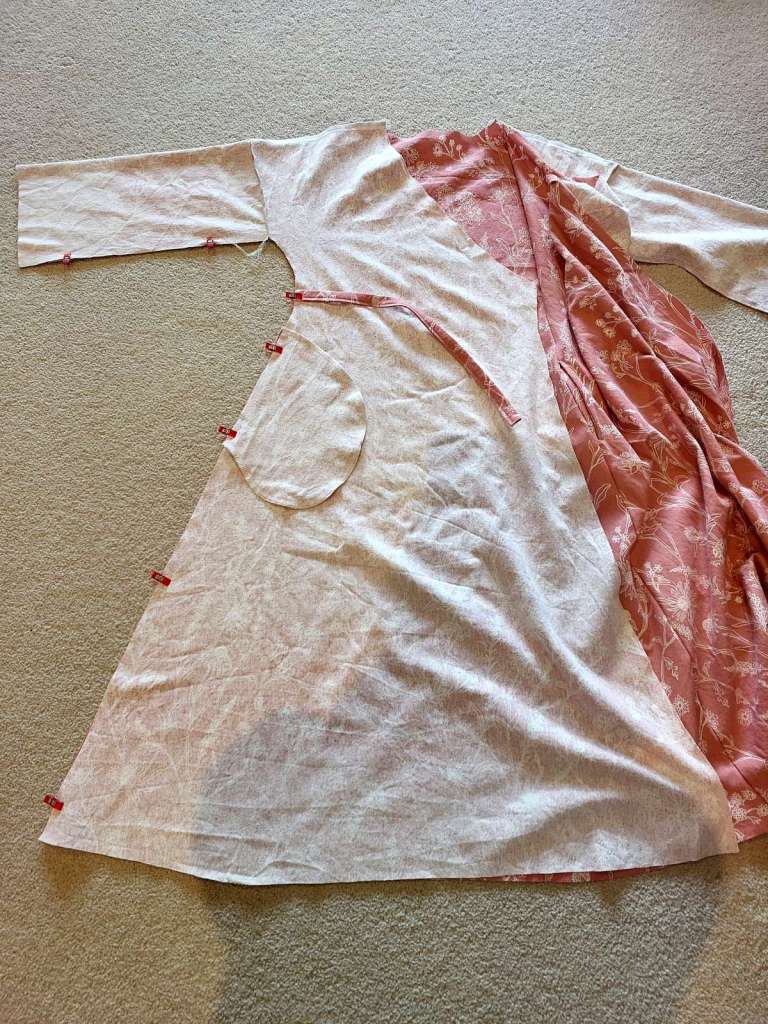
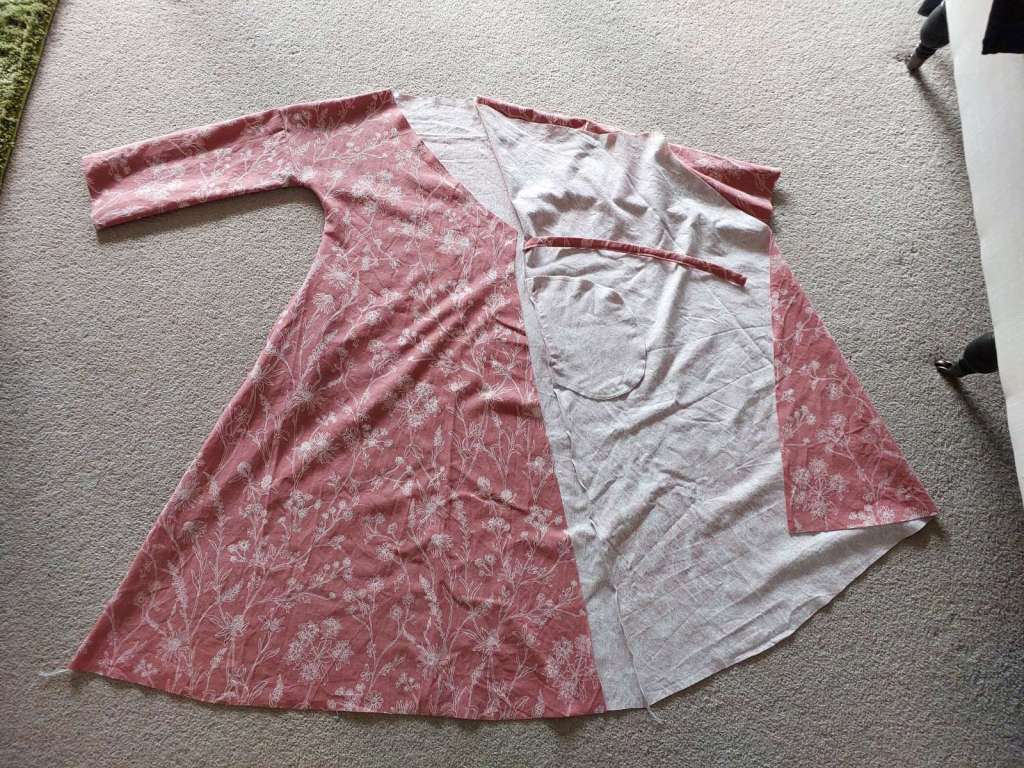
It’s looking like a dress now – and pockets are working!
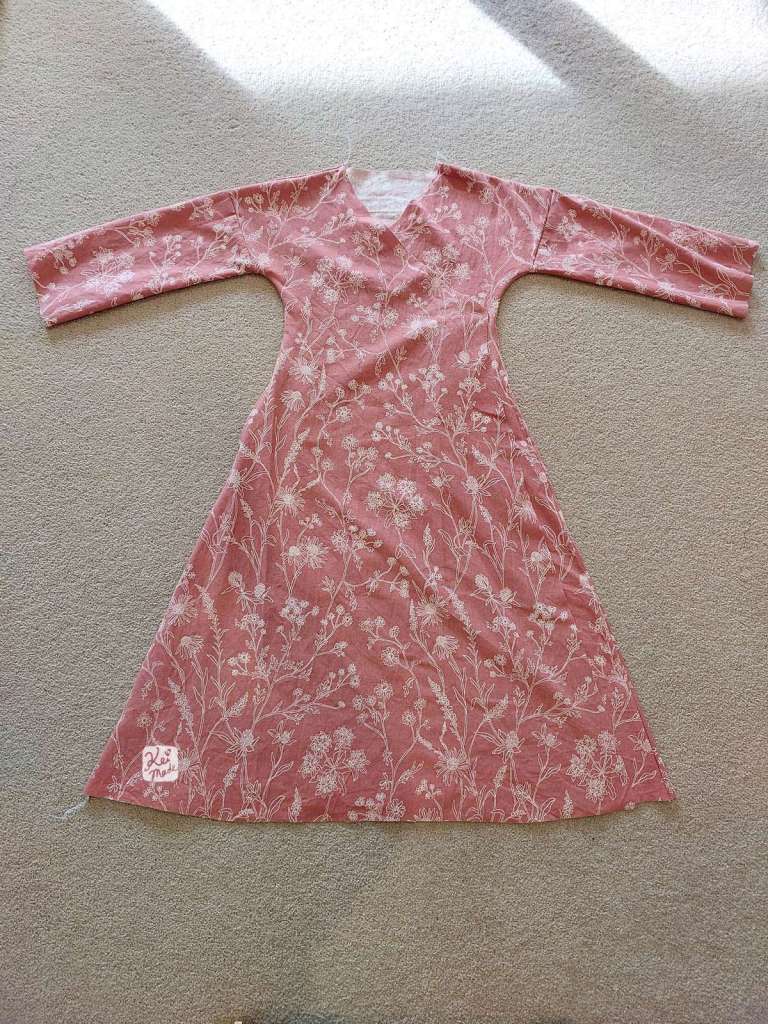
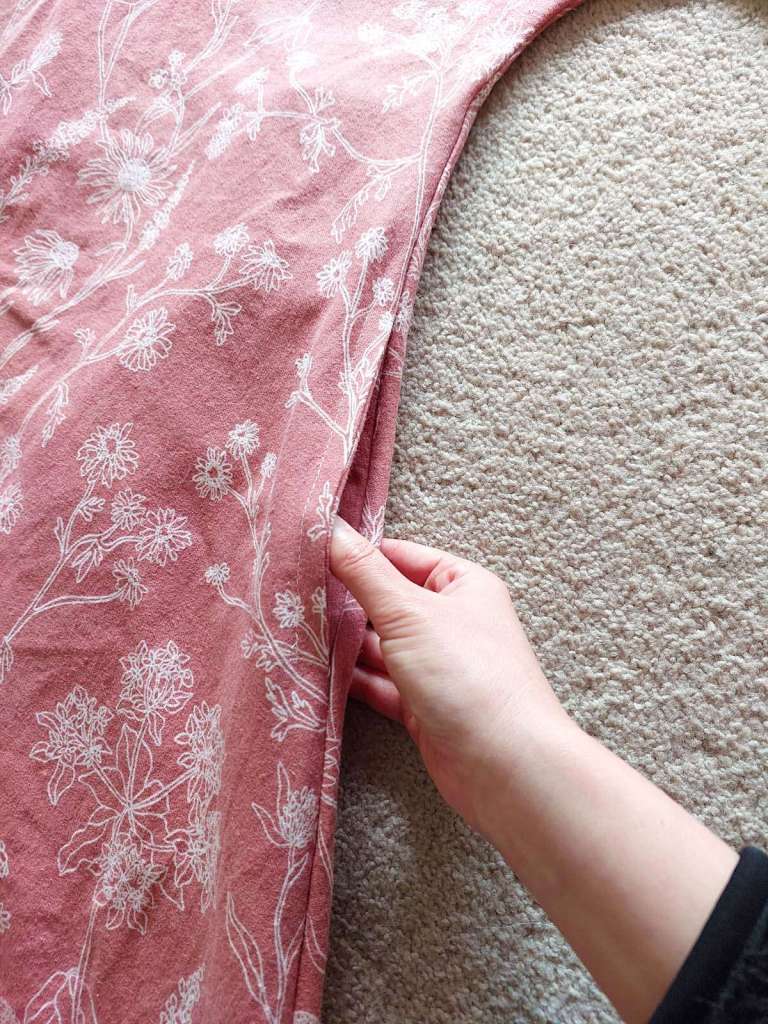
Now’s a good time to try it on to check the sizing and length of the dress… and have a cuppa or call it a day!
Serge down the front of the dress
Serge downwards from just below the front collar to the hem – singularly – to close off the raw seam along the front skirt.
When serging down the right side, insert the other inner tie ribbon at waist height, facing outwards.
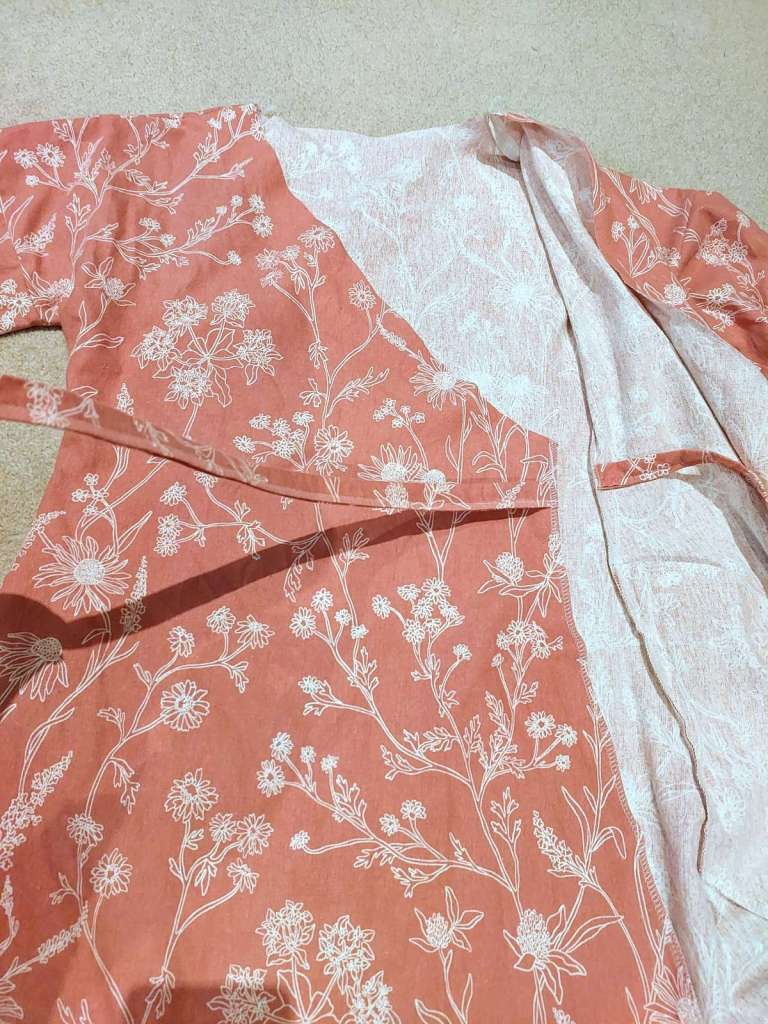
Attach the collar facings
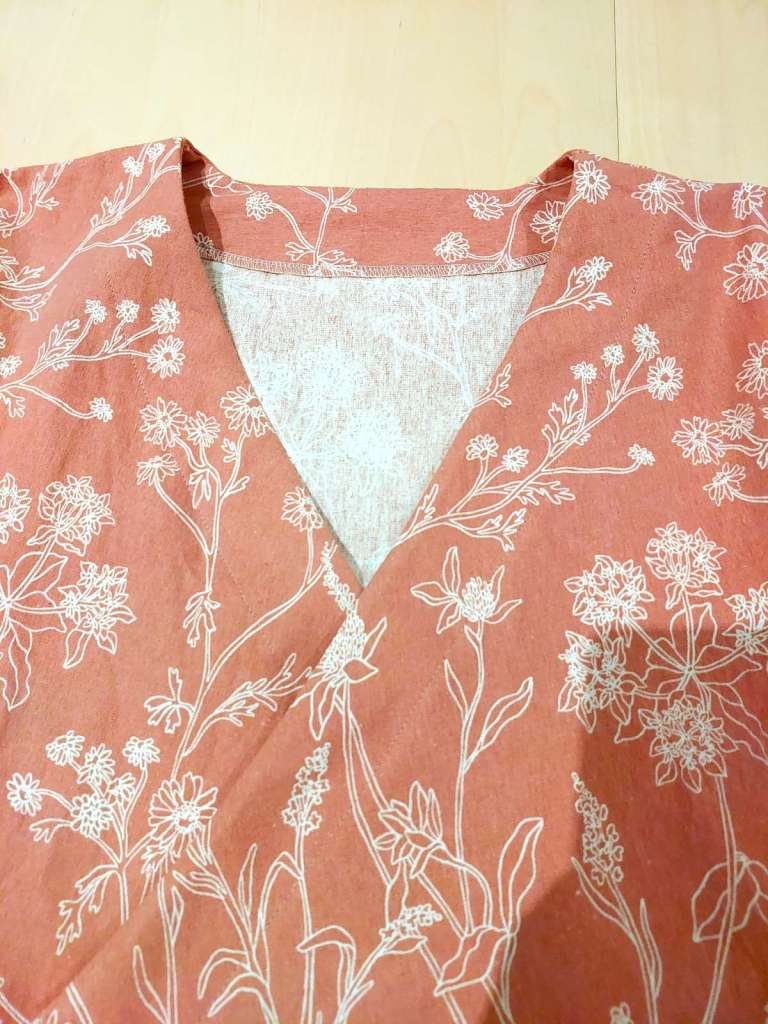
If you’ve tried the dress on and there are no changes needed to the collar shape, it’s time to finish off the collar.
Sew the collar facing pieces together (along the red clips), and serge around the outer perimeter.
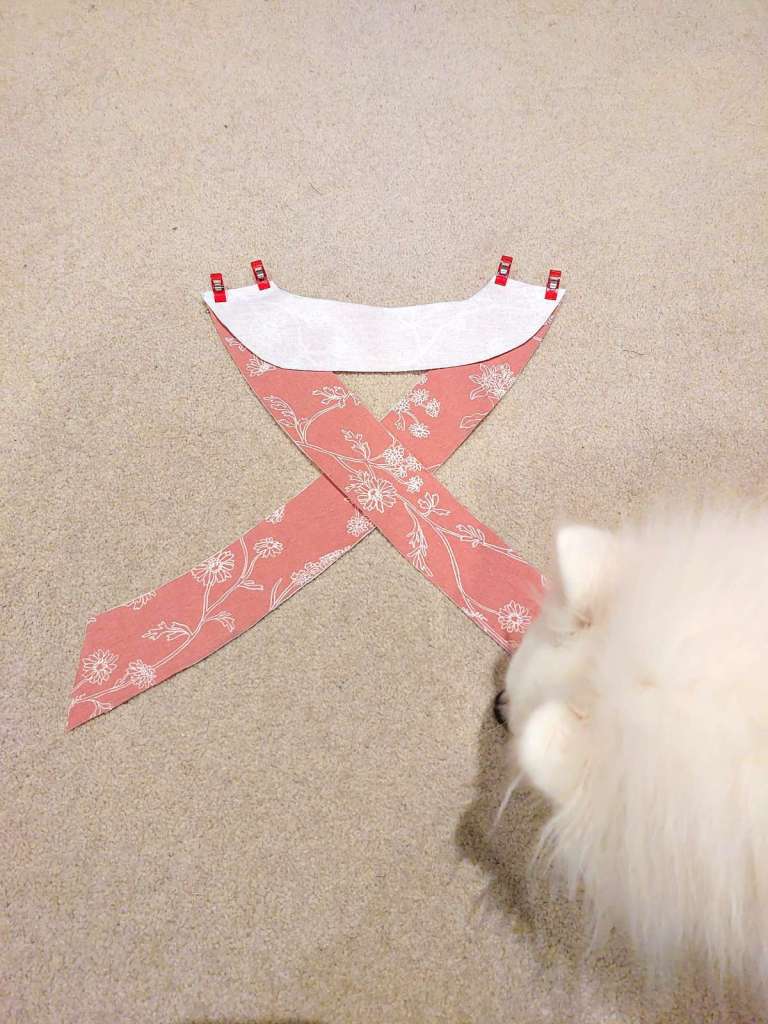
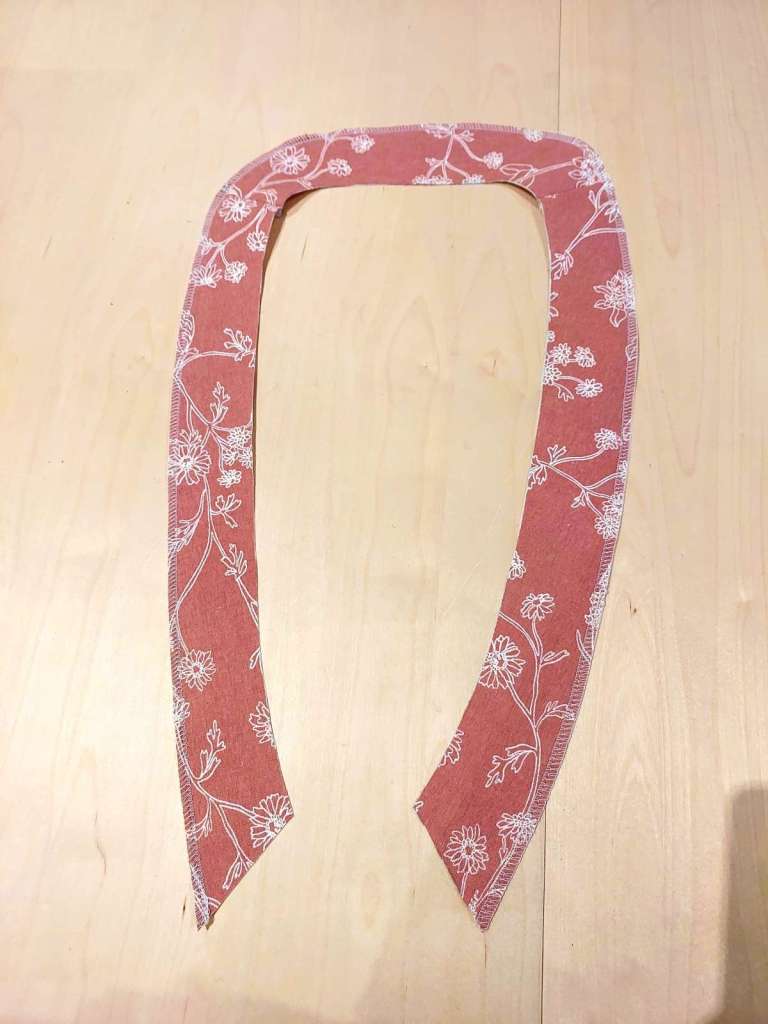
Align it with the dress collar, inside out, and sew along the red clips with a normal sewing machine.
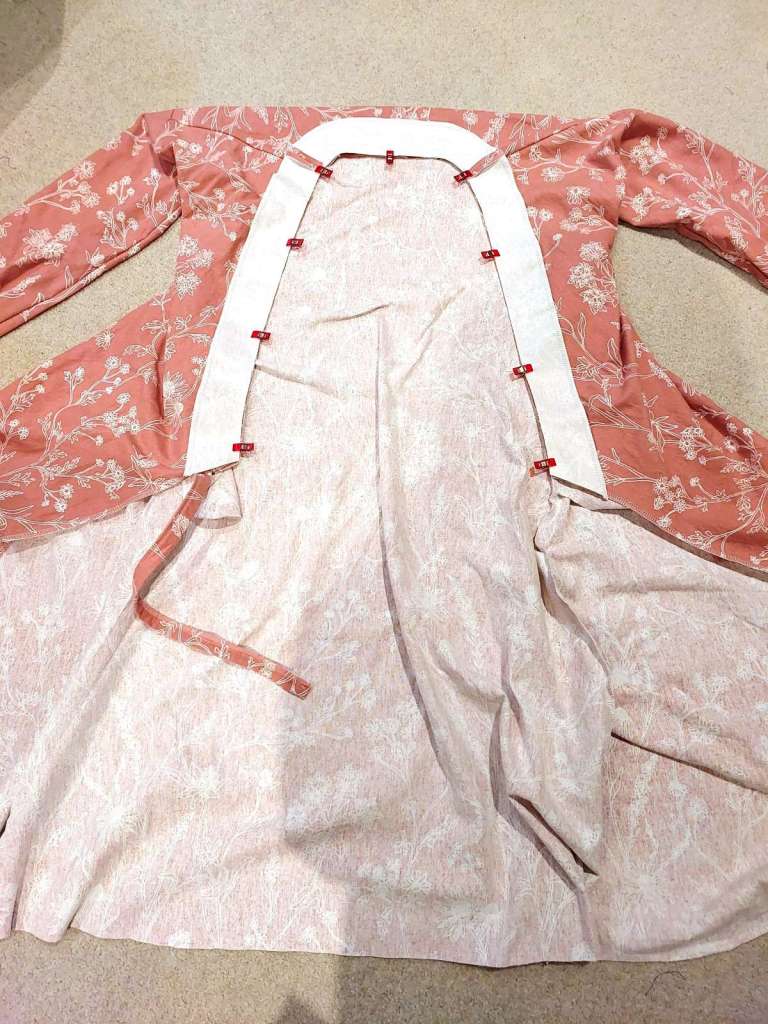
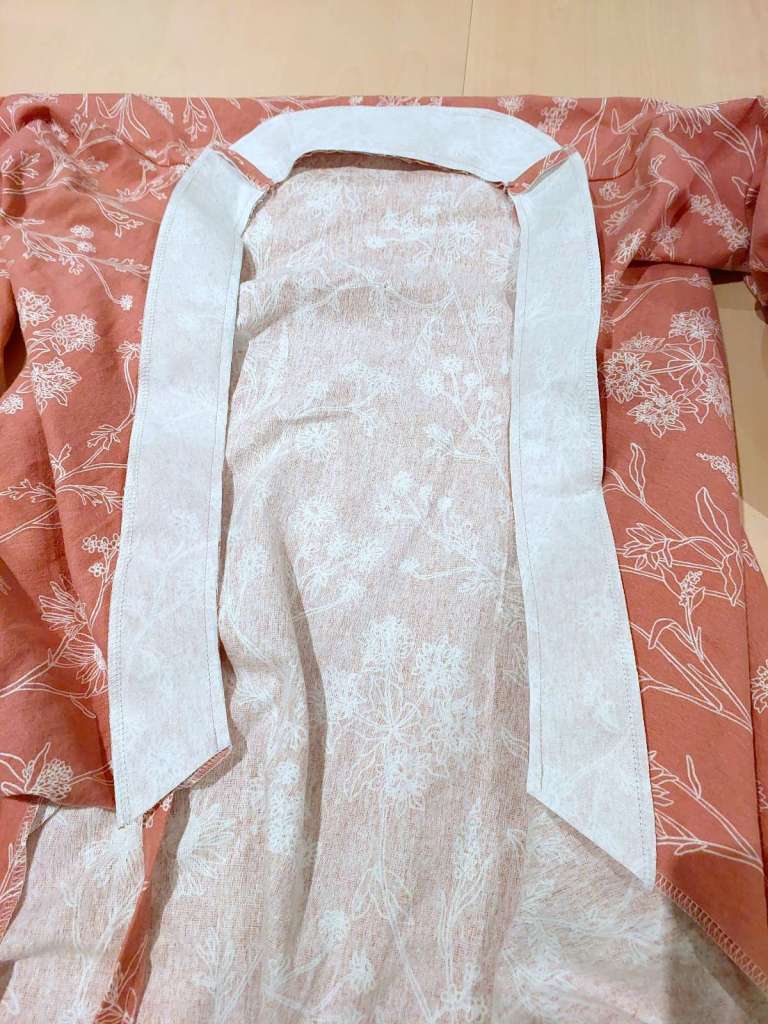
Cut little slits where there is a curve, then fold the collar in, right way out.
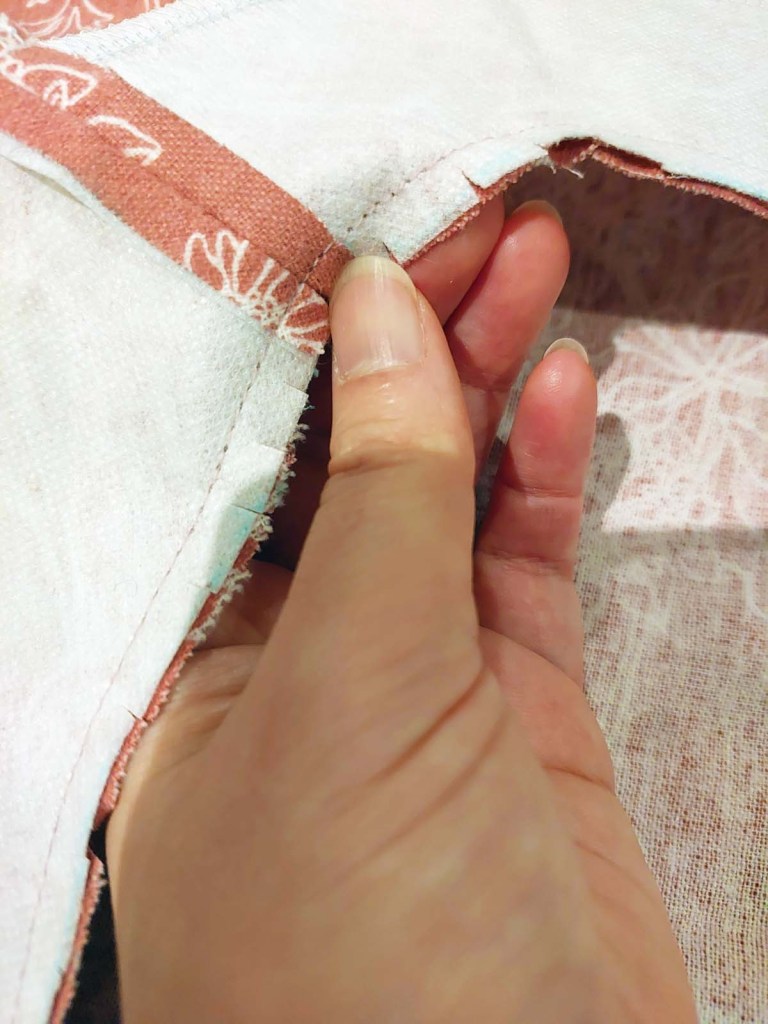
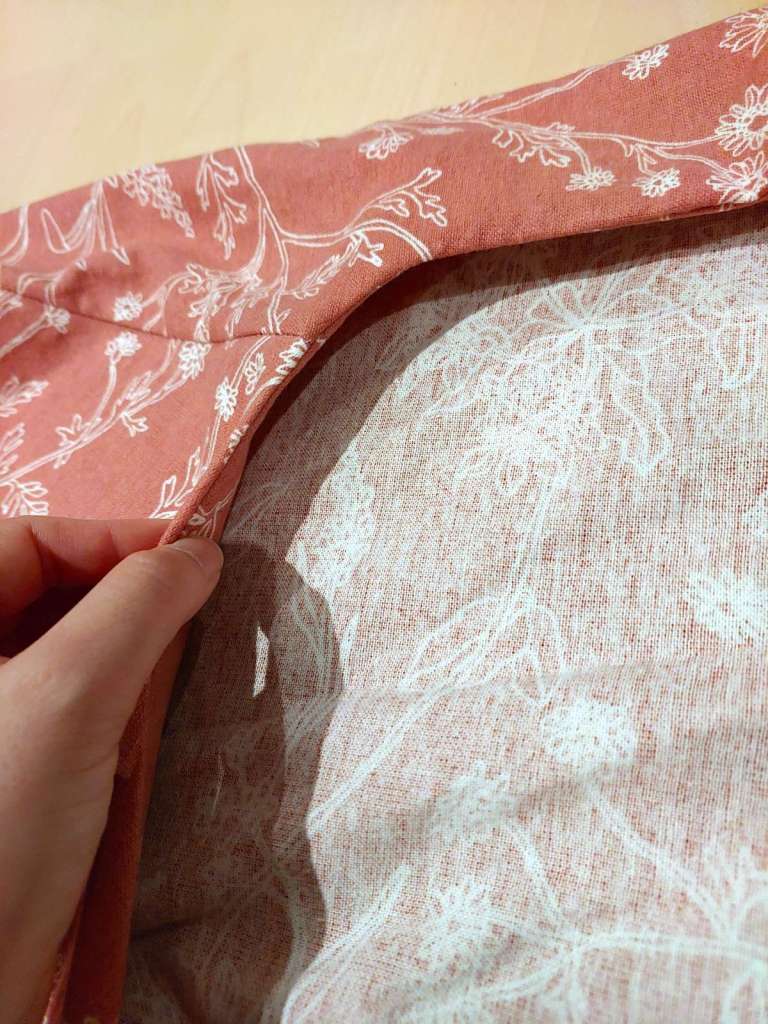
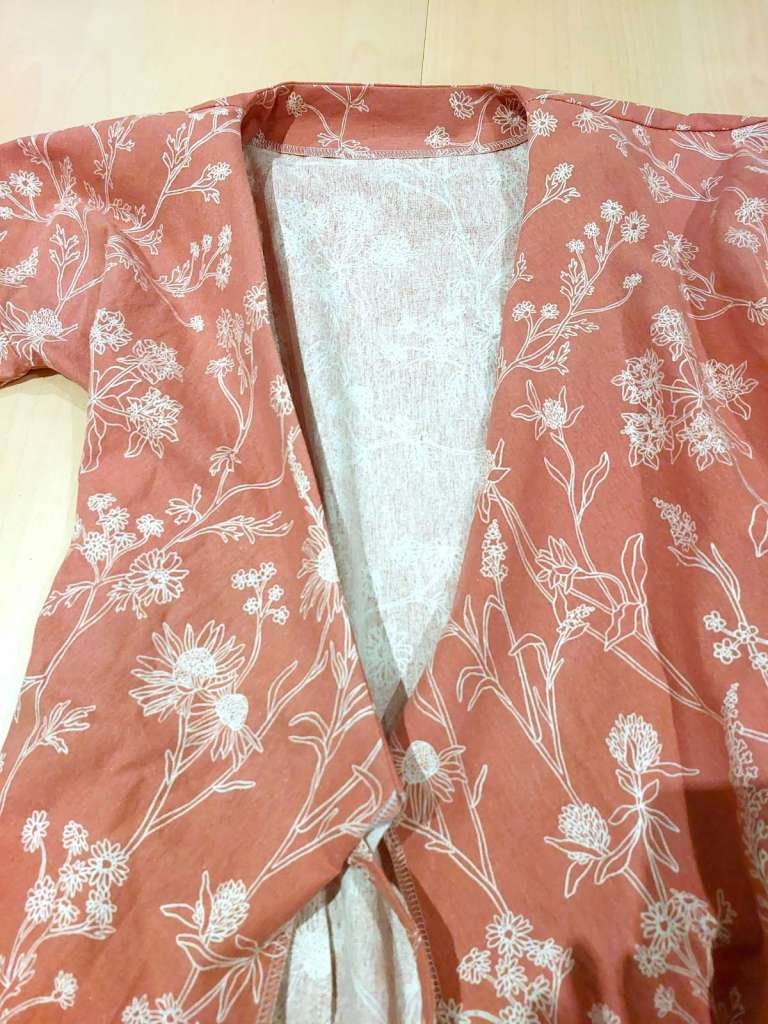
Make a crease or iron along the folded edge, then sew along the outer perimeter of the collar facing to secure it in place.
Make the cuffs
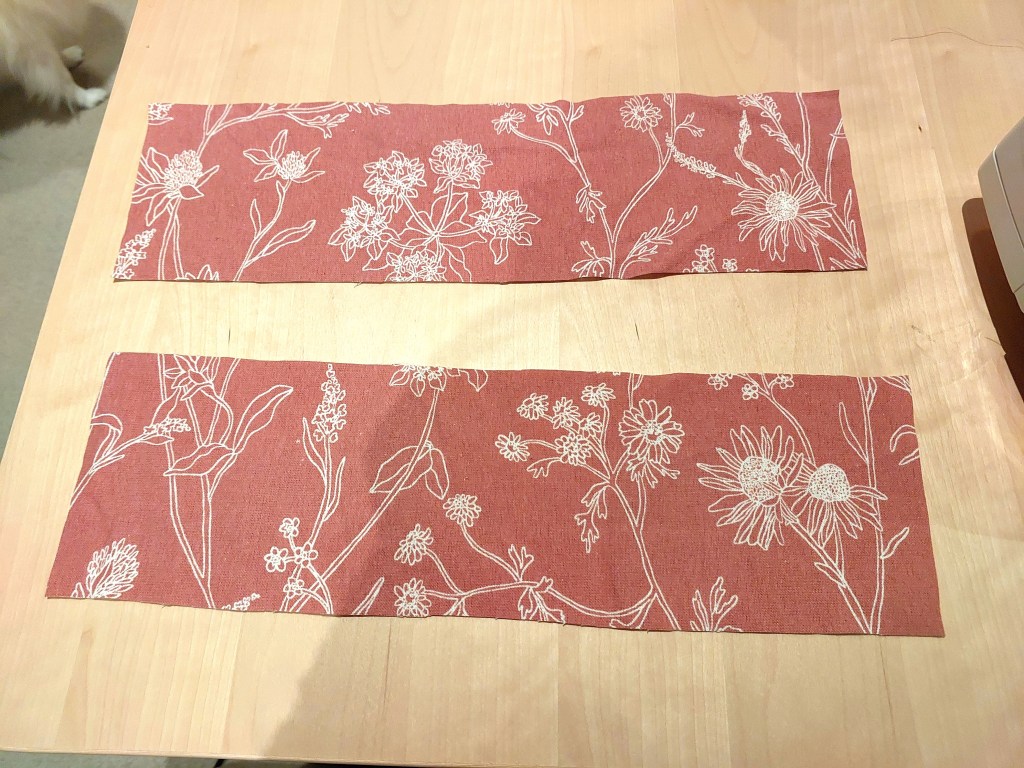
Try the dress on to check the length of the sleeves. We’ll be adding elasticated cuffs, so…
- If it sits just past your wrist, then continue with the cuff dimensions in the blueprint.
- If it sits shorter, lengthen the width of the cuff fabric.
- If it sits much longer past your wrist, then cut the sleeves of the dress down.
Once you have the final cuff fabric size, fold the cuff in half (inside out) to sew it into a loop. Sew about 1cm, then keep a space for elastic to be inserted inside, then sew down all the way.

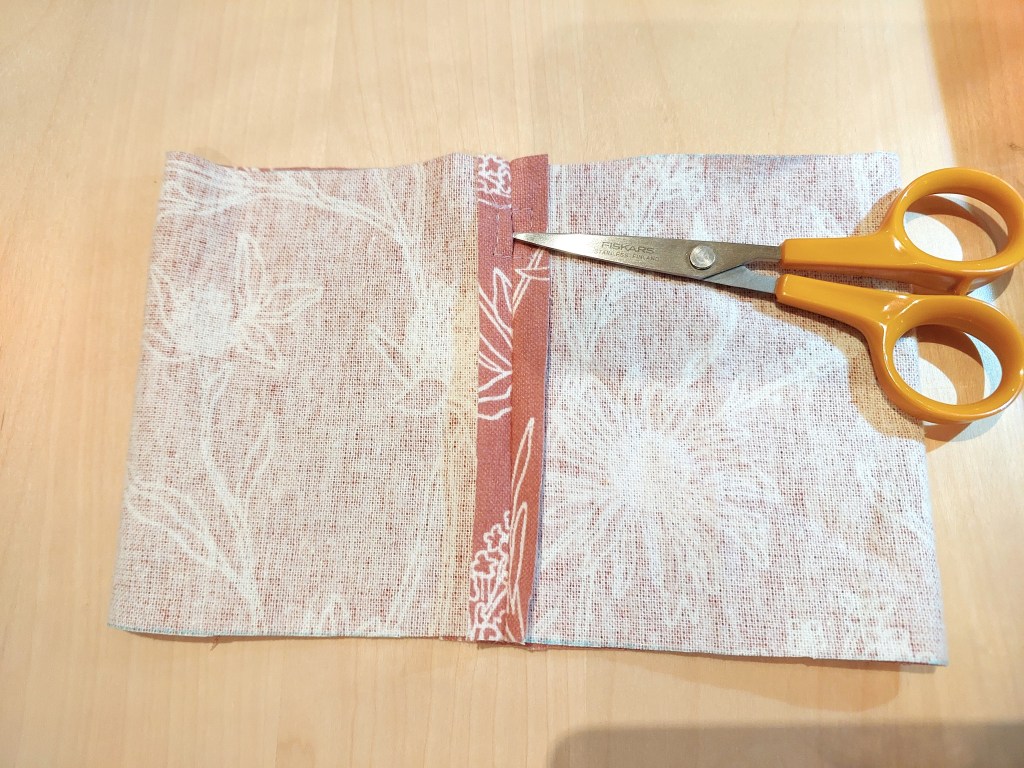
Open up the seam, then sew a rectangle around the elastic hole.

Fold the cuff so it’s right way out, then sew in the round to make the elastic casing. (These cuffs will have frilled cuff ends, so the stitches were sewn where the finger’s pointing below.)
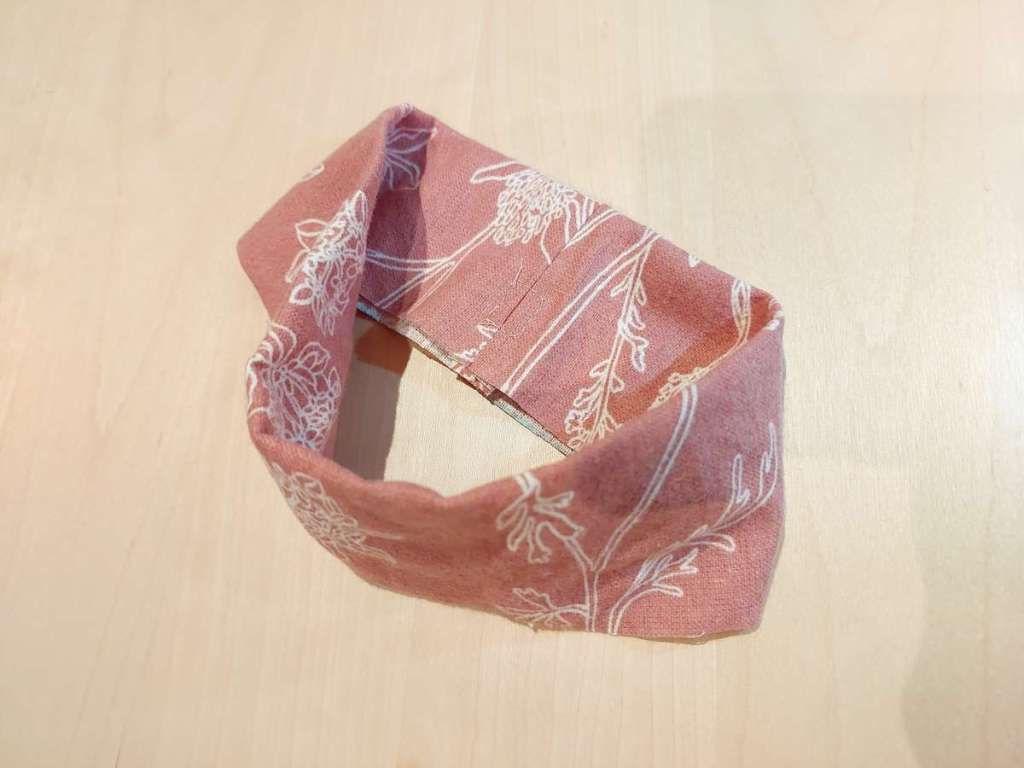
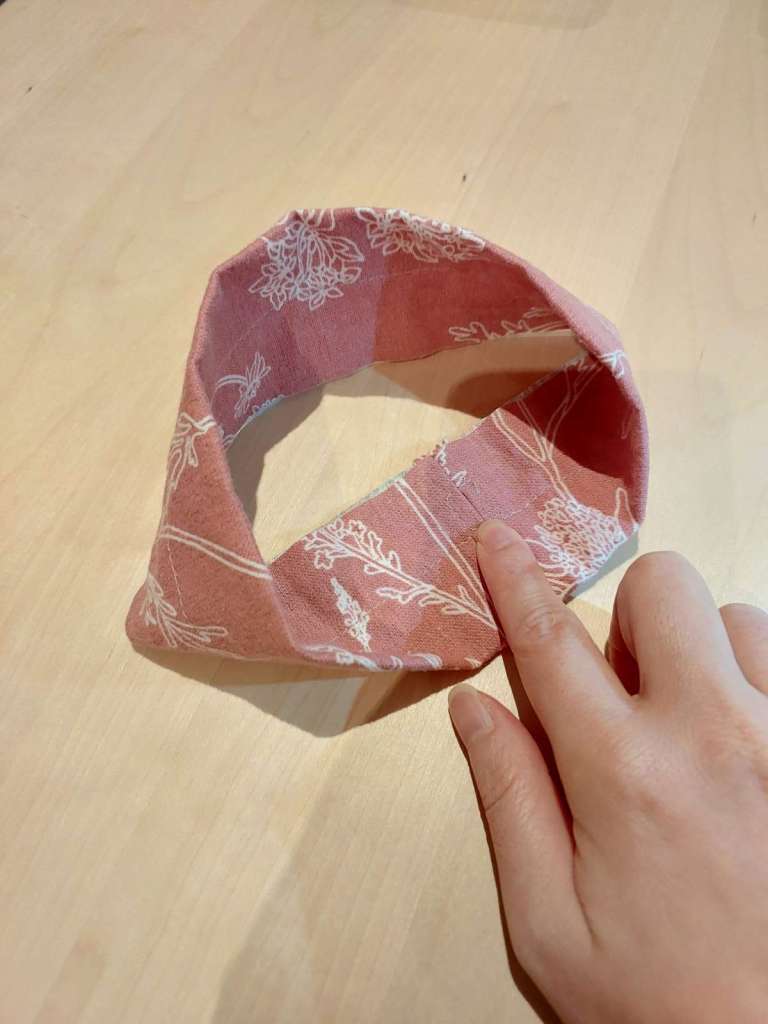
The casing is a finished one, with a permanent window where elastic can be inserted, adjusted or swapped out easily!
Attach the cuffs
Place the cuffs inside out, around the sleeves that’s right out way, then serge them together in the round.
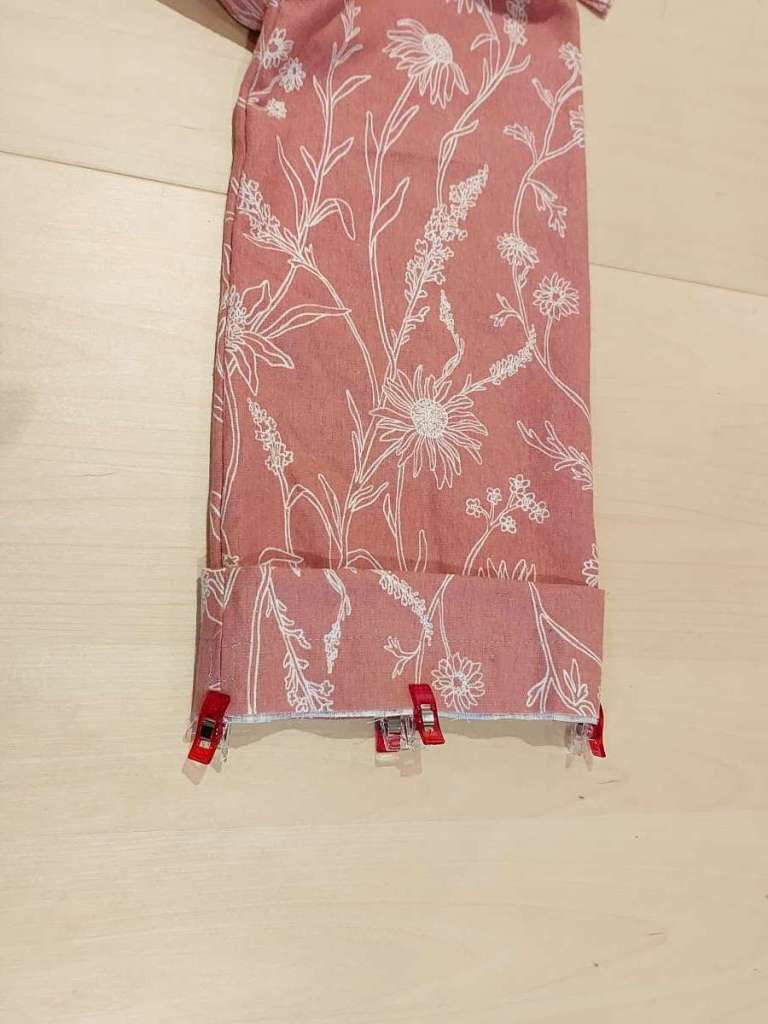
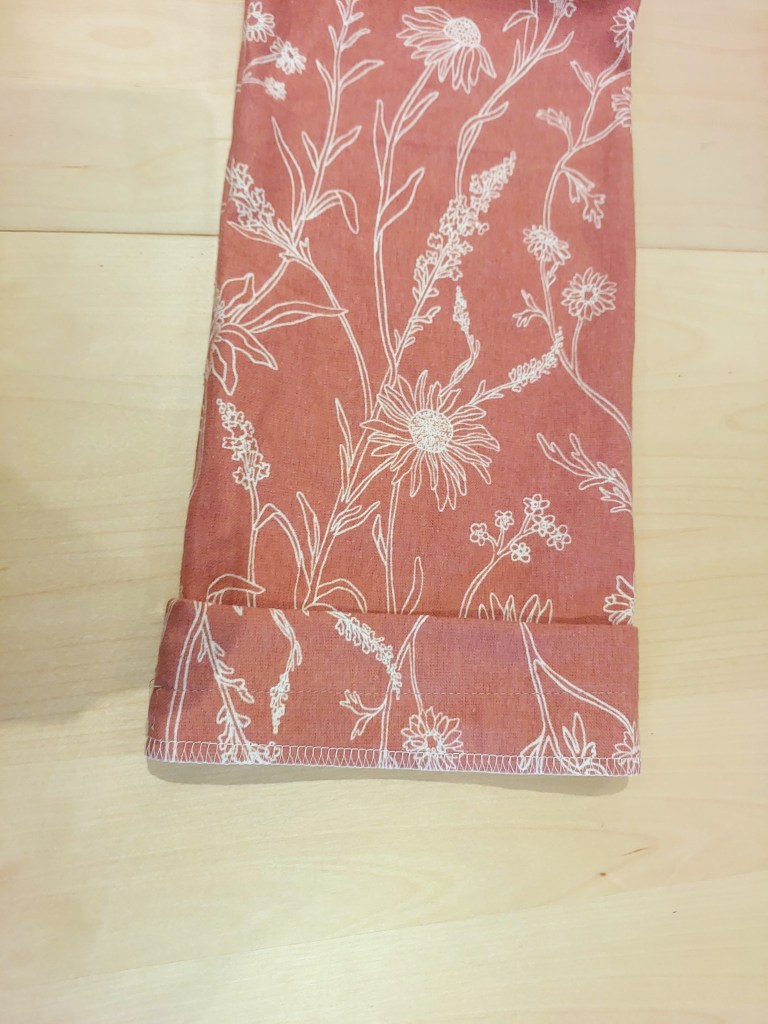
Unold the cuff right way out, and insert 24cm of thin elastic (this one was 6mm wide) through the finished elastic hold, and tie a knot.
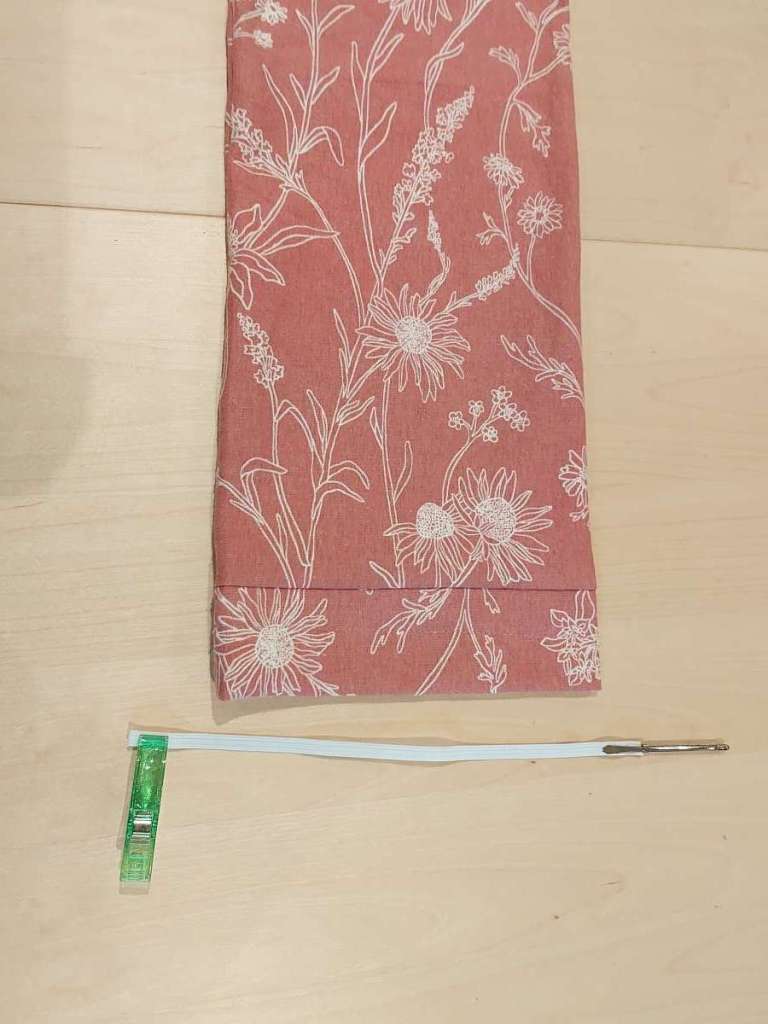

And the sleeves are done!
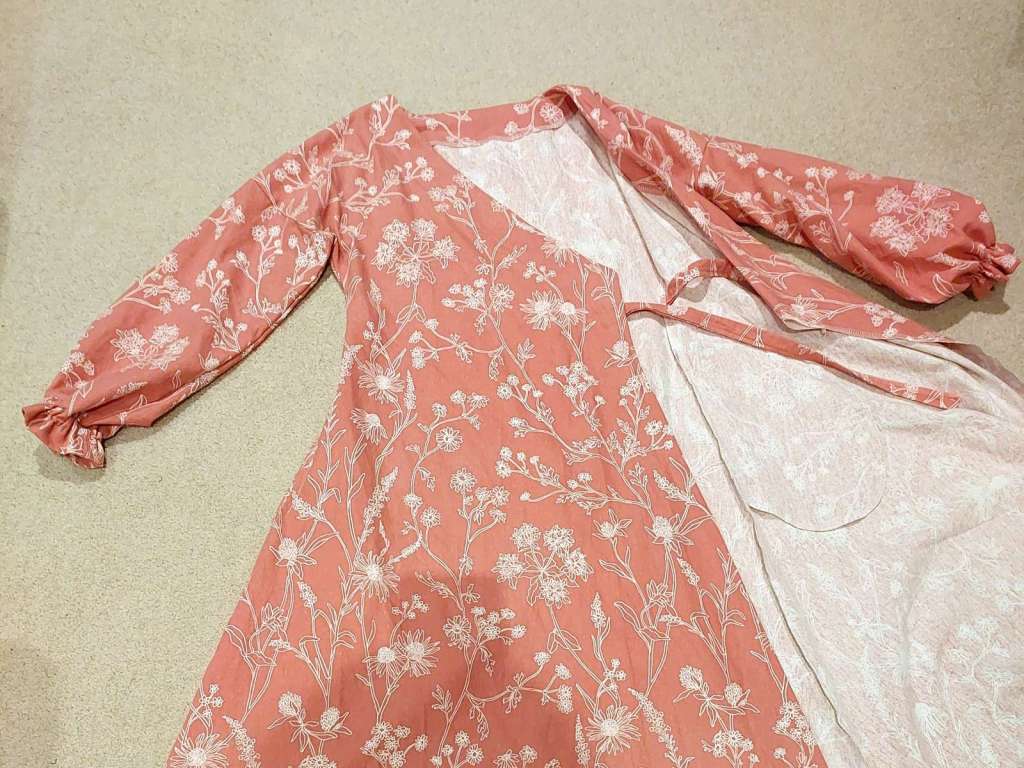
Finish the skirt
We’re almost there!
Try the dress on to do a final check the length and shape of the hem. Make any adjustments as needed by cutting the fabric off the hem – it doesn’t need to be perfect as it’ll get cleaned up when we serge it.
In my case, the overall length was great, but I trimmed the front skirt edges diagonally upwards by 6cm. This way, when it was wrapped around me the ends didn’t hang lower than the hem line.
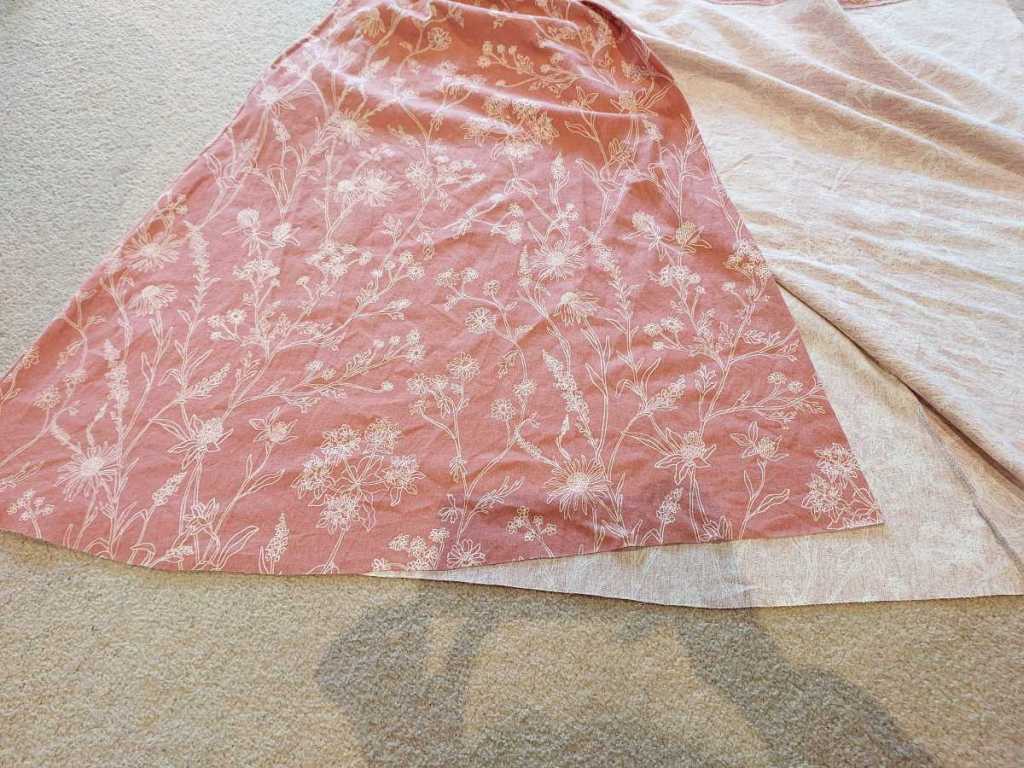
To finish off the front of the dress, fold the front vertical edges by about 2.5cm, and sew all the way down (along the red clips).
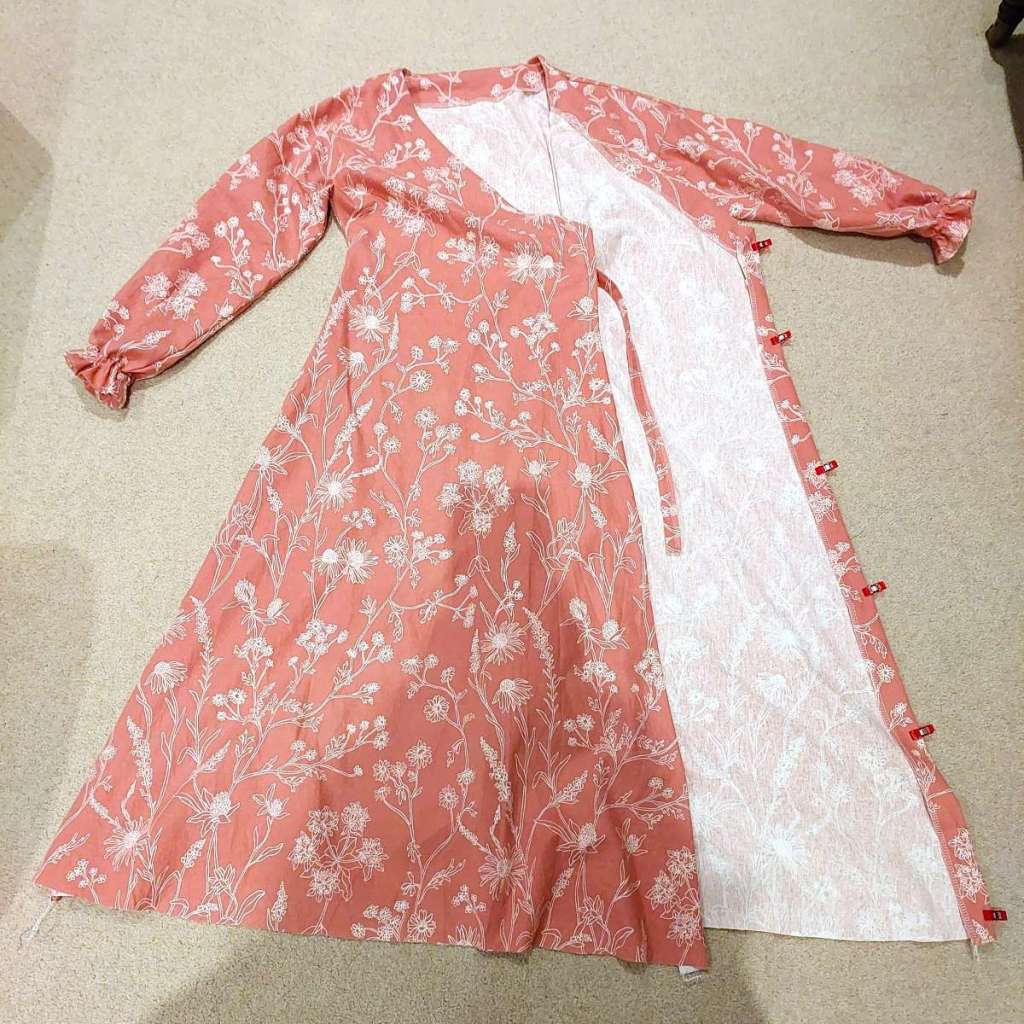
Do this on both sides. The ribbons will now face inwards rather than outwards; add reinforcing stitches to secure the ribbons.
To finish off the hem, there are a few options:
- serge the hem, then fold it up once and sew along the hem; or
- fold it up twice and sew along the hem; or
- sew a rolled hem;
I simply serged the hem with a narrow overlock with a narrow stitch width for now; I’m waiting for my matching roll hem thread. Although, I might leave it as is, as it matches the waist ribbon coming up below.
Before we get to the last step though, let’s finish off the pockets by reinforcing the pocket opening with extra stitches.

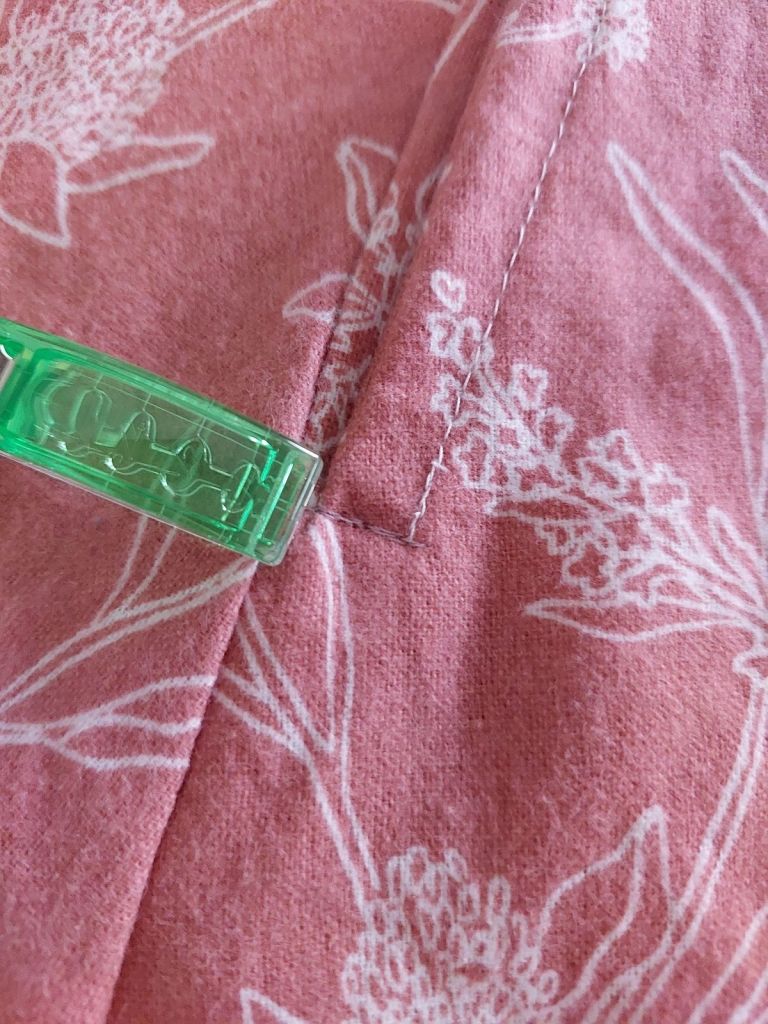
Add the waist ribbon
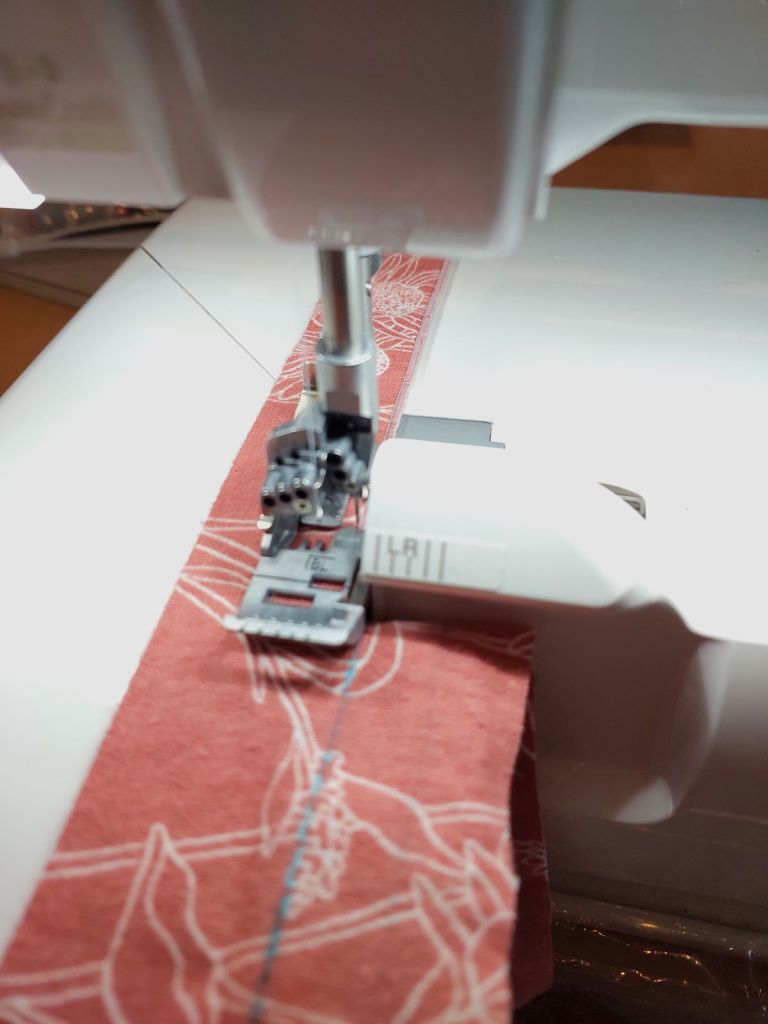
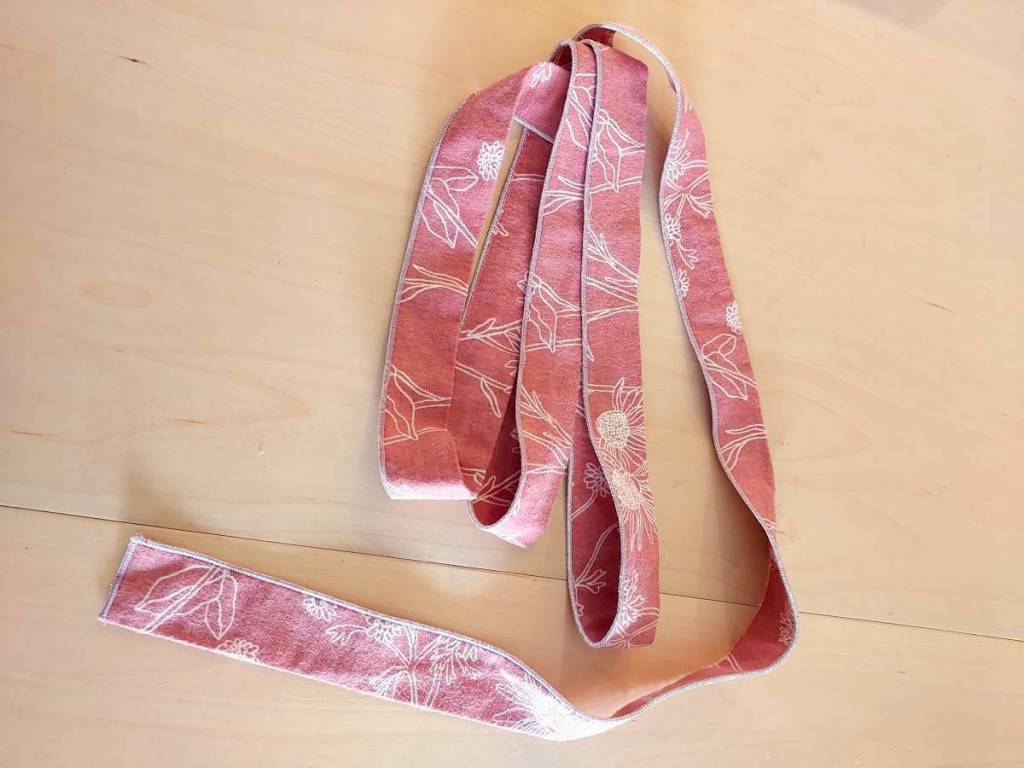
First, we need to make the waist ribbon. Instead of sewing 2m of thin tube inside out (which would be a nightmare to turn right way out and make it look neat once turned over), I decided to serge a narrow overlock stitch along the outside of the folded ribbon fabric, right way out.
Before sewing the ribbon all the way around the dress, let’s tack it in place. Place the ribbon at waist height, then sew along the dress side seams.
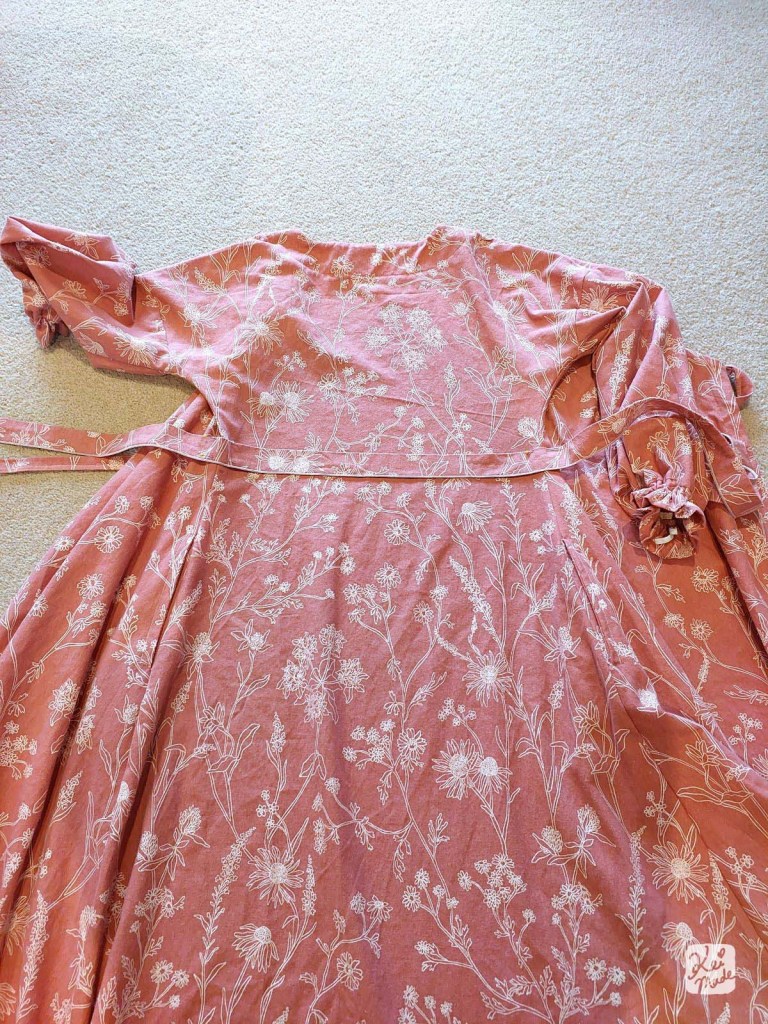
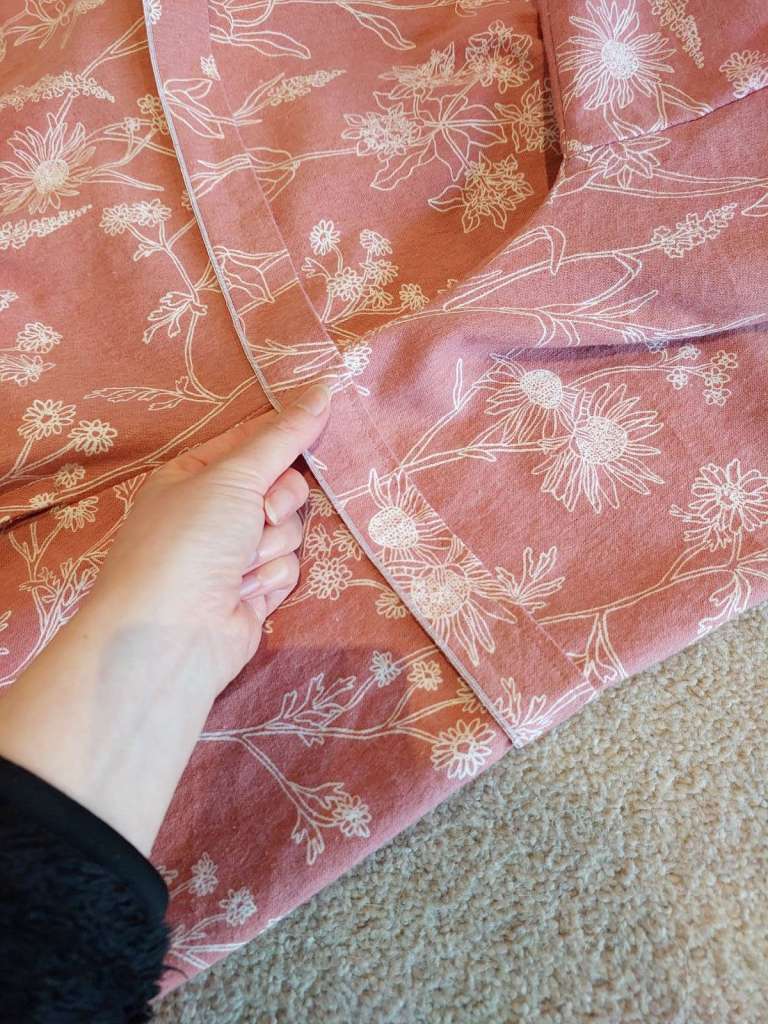
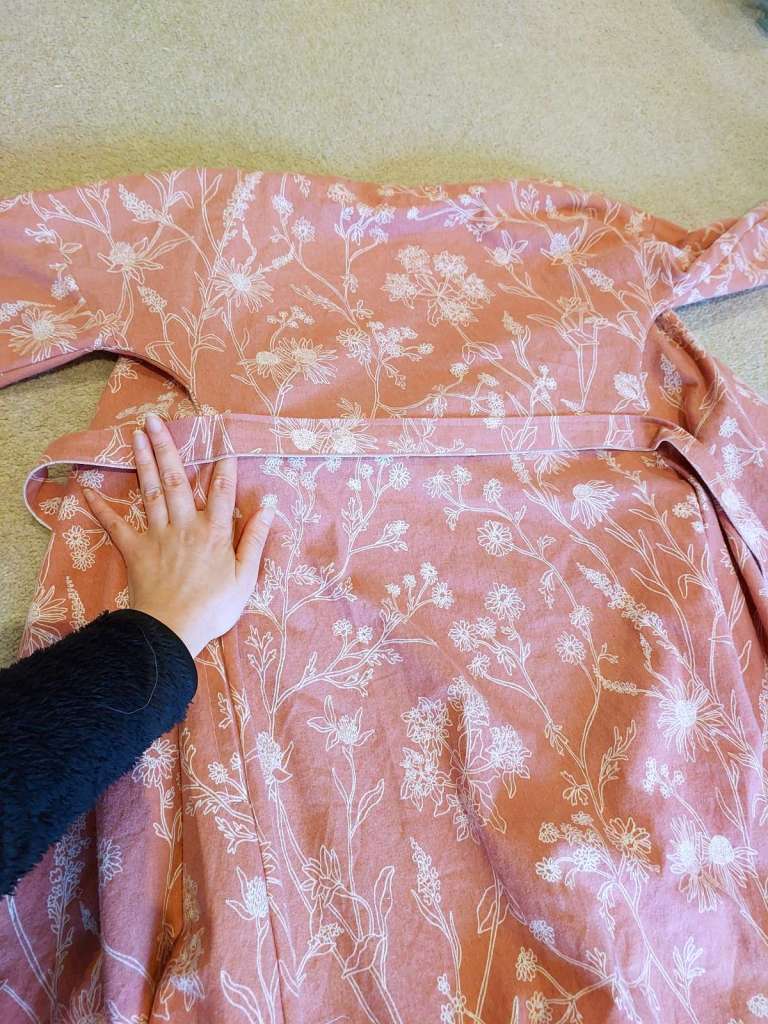
Now it’s a easier to secure the ribbon in place. Sew along the top of the ribbon, from the right waist around to the front dress edge. (Sew only along the two outer dress panels, so the ribbon can be tied at the right of your waist.)
And, finally, reinforce the ribbon at the edge of the dress by sewing a rectangle.
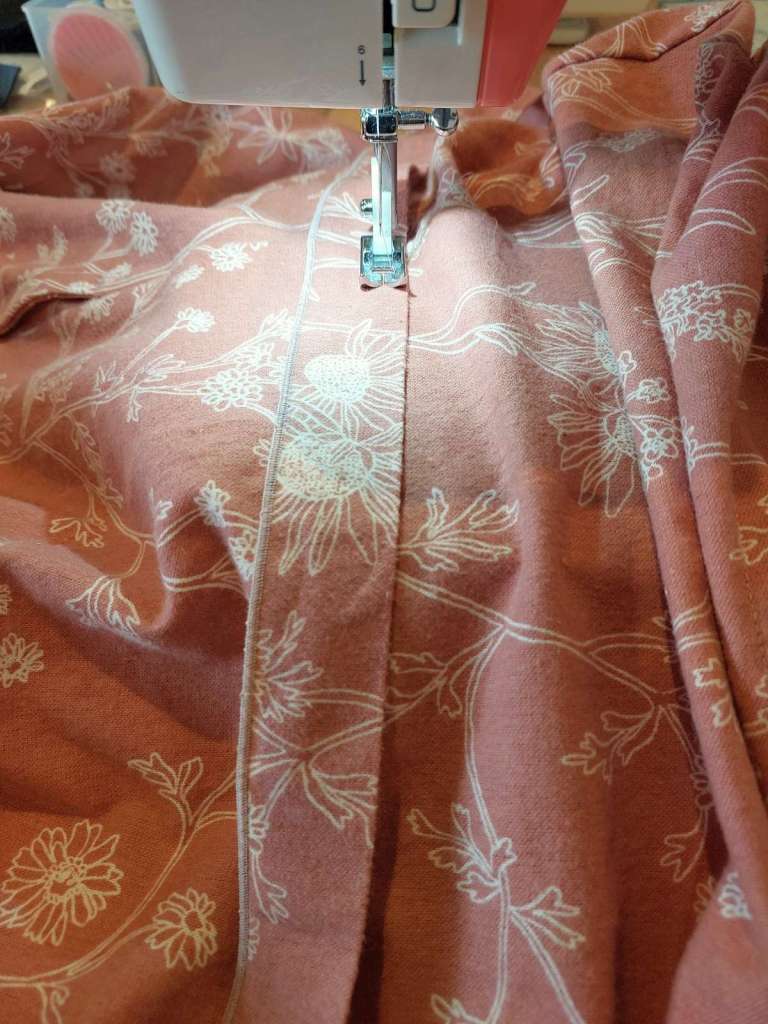
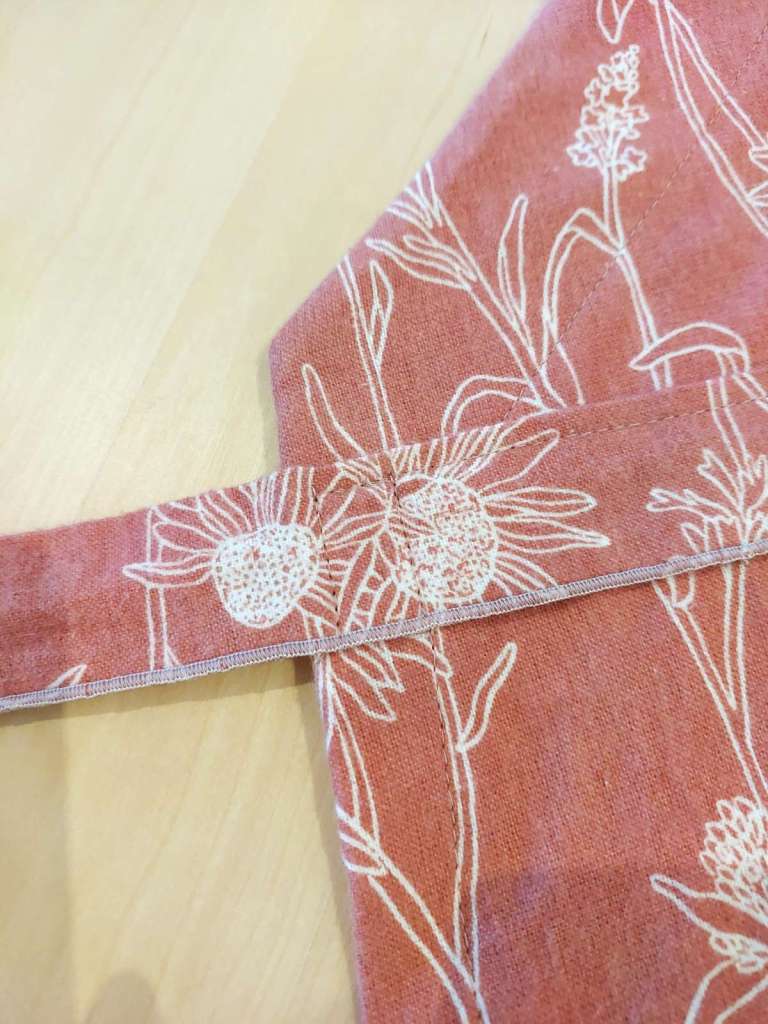
And we are done!
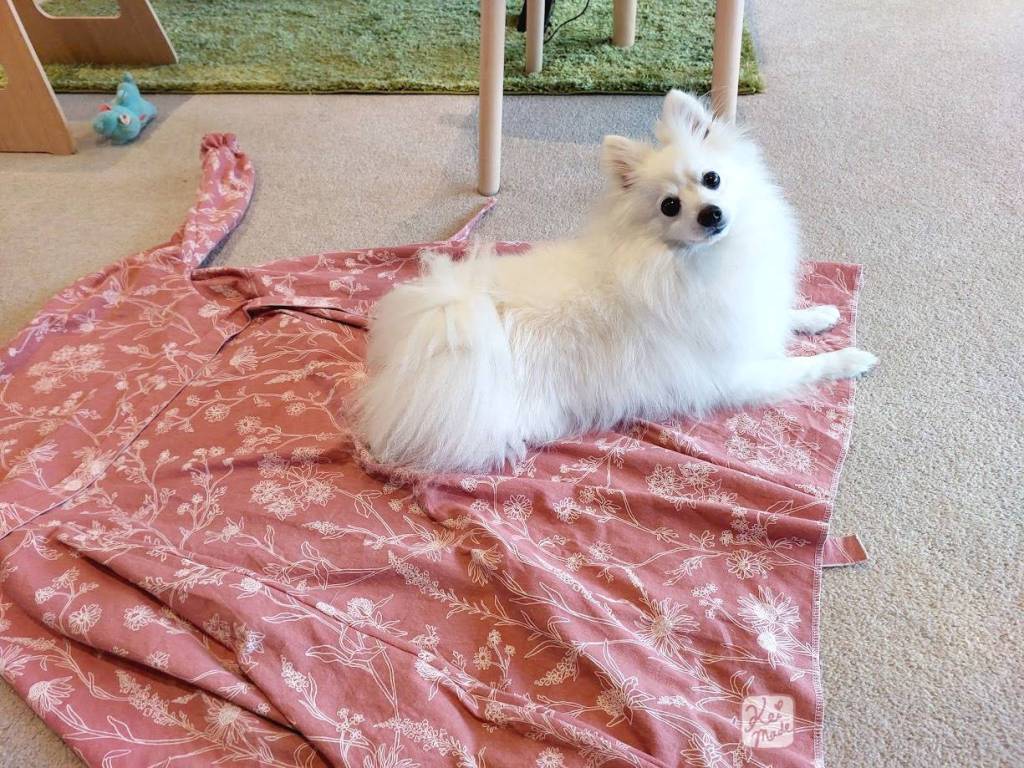
(This little fluffy puppy came over to remind us to grab a cuppa.)

Wrapping it up
I just couldn’t go without the pun! But now we have a pretty wrap dress – with pockets 😀
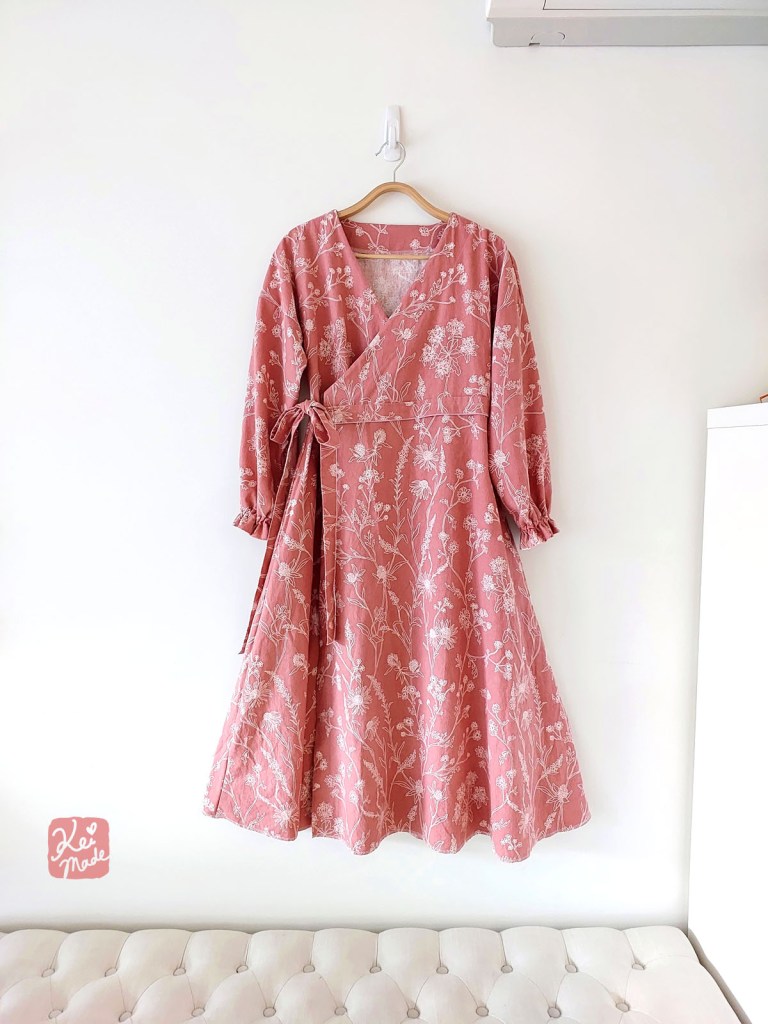
This is version 3 of my wrap dress series, where the top and skirt were attached as one piece of fabric.
I also have versions where the top and bottom started off separately – with soft pleats added to the skirt – so check it out 🙂

Sewing a Wrap Dress from a Blanket
It’s getting cold; it’s hard to get out of bed to undress, and dress again. What if I could get up, wrap a dress around me like a gown, and go about my day? This was what inspired me to sew a dress out of a queen-size polar fleece blanket from Kmart ($10).…





Leave a Reply