When I purchased my Baby Lock Gloria sewing machine, it came with a bonus 8mm Double Fold Binder. A year later I finally gave it a try. Here’s my experiment log and what I’ve learnt.


This binder seems to have multiple names:
– Knit Woven Double Fold Bias Binder 8mm (on instruction sheet).
– Collarette Binder w/Base 4 ply (on box label).
– Double Fold Knit Binder (on baby lock AU website).
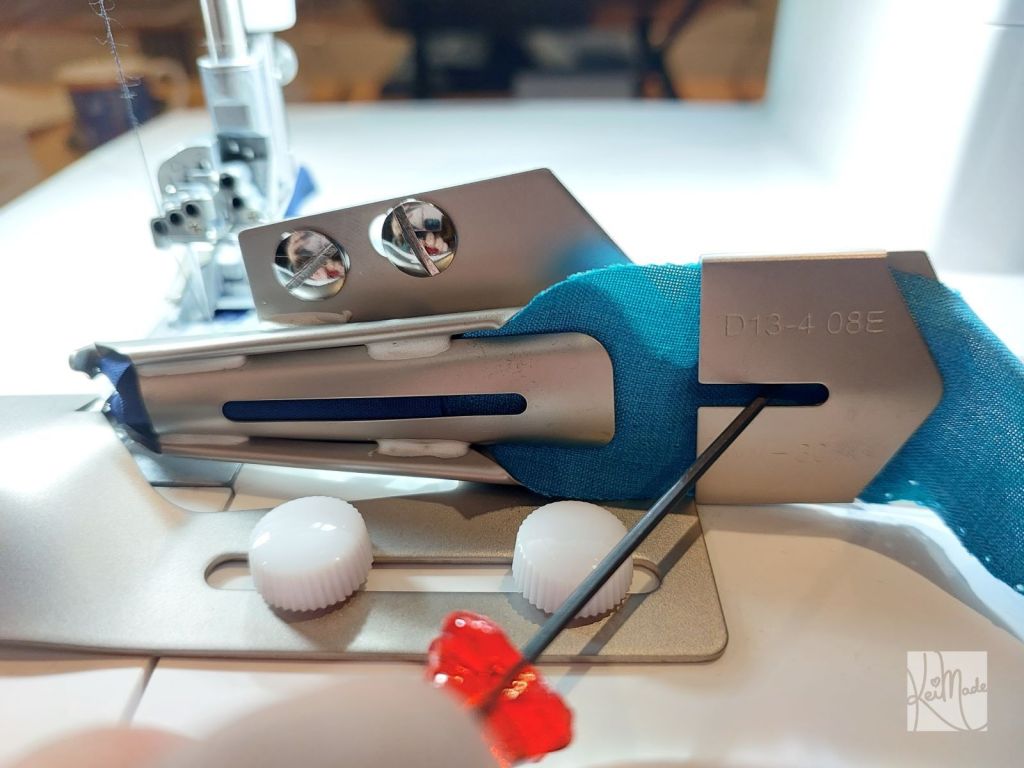
D13-4 08E is the product code.
Video reference
Showcase videos were easy enough to find, but I couldn’t find too many references for how to use this tool well. Then I found that Baby Lock Japan’s channel had sample project videos that explained how to use their 4-fold binder.
This video is for the Kanade machine so it a little bit different in that it’s expecting a roll of tape, but otherwise looks the same. It guides though how to align the binder’s teeth and make adjustments when it’s attached to the sewing machine.
This t-shirt making tutorial video from 1:49 includes how to set the knit binder up, how and why adjust it, and how to sew a neckline with it. Very useful 😀
How to use the Double Fold Binder
So here’s the text version of how to use Babylock’s 8mm double fold binder.
Preparation
- Prepare the fabric tape
- Prepare fabric tape which is 30mm wide;
- Woven fabric tape works too if it’s cut on the bias.
- Cut the start of the tape in a “<” angle shape so it’s easier to insert.
- Set up the sewing machine
- Set up the baby lock sewing machine to be in chain stitch or narrow cover stitch mode.
- Thread the machine (the front door needs to be closed to install the binder).
- Raise the needle and foot.
- Install the knit binder
- Adjust the two minus screws on the binder itself so that the bottom tooth comes out slightly than the top tooth.
- Use the 2 white hand screws to screw in the binder to the cover-stitch table (to the 2 closest screw holes to you). Align the tooth so it’s about 2mm to the left of the left needle.
Inserting the fabric tape
Cut the end of the 30mm tape into a “<” shape and slide it in, wrong side facing you.

Use the babylock screw driver to slide the fabric in.
Slide it in further with the screw driver across the second slot.
It’s a bit tricky when using jersey knit.

Use the tweezers to pull the tape out.

Still with the tweezers, pull the tape 90degrees and under the foot.
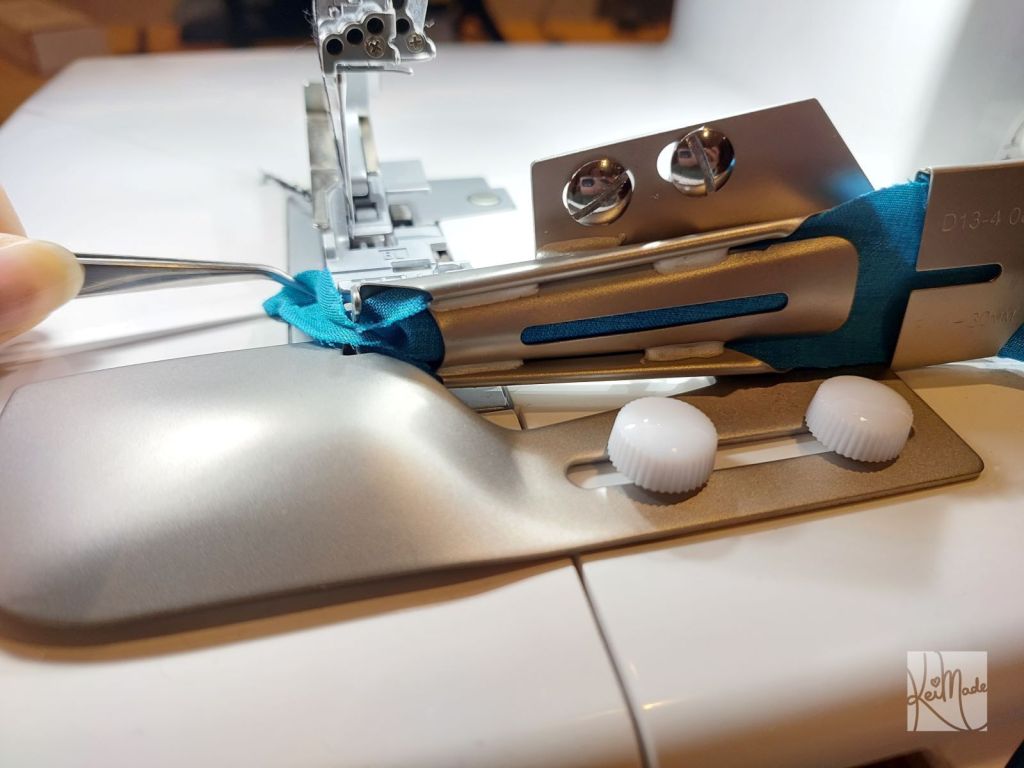
Play a bit of tug-of-war to align the tape nicely under the foot. The left needle should be able to piece the tape.

Insert the tape tail into the zig zag of the knit binder.
Sewing the binding
Sew a few centimetres to check where the needle falls.
Adjust by moving the binder with the hand screws. Sometimes the tape behind the needle just needs to be tugged straight.
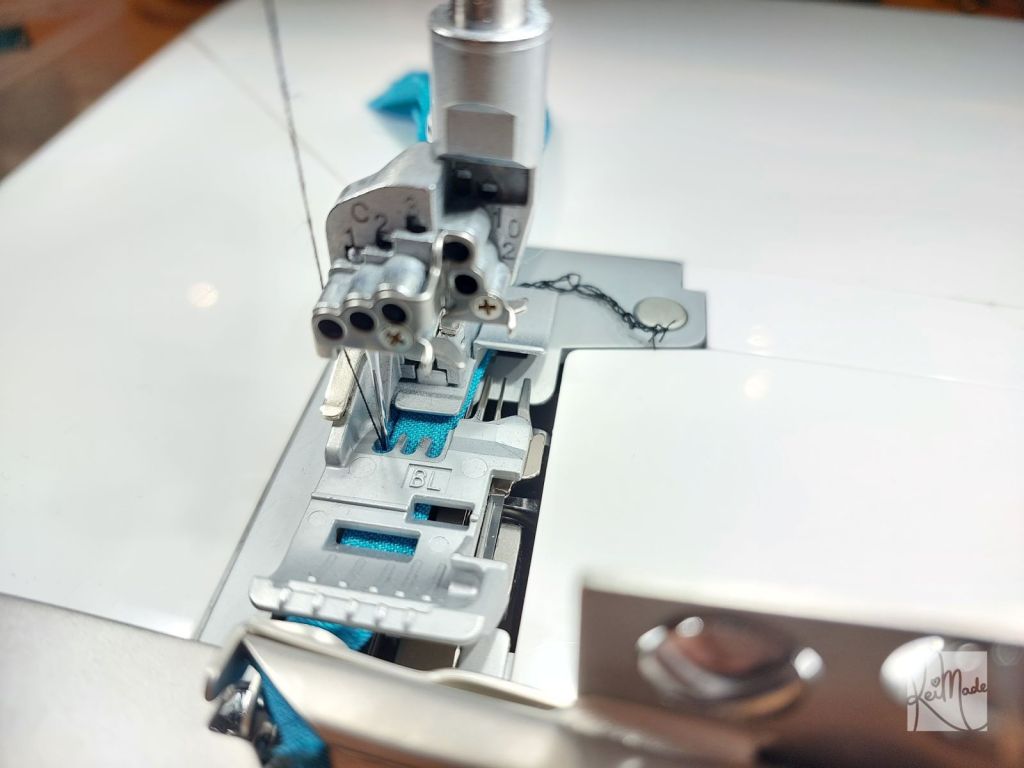
Once the needle is falling in the right place, insert the fabric to be bound at the head of the binder, then press the foot pedal gently to slowly feed it in. No pushing is needed.
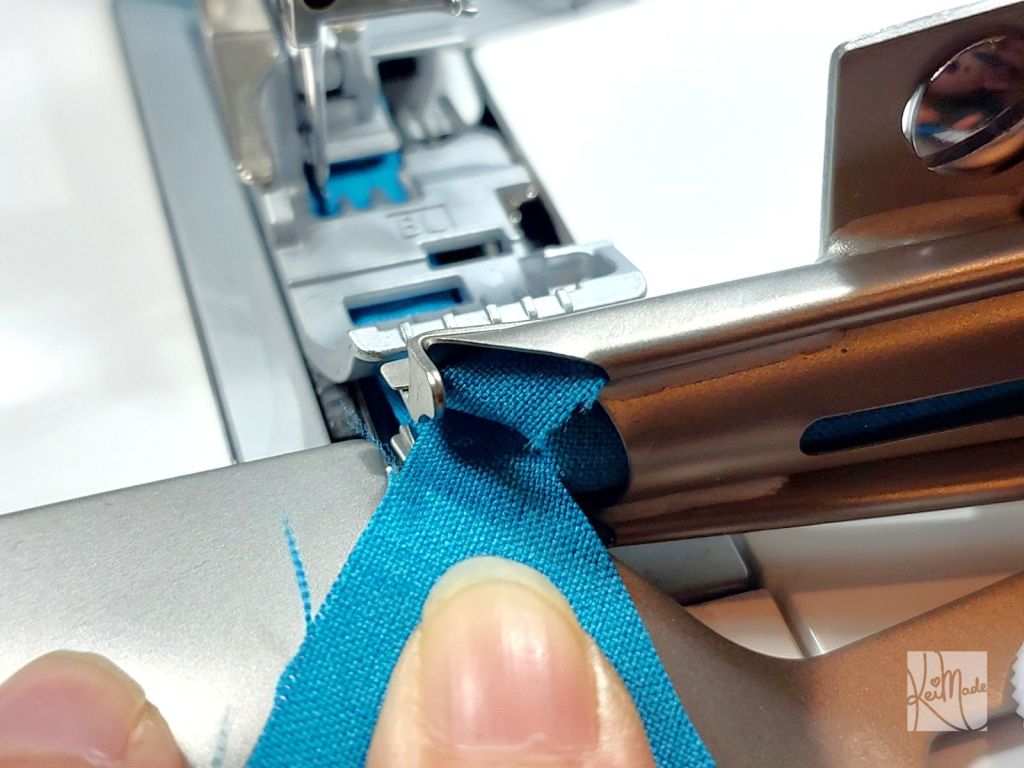
Keep sewing slowly. Guide the fabric with your finger so the end of the fabric goes inside the double-fold.

Keep sewing until a few centimetres past the main fabric and binding tape only, then cut it off.

Experiments
Woven binding tape
Here’s the front (bottom) and back (top) of the bias binding experiment with Babylock’s 8mm double fold (aka 4ply) binder, sewn with a chain stitch in the C1 needle. Imagine the beautiful necklines this could make!
This photo is actually from my second try, as the first one went curly wurlys on me.
Woven bias tape worked really well on straighter lines. When binding curvier fabrics, the bound tape tended to curl – but it could also have been that my “bias” tape was cut at about 15° as I was using scrap fabric. I’ll come back when I experiment properly with true 45° bias tapes on necklines.
Knit binding tape
Apart from the knit tape being tricky to feed into the binder (especially to get it out of the binder’s mouth on its left), binding with knit tape (cut straight, not on the bias) worked pretty well on the first try.

But there’s some gathered waves appearing in the main fabric. So how to fix that?
This video mentions that it helps to pull on the main fabric a little as it gets fed into the binder. That makes sense; it’s like the return of the jersey tape is making waves.
The knit binder has so much potential! Enough experimenting for today though – will come back to perfect my binding later!
Six months later…

Tips for BabyLock’s Knit Binder Attachment
After three separate days of practice spread over a few months, I finally mastered Babylock’s knit binder attachments (3‑fold and 4‑fold). Here are my tips for beginners.


Leave a Reply