After three separate days of practice spread over a few months, I finally mastered Babylock’s knit binder attachments (3‑fold and 4‑fold). Here are my tips for beginners.
Tip #1: Use ribbed knit fabric tape
When I started my experiments with the 3-fold binder, I used very thin knit fabric cut into strips. I couldn’t make it work long, because it didn’t like to stay folded correctly as it was fed though. (Probably because the knit wasn’t heavy enough to hold itself in the binder attachment.)
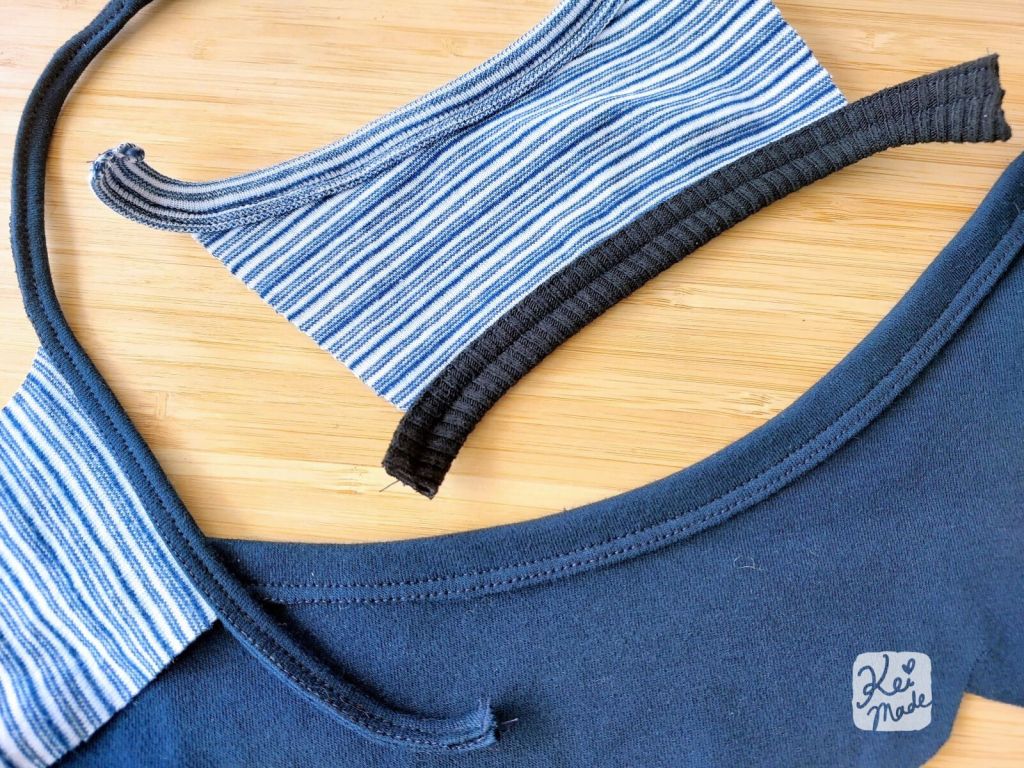
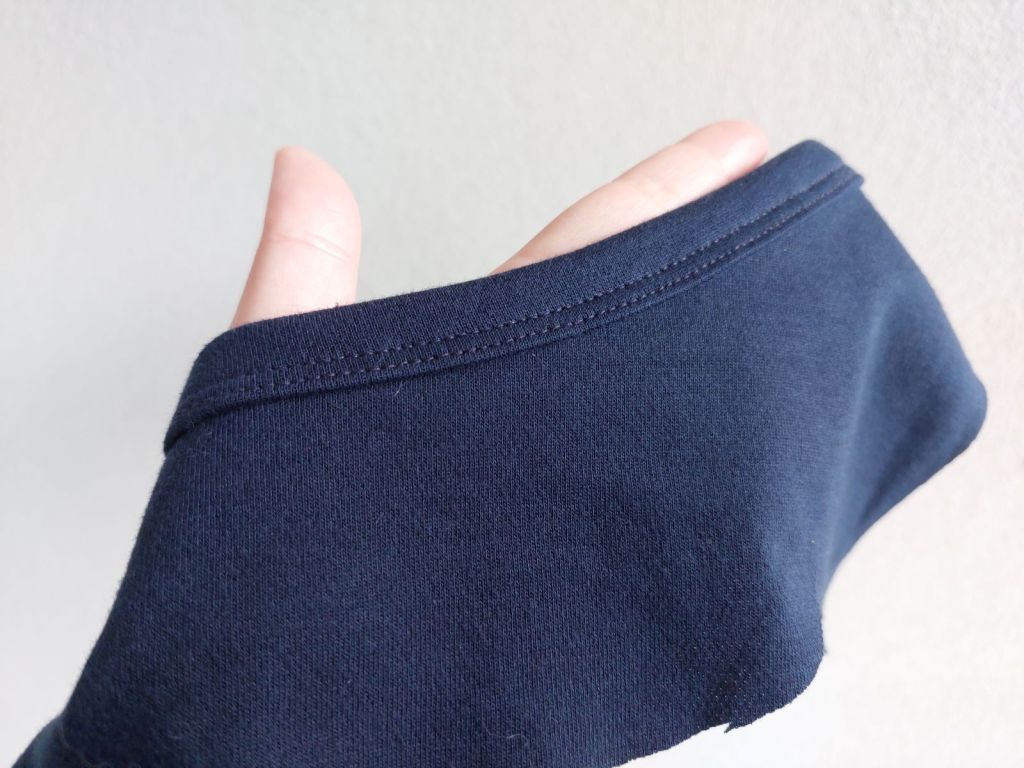
Once I swapped over to using stips of ribbed knit fabric (1×1 and 2×2), the binder just worked like magic.
Medium-weight knits that like to curl up worked too, but it was hard to keep it behaving in the binder’s zig zag area, and needed more micromanagement to get it to feed through correctly.
(Later on, I was able to get it working with thin jersey fabric; it just means you need to keep an eye on the binder’s feeder as well while you sew and keep fixing the fabric from curling up into it. But as a beginner, it was best to use the stable ribbed fabric so I only had to keep my eye where I’m sewing.)
Tip #2: Fold the tape first
This is a tip especially for the 3-fold binder. (The 4-fold binder doesn’t need much of this.)
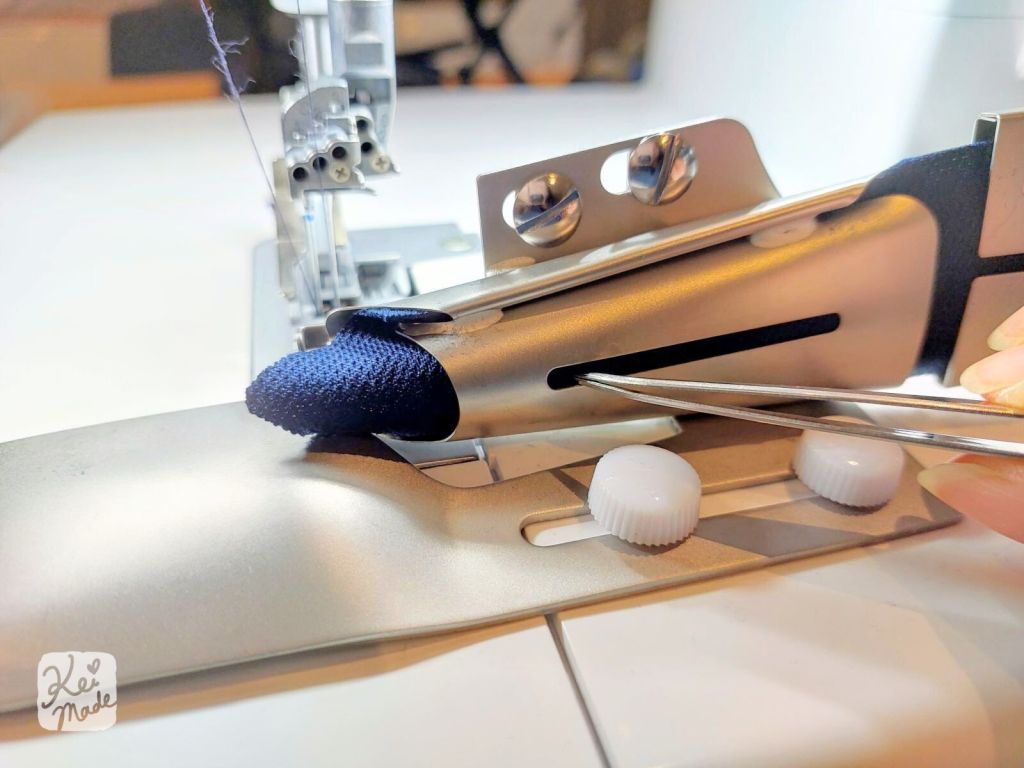
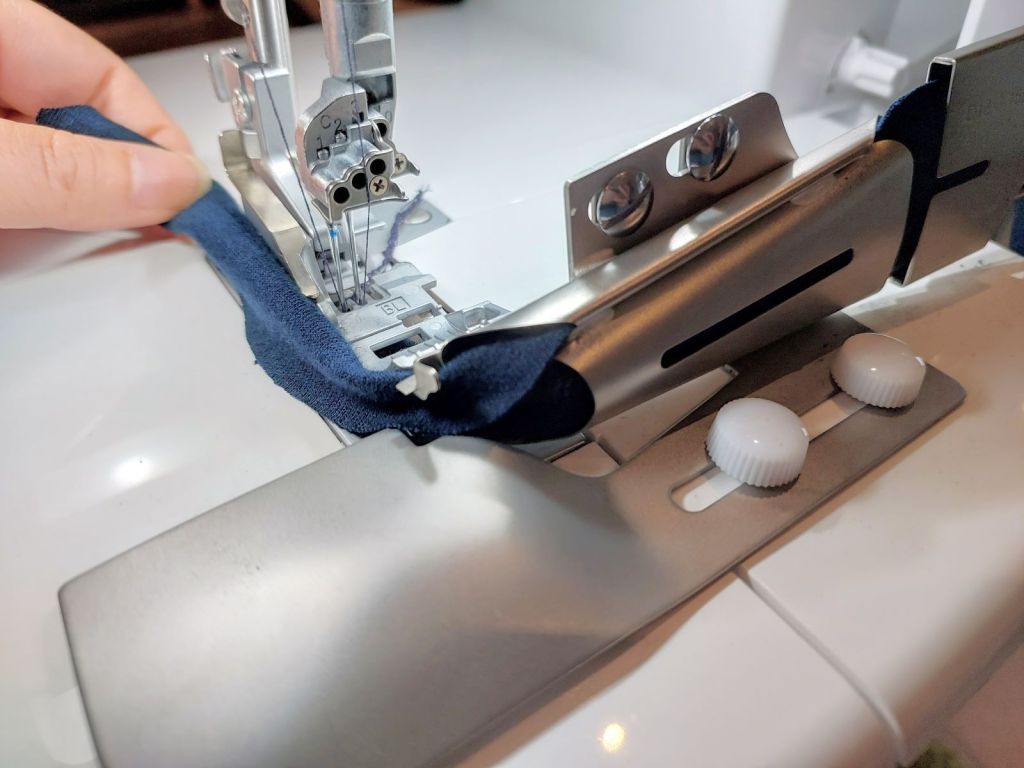
Once you tweeze out the fabric tape out of the binder, pre-fold it into 3 before guiding it under the presser foot.


Tip #3: Pull the fabric slightly
When feeding in the main fabric (eg. neckline), gently pull on the fabric backwards, rather than helping it get fed into the bias fold.
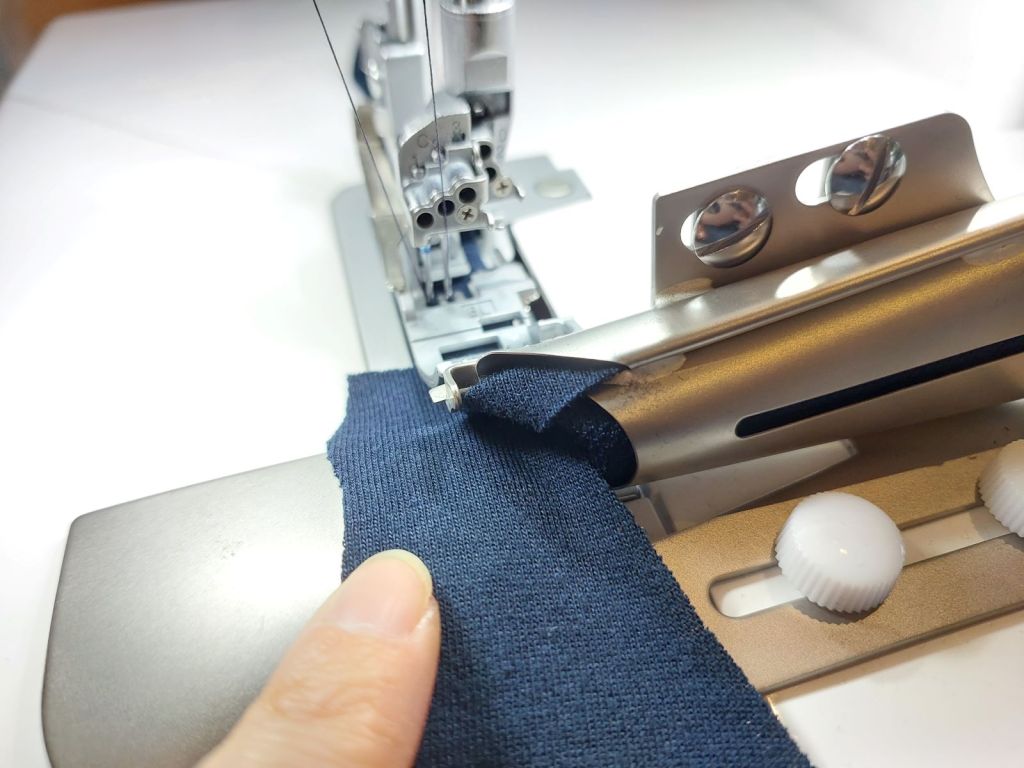
This prevents the main fabric from gathering. (But pulling too much can warp the neckline.)
Tip #4: Use cover stitch
Generally, a narrow cover stitch is used for the 3-ply binder, and a chain stitch is used for the 4-ply binder.
But when sewing the thinner 4-ply double binding, I find it easier to make sure both sides of the binding tape gets sewn when using a narrow cover stitch. (Sometimes the chain stitch can miss one side of the binding as a beginner.)
(Once you get the hang of it, you can definitely use chain stitch – I’ve made 2m long tie ribbons later on with the chain stitch. But as a beginner, it was much easier to get it working with the cover stitch first.)
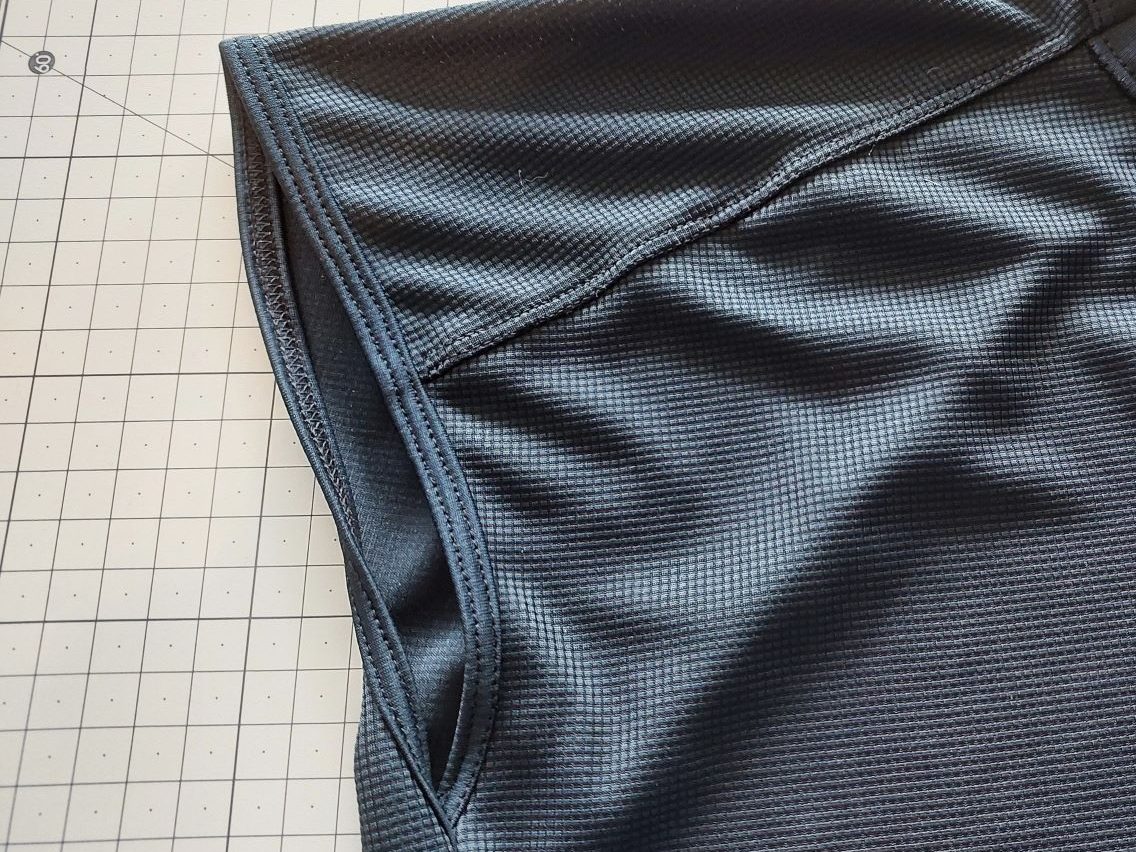
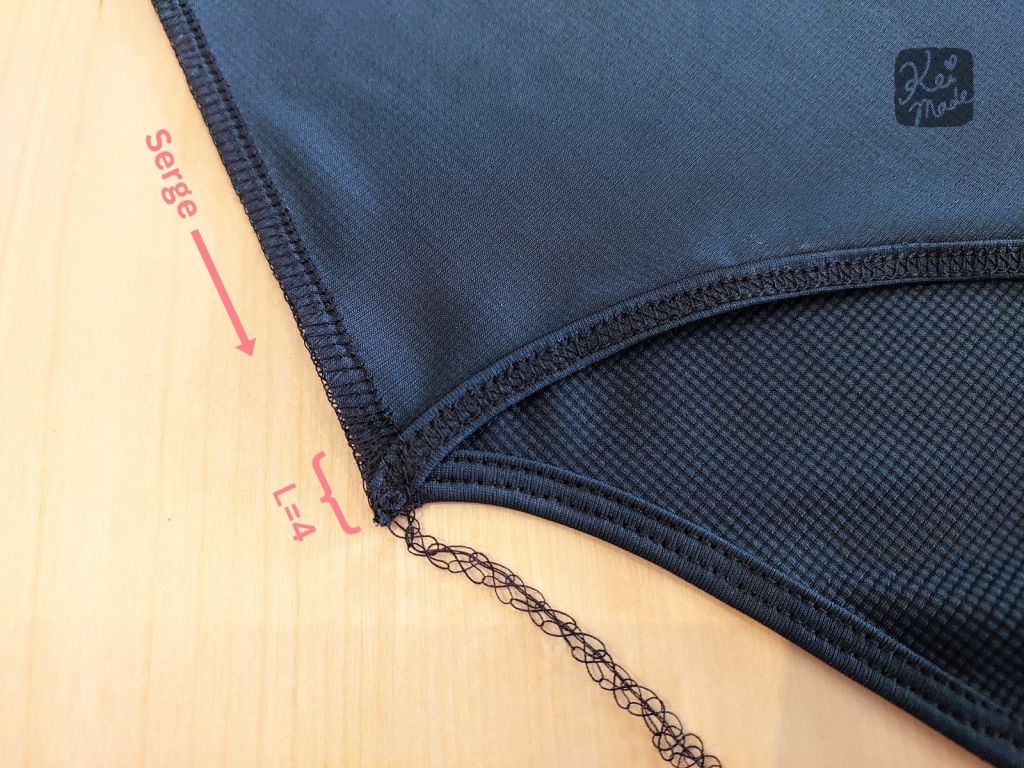
Tip #5: Serge backwards
After binding an edge and you want to connect the ends (eg. to close off a bound neckline, or an arm hole), serge from the non-bound end and finish at the bound end. This is because bound ends are thick and hard to start a serge on.
This can mean serging backwards from usual. For example, serge from the armhole towards the bound neckline, or serge from the hem to the bound armhole,
When you’re close to the bound end, change the stitch length to 4.
How to use the Knit Binder
3ply Single-fold Knit Binder
Set up the BabyLock cover-stitch of combination sewing machine set to Narrow Cover Stitch with C1 and C2 needles.
Screw on the Knit Binder onto the 4 Hole Flat Bed Table.
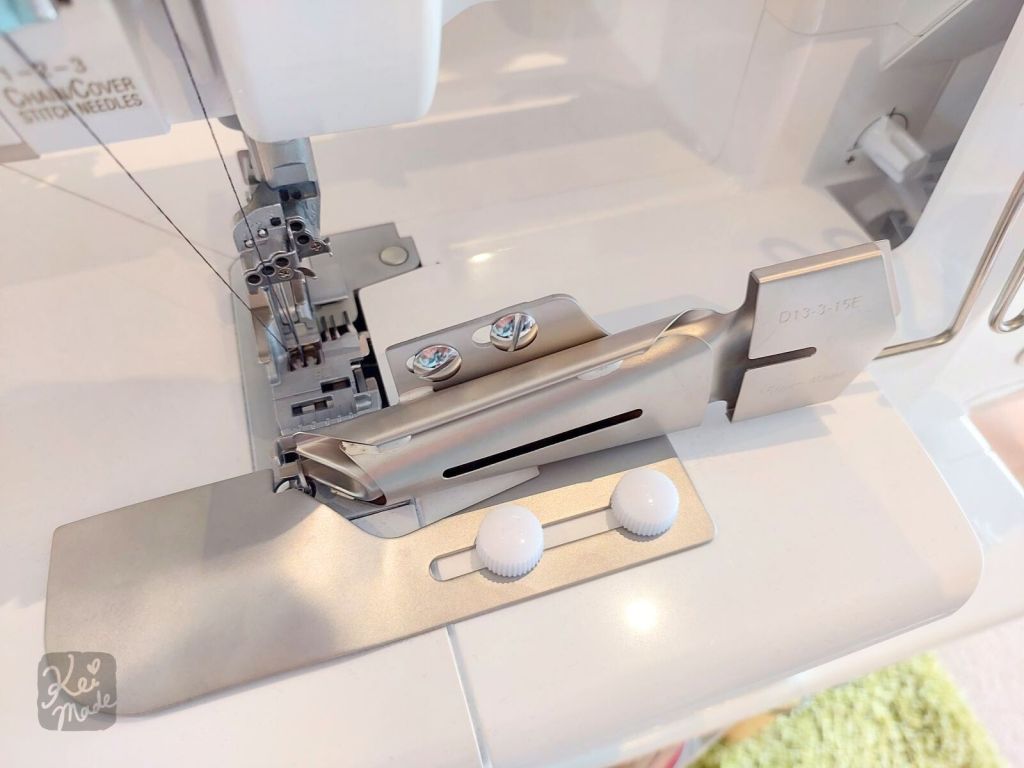
Align the nail of the binder to about 2mm left of the C1 needle marker.

Cut the end of a 4cm-wide tape into a “<” shape.
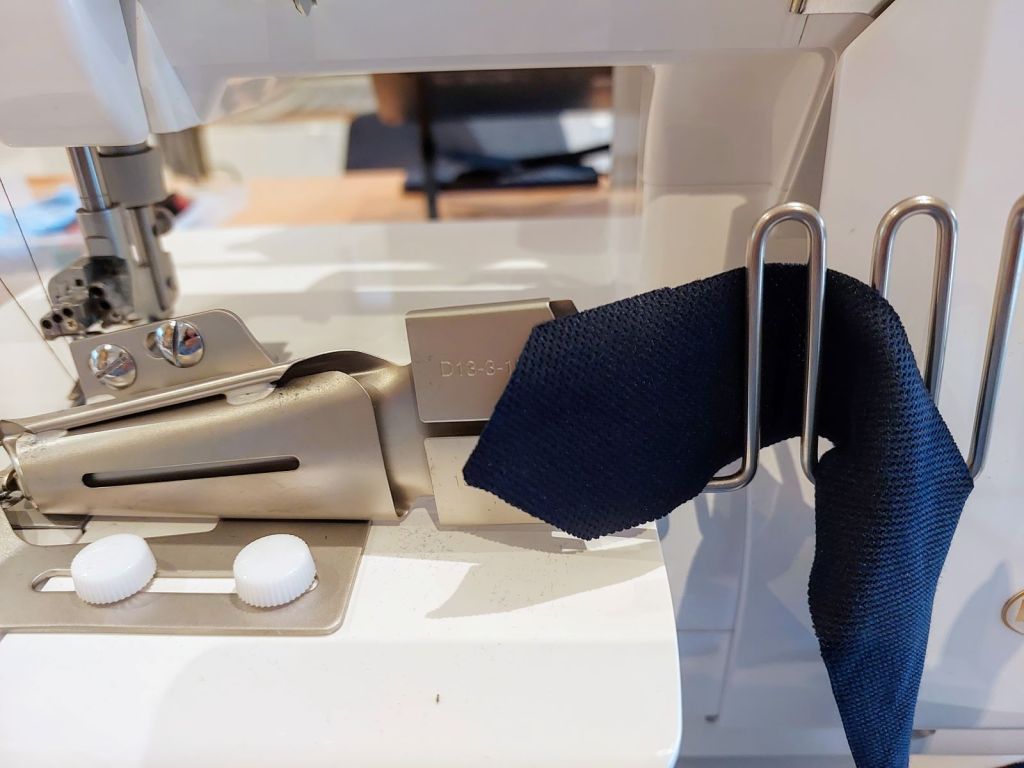
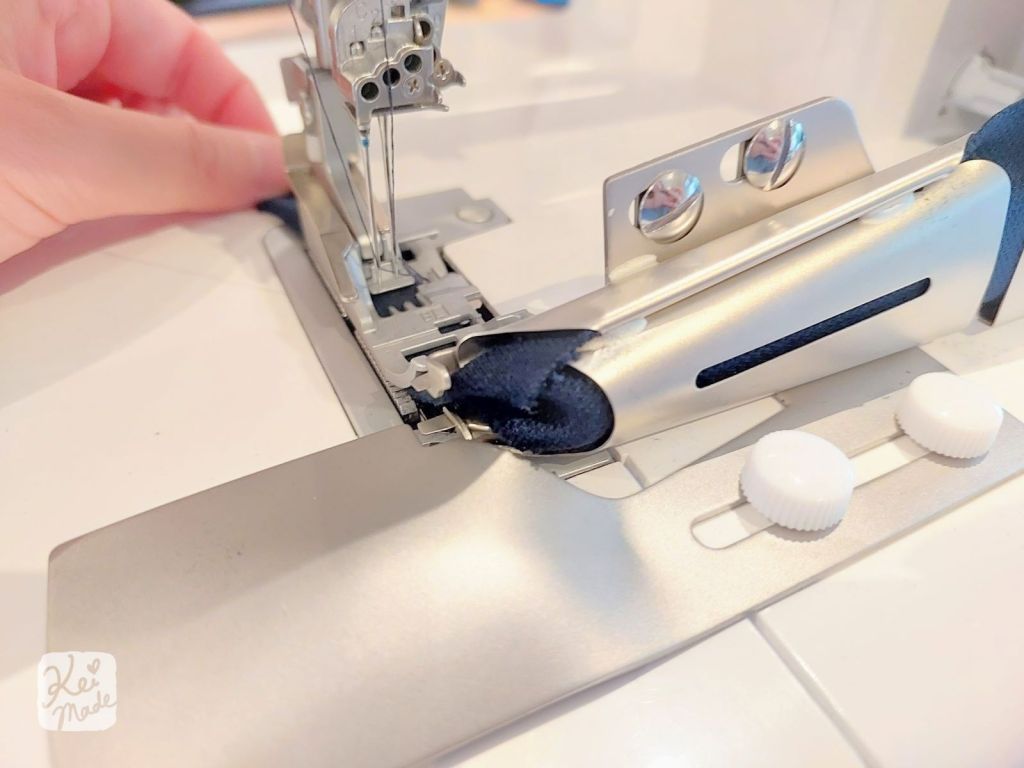
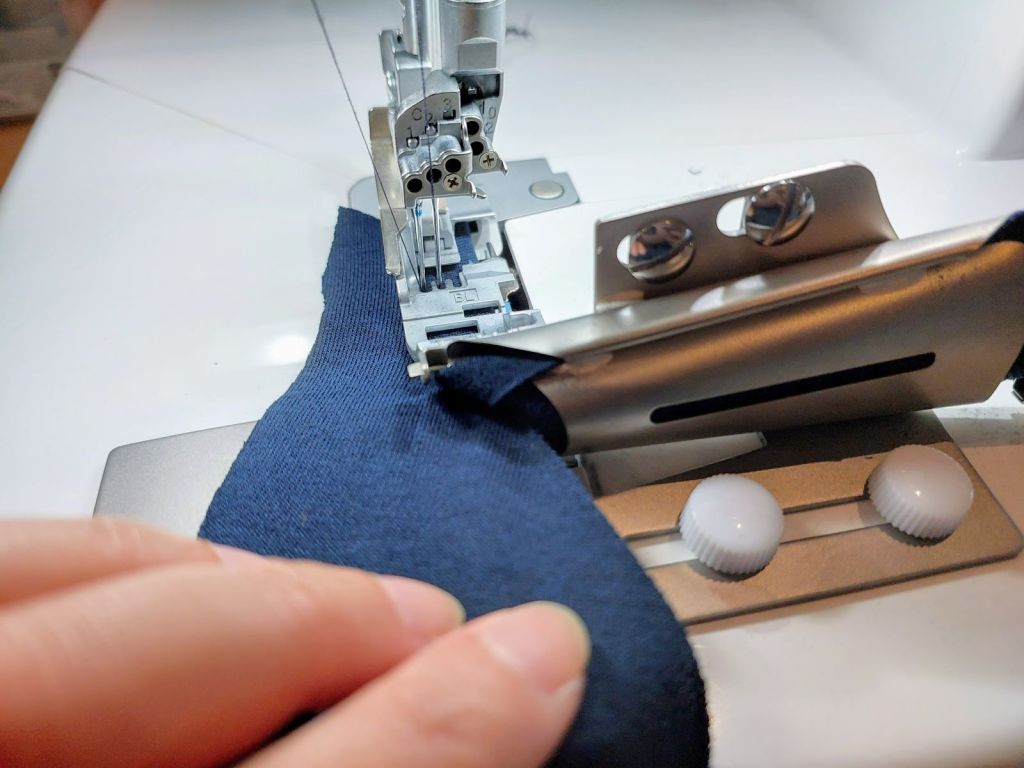
Use tweezers to guide the tape though and out of the binder. (Wrong side of tape facing you)
Pull the end up and under the presser foot.
Press on the foot controller to start sewing, and feed in the fabric to bind.
4ply Double-fold Knit Binder
See my other post for a step-by-step of how to use the Double-fold Knit Binder:


Attachment names & codes
These knit binder attachments tend to have different names depending on the label (box, instruction sheet, babylock website).
| 3-fold (40mm–>15mm) | 4-fold (30mm–>8mm) | |
| Product code | D13-3 15E | D13-4 08E |
| Instruction sheet | Knit Woven Single Fold Bias Binder 40mm | Knit Woven Double Fold Bias Binder 8mm |
| Box | Collarette Binder w/Base 3 ply | Collarette Binder w/Base 4 ply |
| Website (baby lock AU) | Single Fold Knit Binder 15mm | Double Fold Knit Binder 8mm |


Leave a Reply