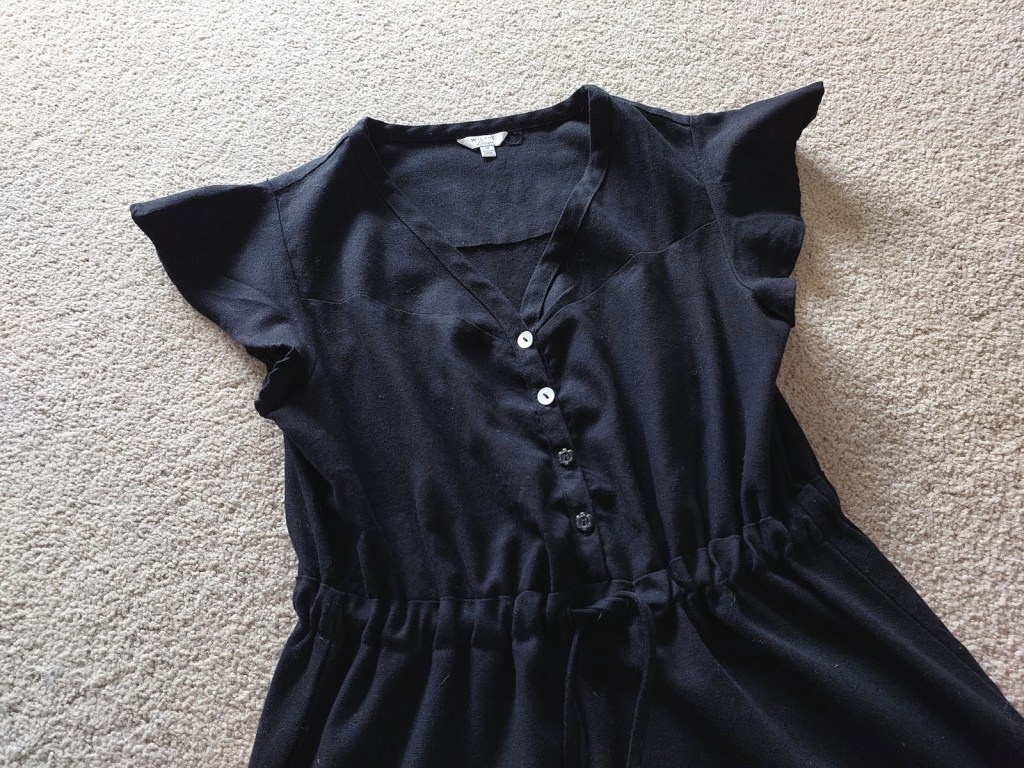
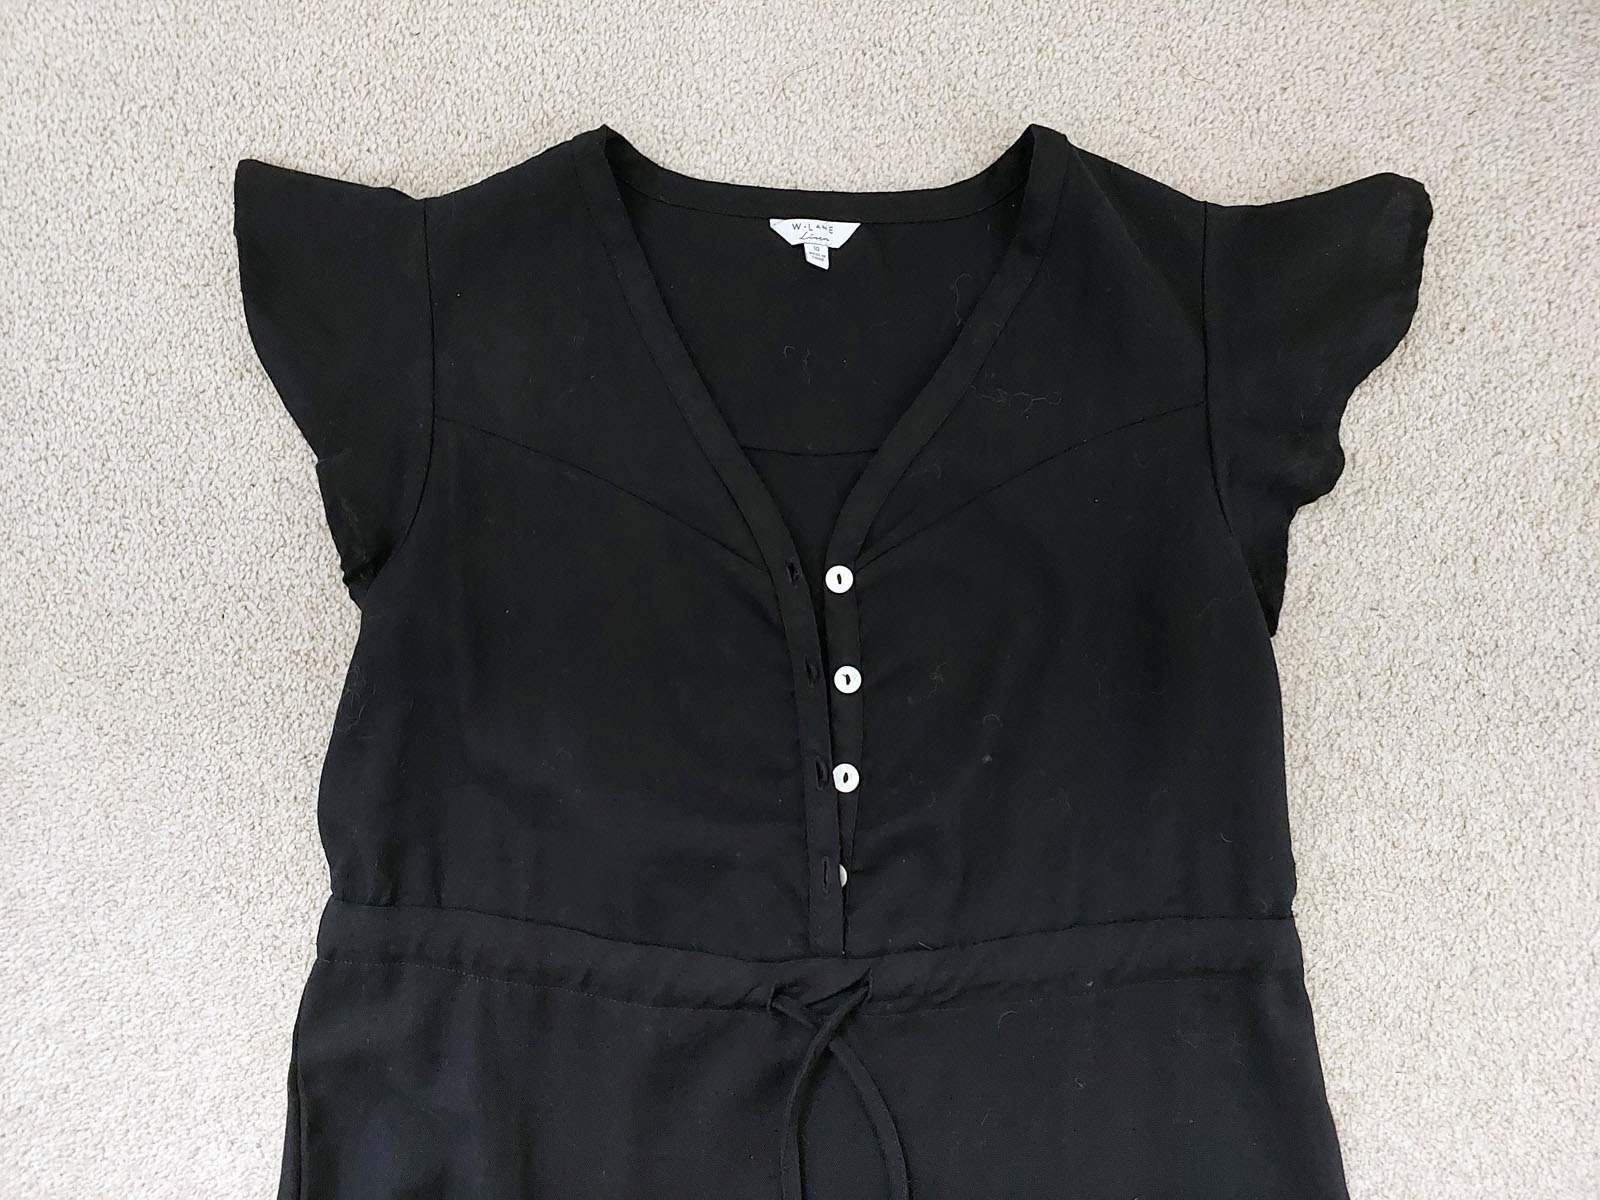
I wanted to replace my dress buttons so they don’t contrast so much. I didn’t have any spare buttons that fit though. So I thought I’ll try modeling a simple flower button in Fusion360 and 3D print them with Prusa MK4.
Jump to:


3D Modeling: Step by step

To start modeling a flower button, a Sketch > Circle was created with a diameter of of 6mm.

The circle was extruded with Press Pull by 2.5mm.
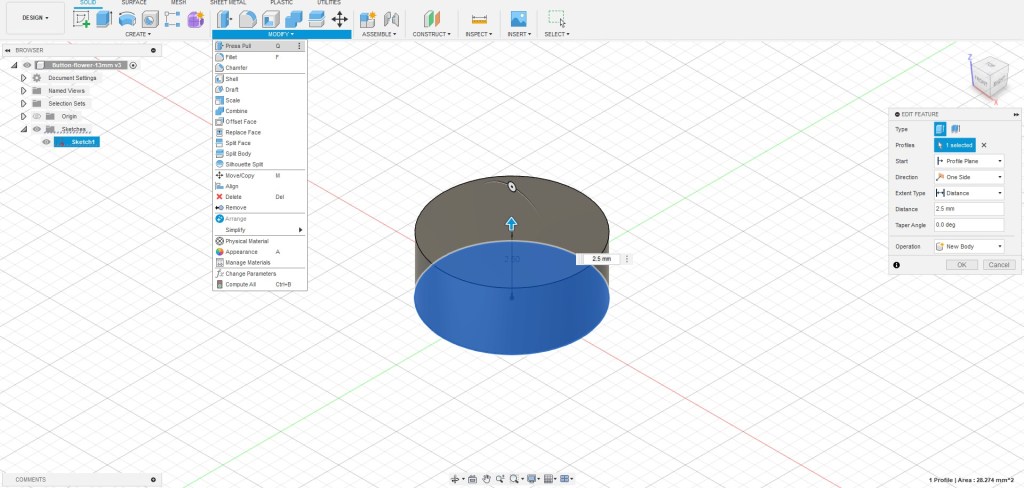
This was moved off-centre by 3.5mm to prepare for duplication.
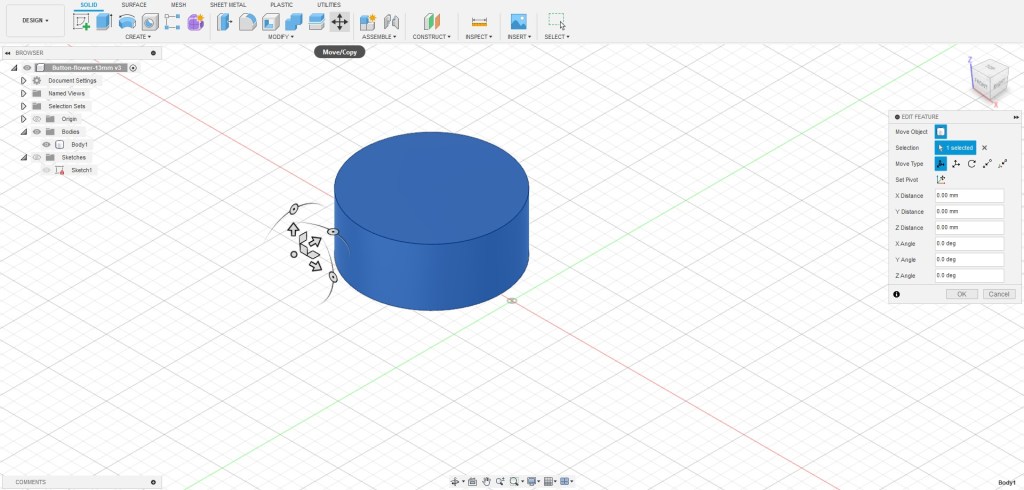
Using Create > Pattern > Circular Pattern, the cylinder was duplicated 5 times to make the begging of a flower. Object was set to the cylinder body, Axis was set to the vertical axis, and Quantity was set to 6 to make six even petals.

Using Modify > Combine, the 6 petals were joined together to make one solid body.
A cylinder was created at the origin, and extruded up by 2.5mm (Press Pull set to join) to cover the hole. This made the base of the 13mm button.

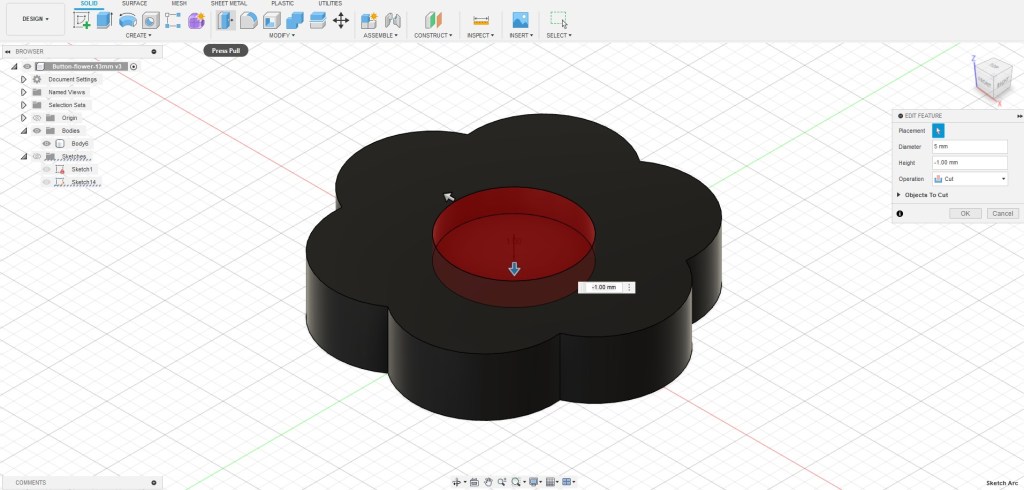
To start making the details, a cylinder was created on the top of the surface, then Push Pulled downwards by 1mm to make a cut out.
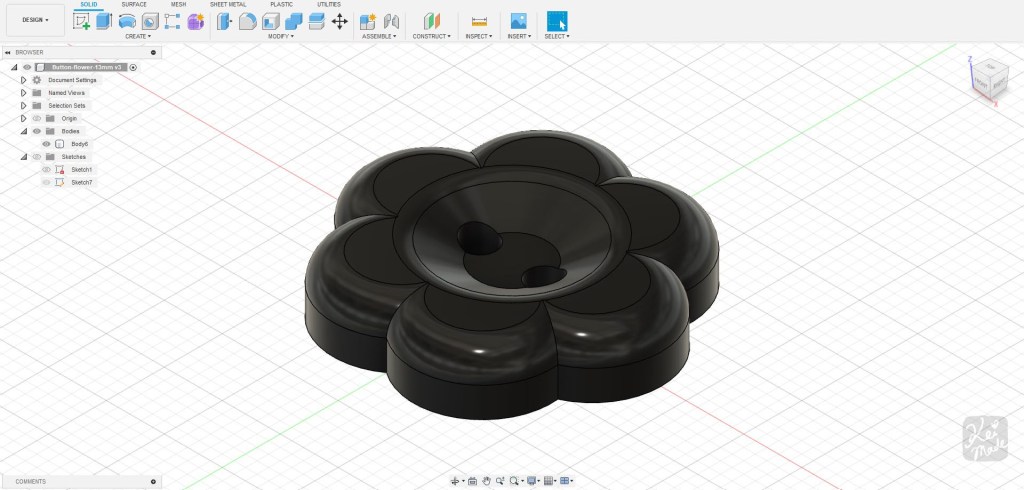
To make a curved top, Modify > Fillet (1.2mm) was used on the top surface.

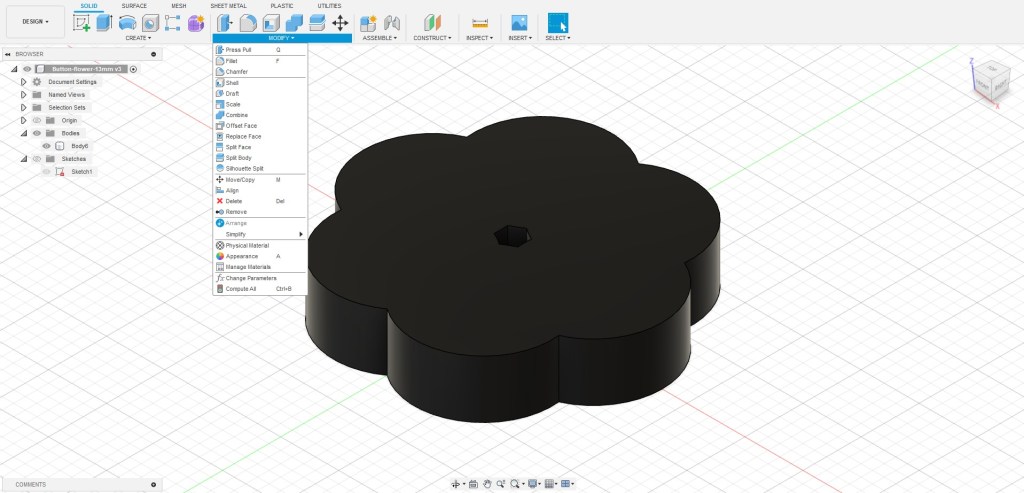
To make the button holes, the Sketch tool was used to make 2 circles, 1.4mm in diameter, 1.4mm space in between.

These circles were Press Pulled down all the way by 2.5mm.

Lastly, the inner circle of the button was chamfered by 1mm to create an indent for the thread.

And it was all ready to be sliced and printed!
3D Printing
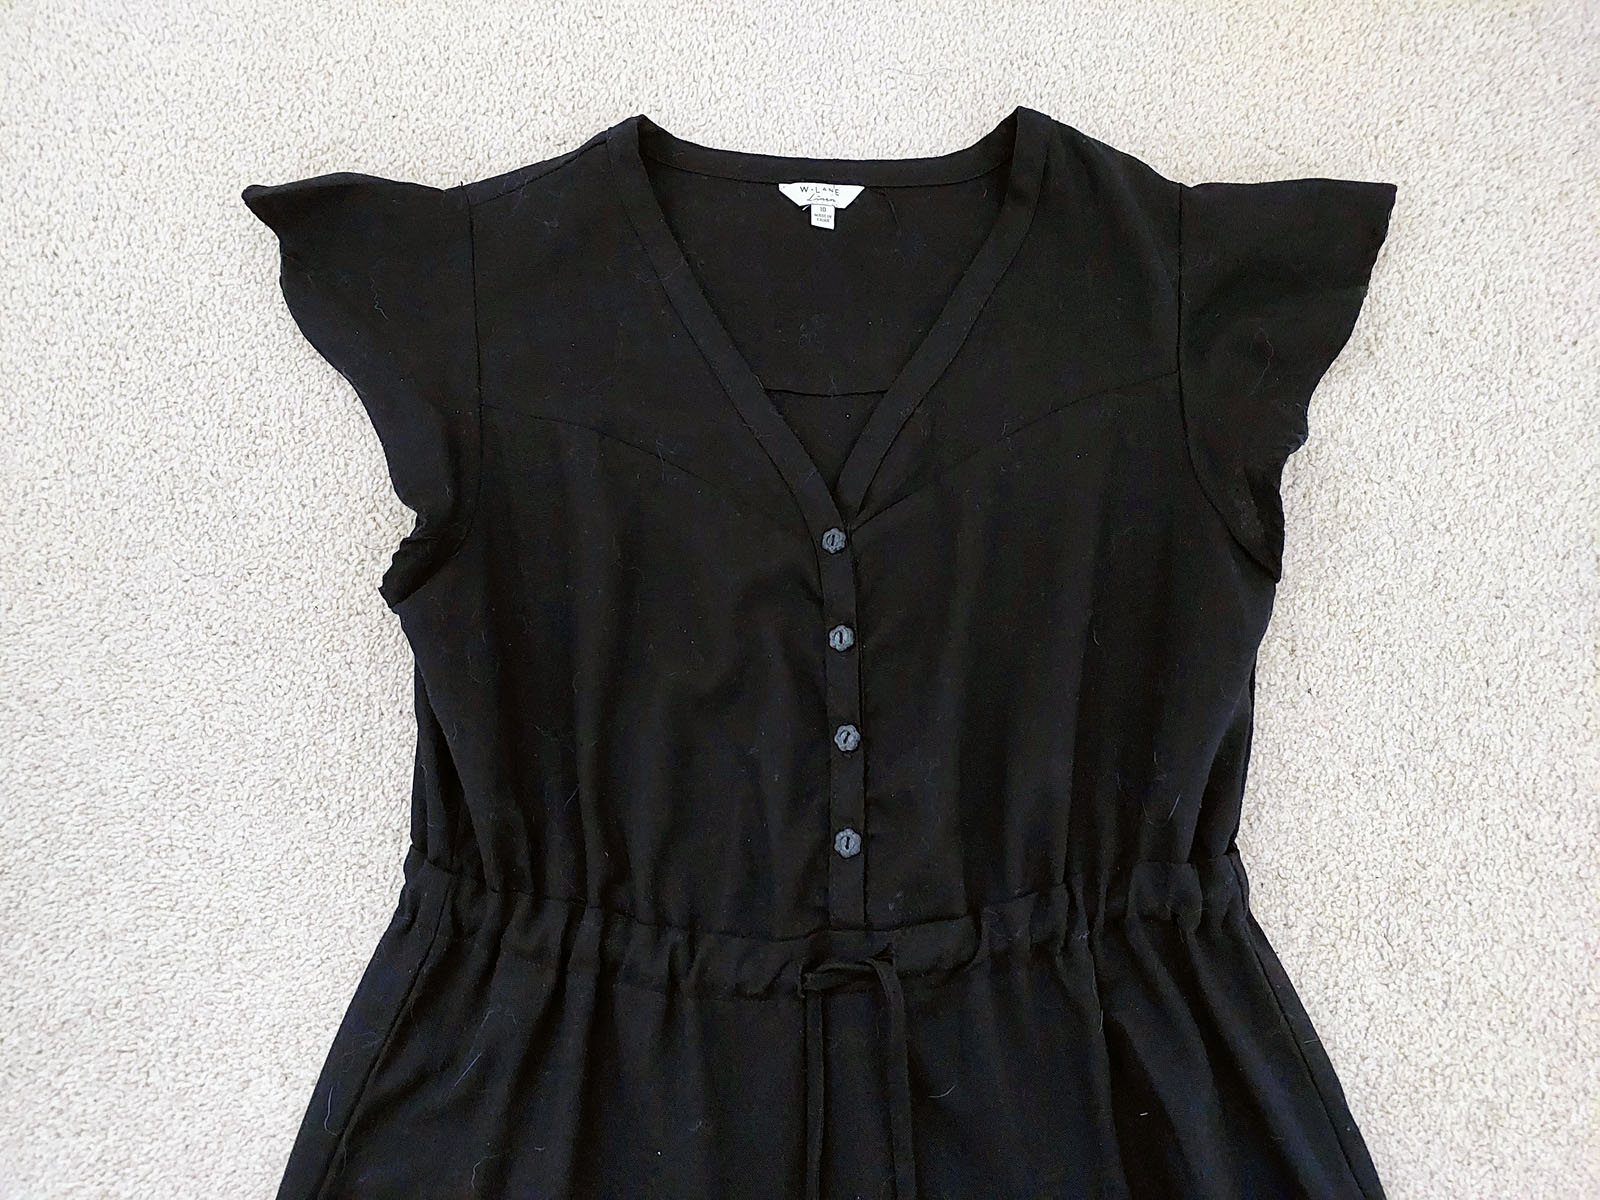
I didn’t like the contrast of the original shell buttons against my black dress, so I decided to print these with black PETG.


Revisions
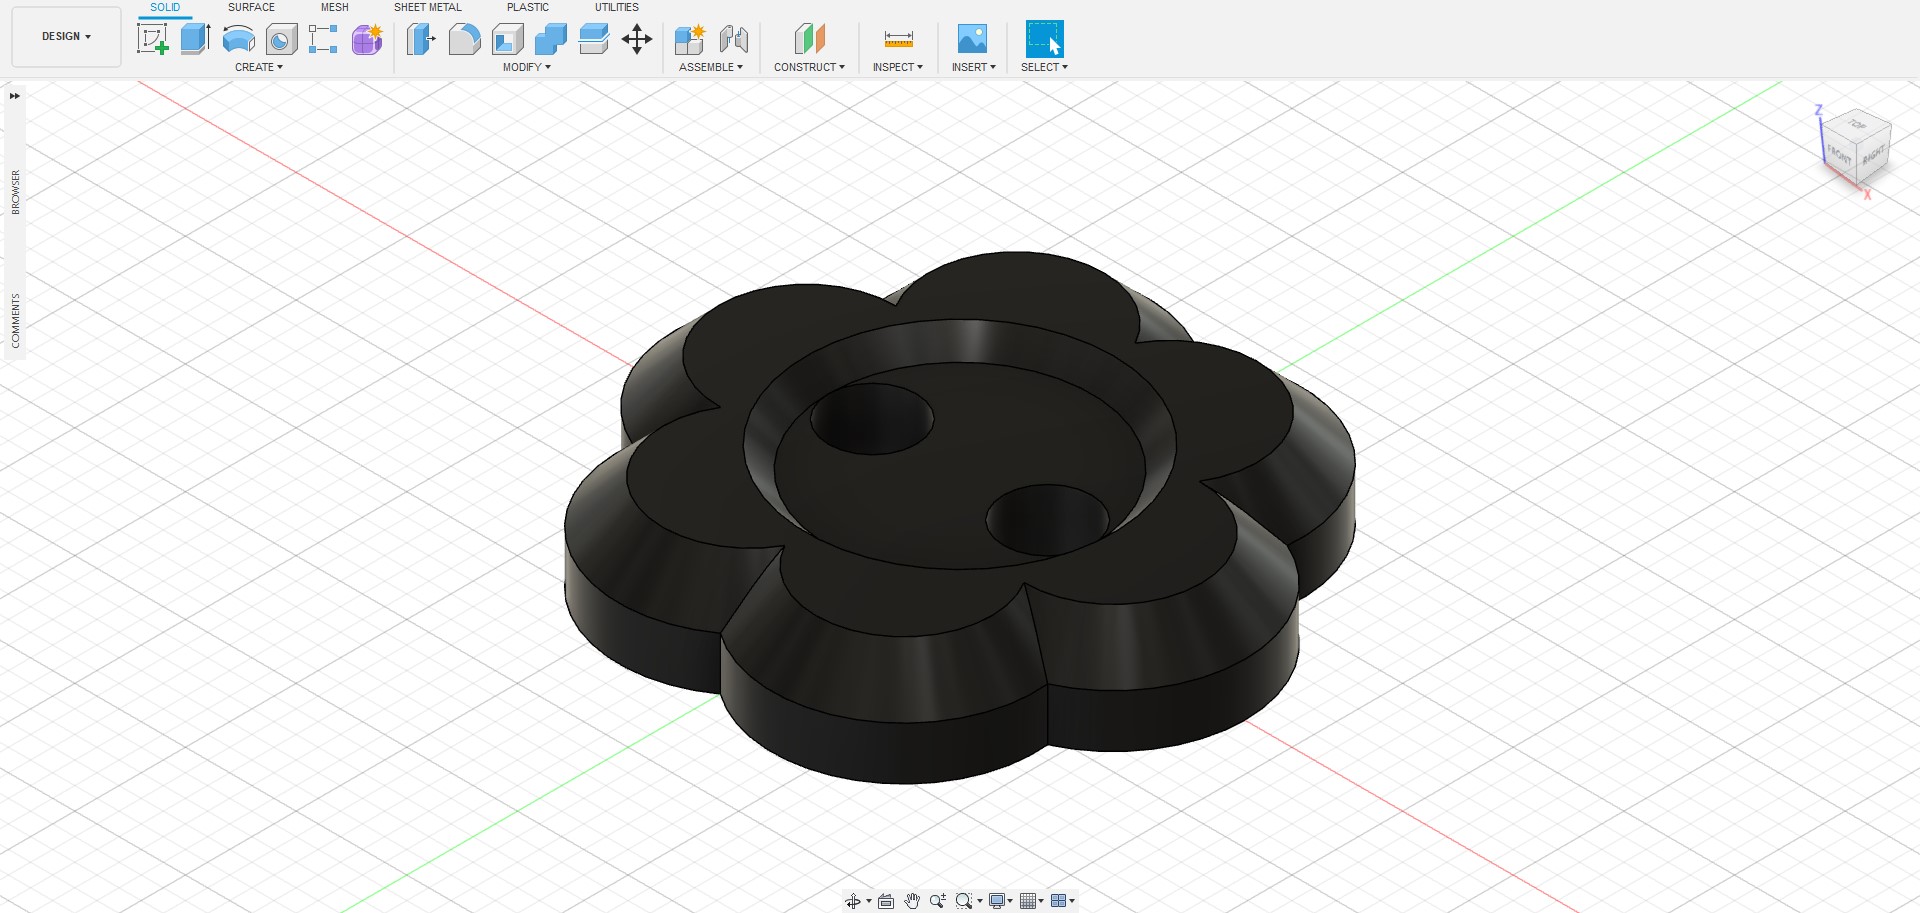
The button is only 1.3cm wide, so the curves and details might’ve been too small to print well with a 0.4mm nozzle. For a retry, I:
- Flattened the top surface;
- Replaced curved fillets with straight chamfers;
- Increased hole diameter and spacing to 2mm;
- Reduced overall height to 2.2mm (for an easier fit through button holes);

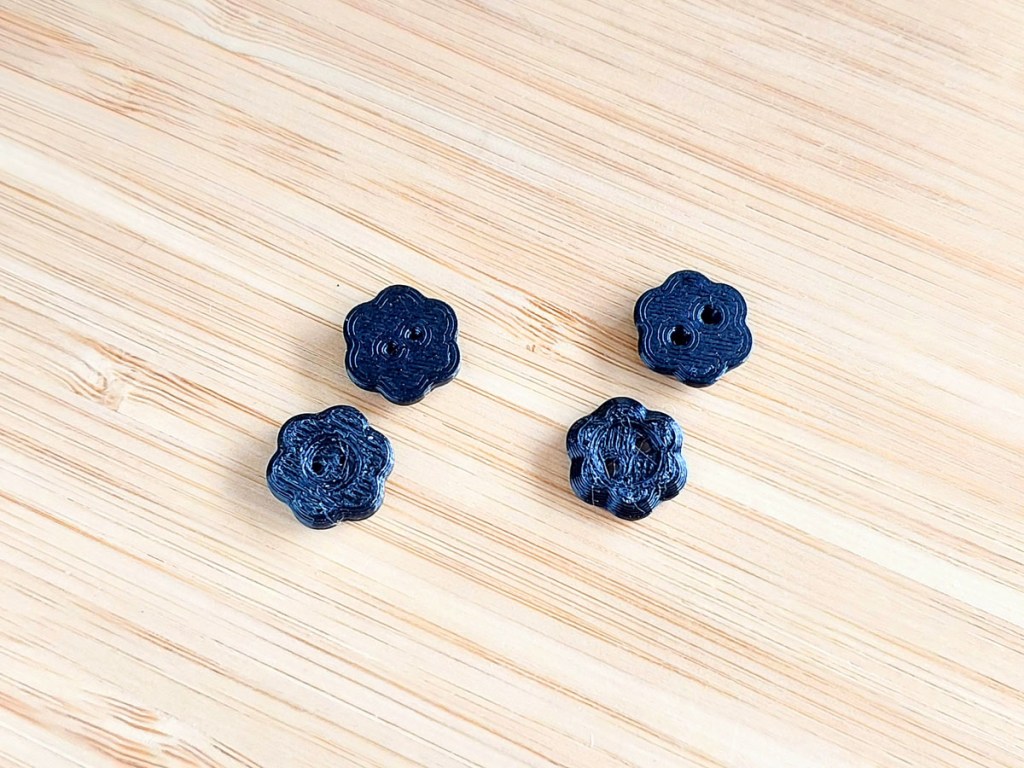
The thickness and hole sizes now made these buttons useful, but the surface texture still looked rather messy.
I played around with a few more changes, like increasing the top surface area and printing with a concentric pattern. But the results were similar; the nozzle seemed too large to print in higher fidelity at such a small size.


Sewing it on
I followed this simple but informative infographic on how to sew on buttons 😀


If I wanted perfect looking buttons with a smooth finish, I think I would craft it out of resin. But 3D printing is much easier than making a button mold for each application.
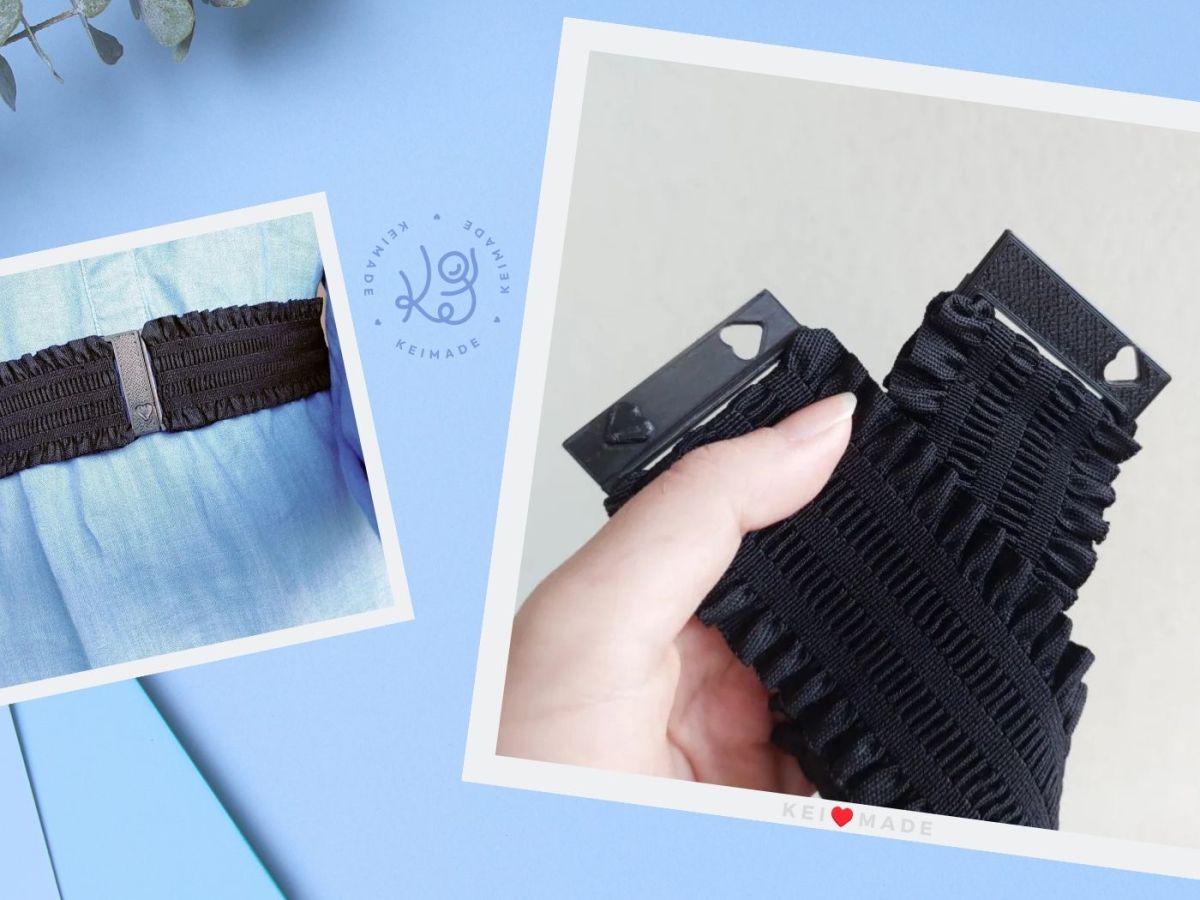
Print quality tends to be much better on larger projects, like my 3D printed belt buckle:


Leave a Reply