


Join me and Mr Fluffypants as we transform a Big W flannelette bed sheet into a pretty tiered skirt.
The Bed Sheet
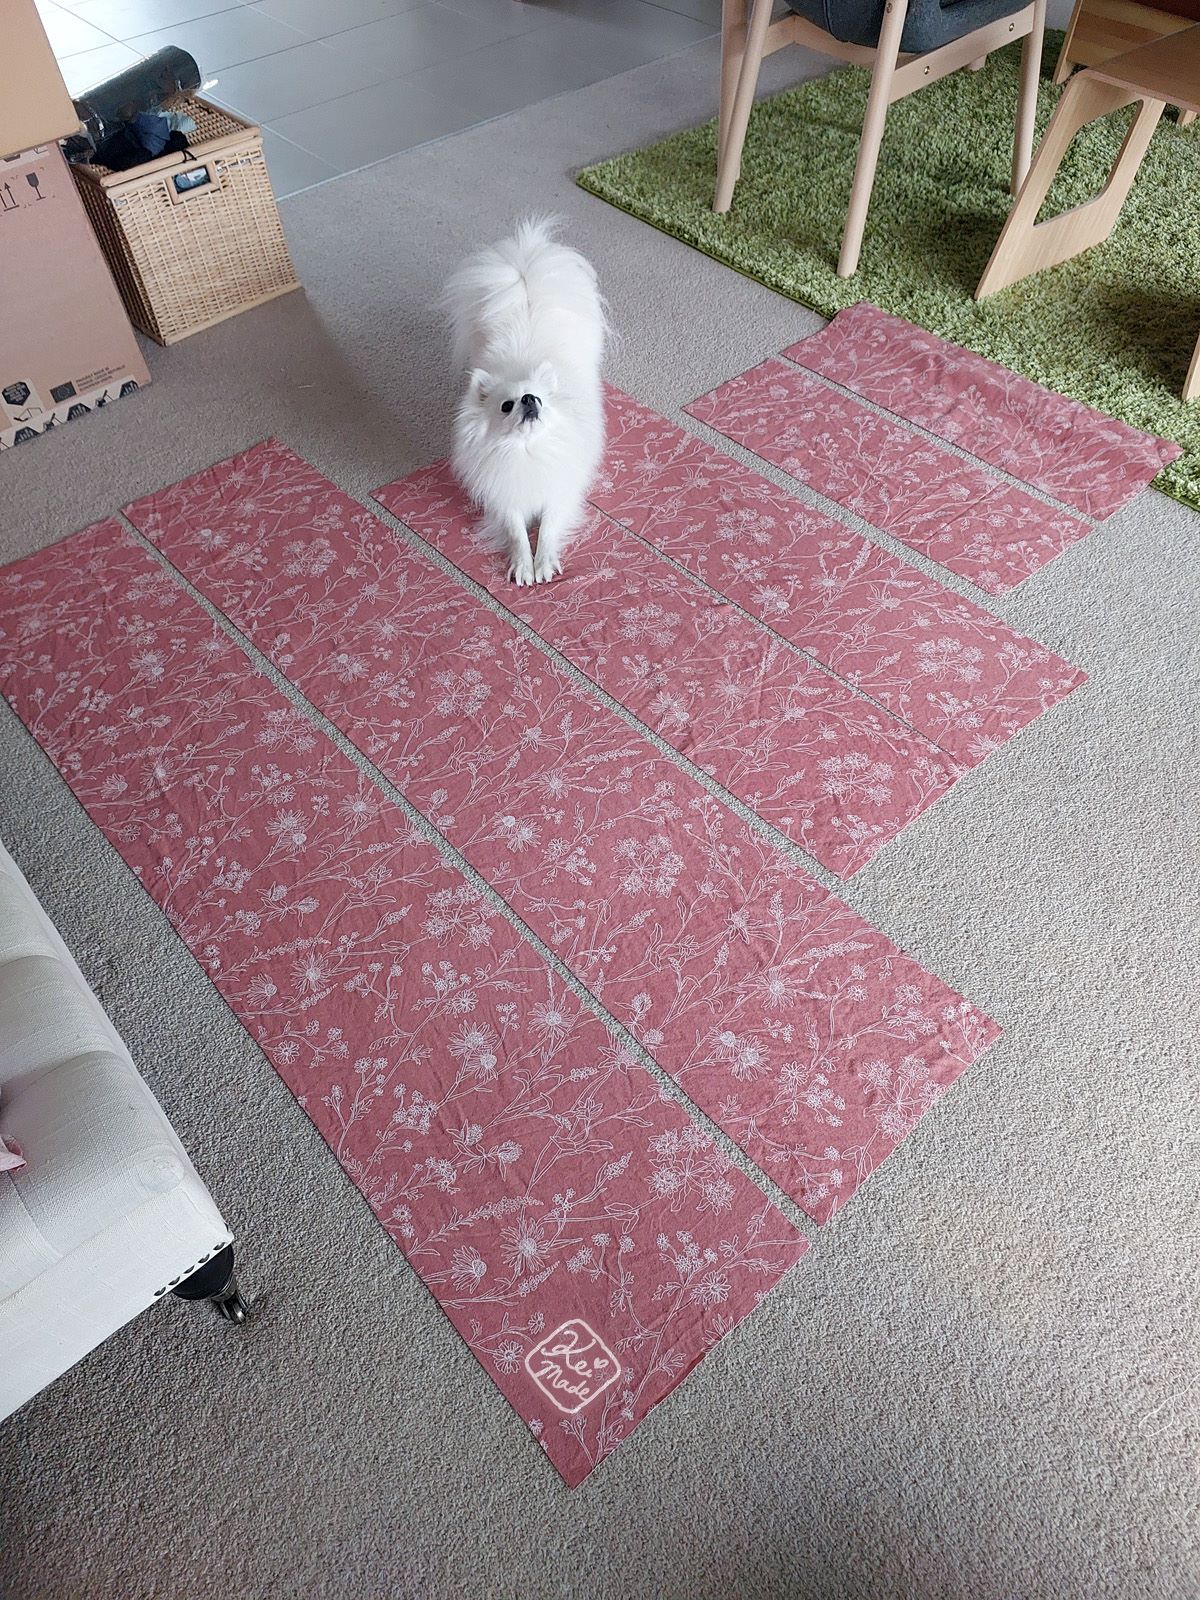
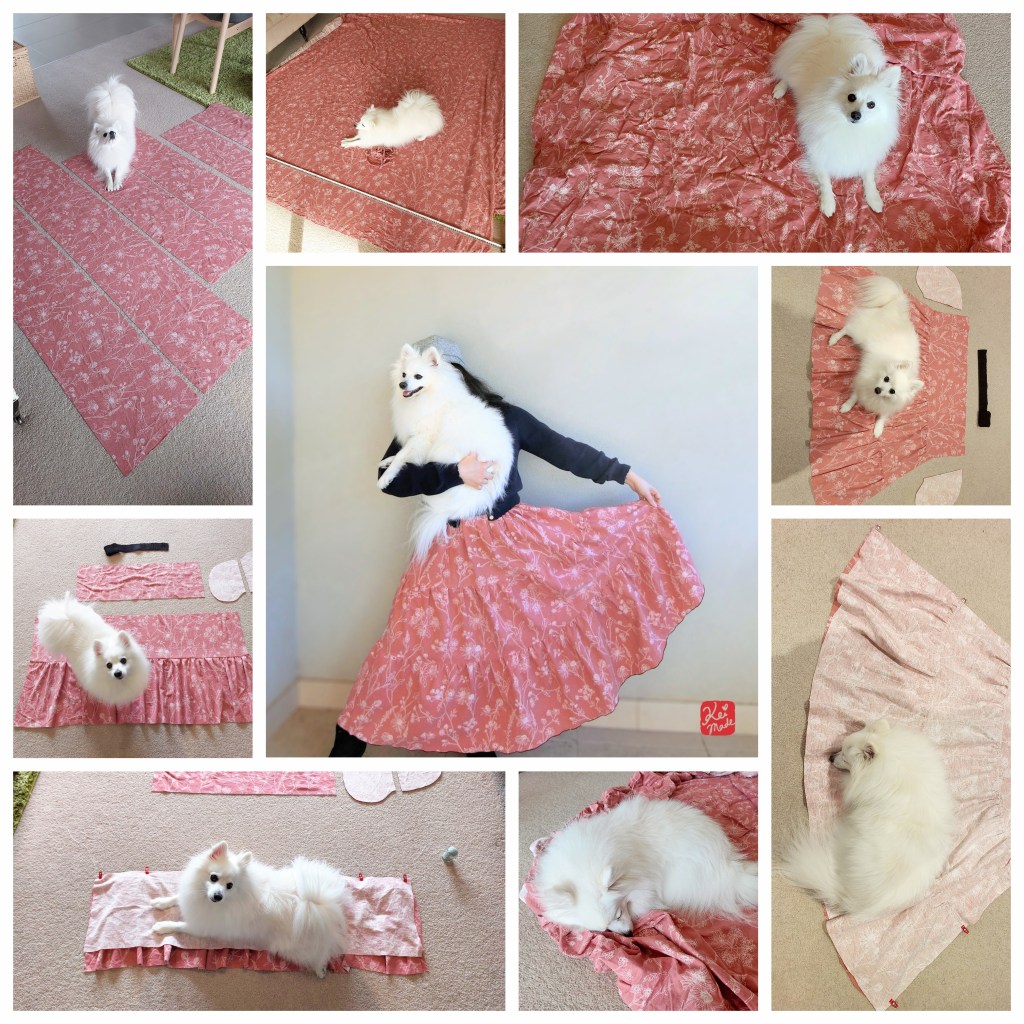
So here’s where we started; a king-size fitted bed sheet. Unused but washed, confirmed Mr Fluffypants who love to rest on top of new things.
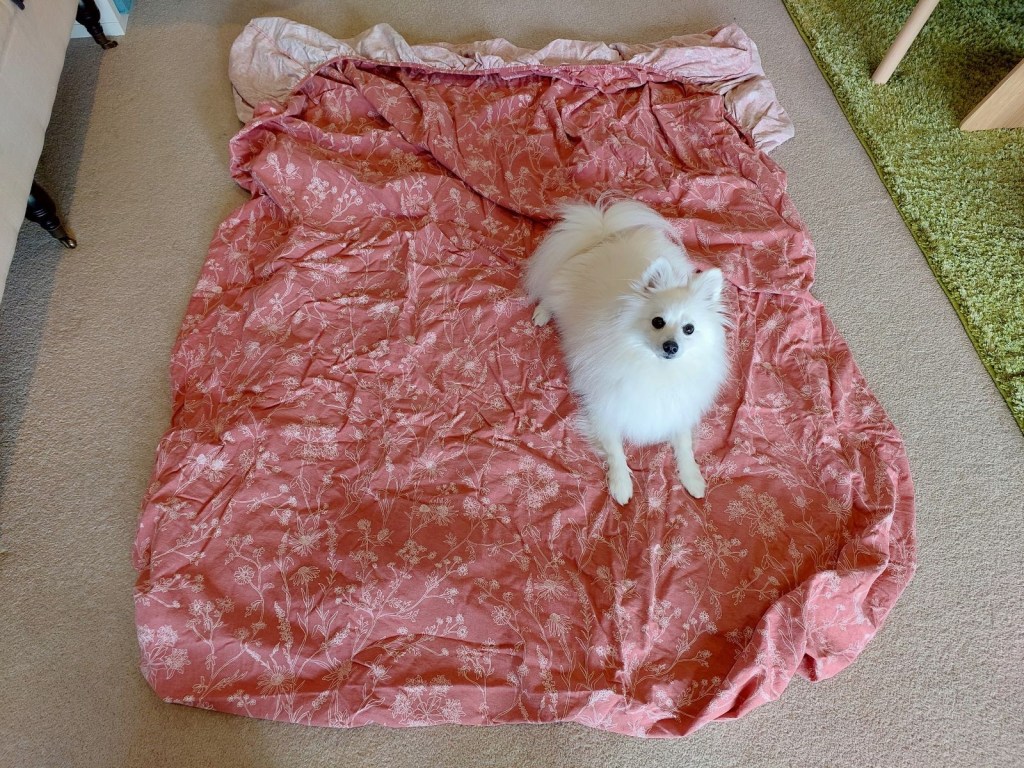
Why a bed sheet?


Well, I couldn’t find pretty fabric from Spotlight, and I was browsing flannelette clothing from Uniqlo a while ago, so I thought I’ll give a flannelette bed sheet a try! (They were cheap at Big W.)
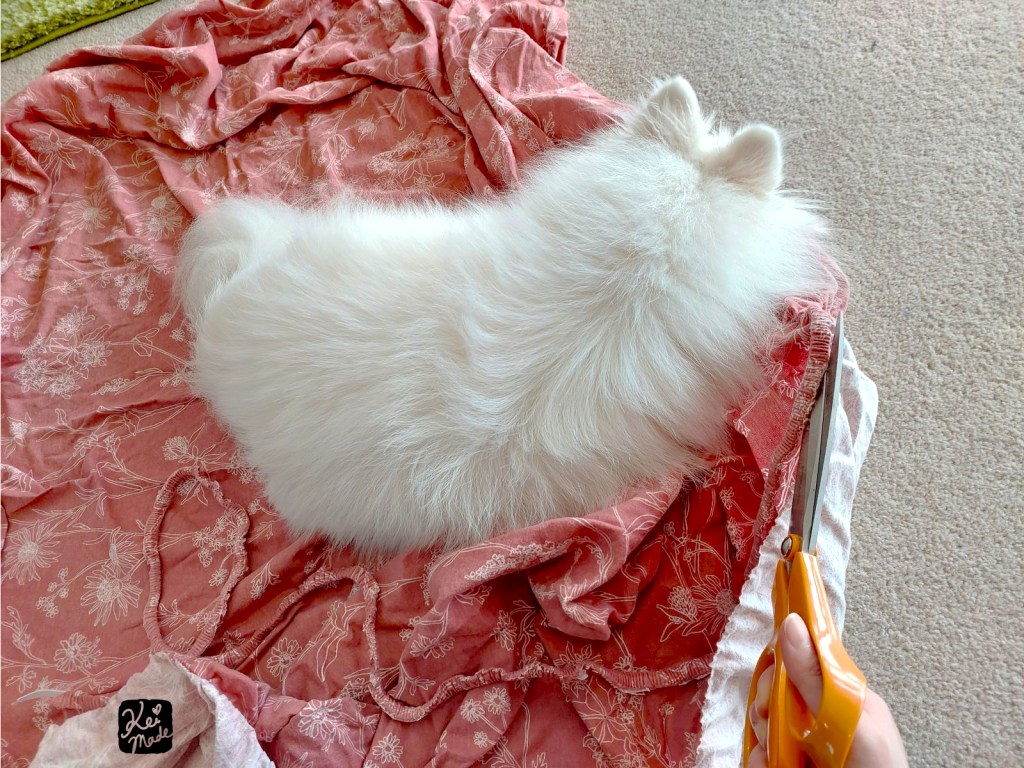
The first step was to remove the elastic and the depth so we can lay it out flat. I initially tried to pull the elastic out, but it was well sewn in all around, so I cut around the elastic and the upwards edge to flatten the sheet.
As you can see, my fluffy baby wasn’t moving 😀
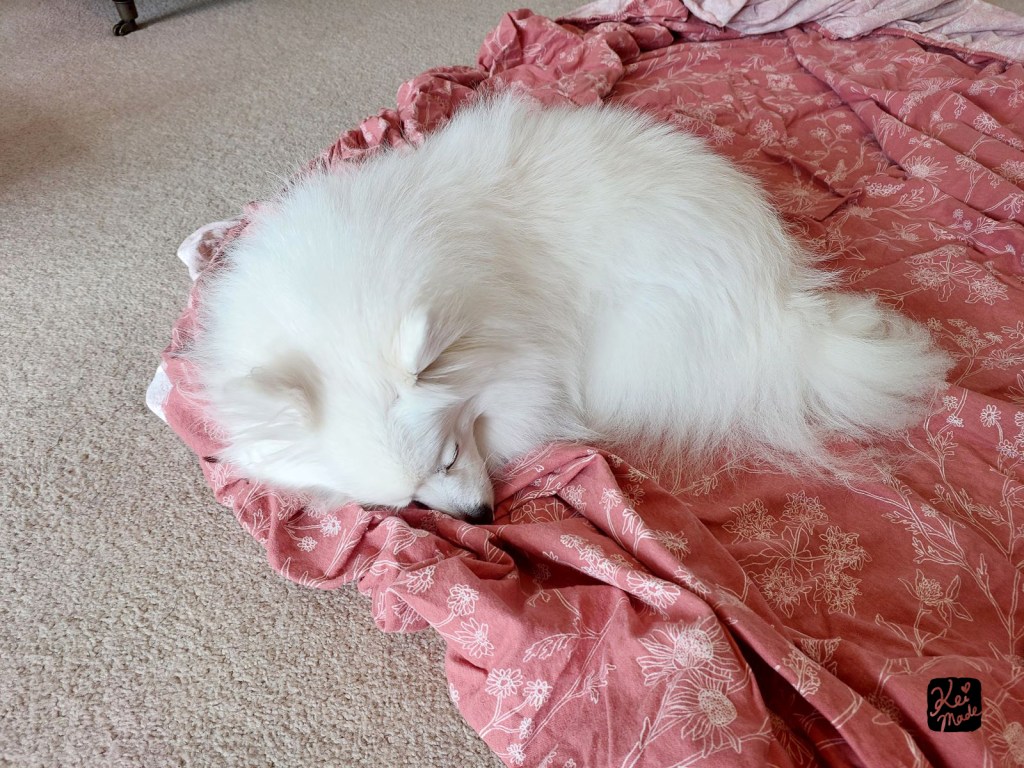
I smells something new on the floor, I sleeps on it.
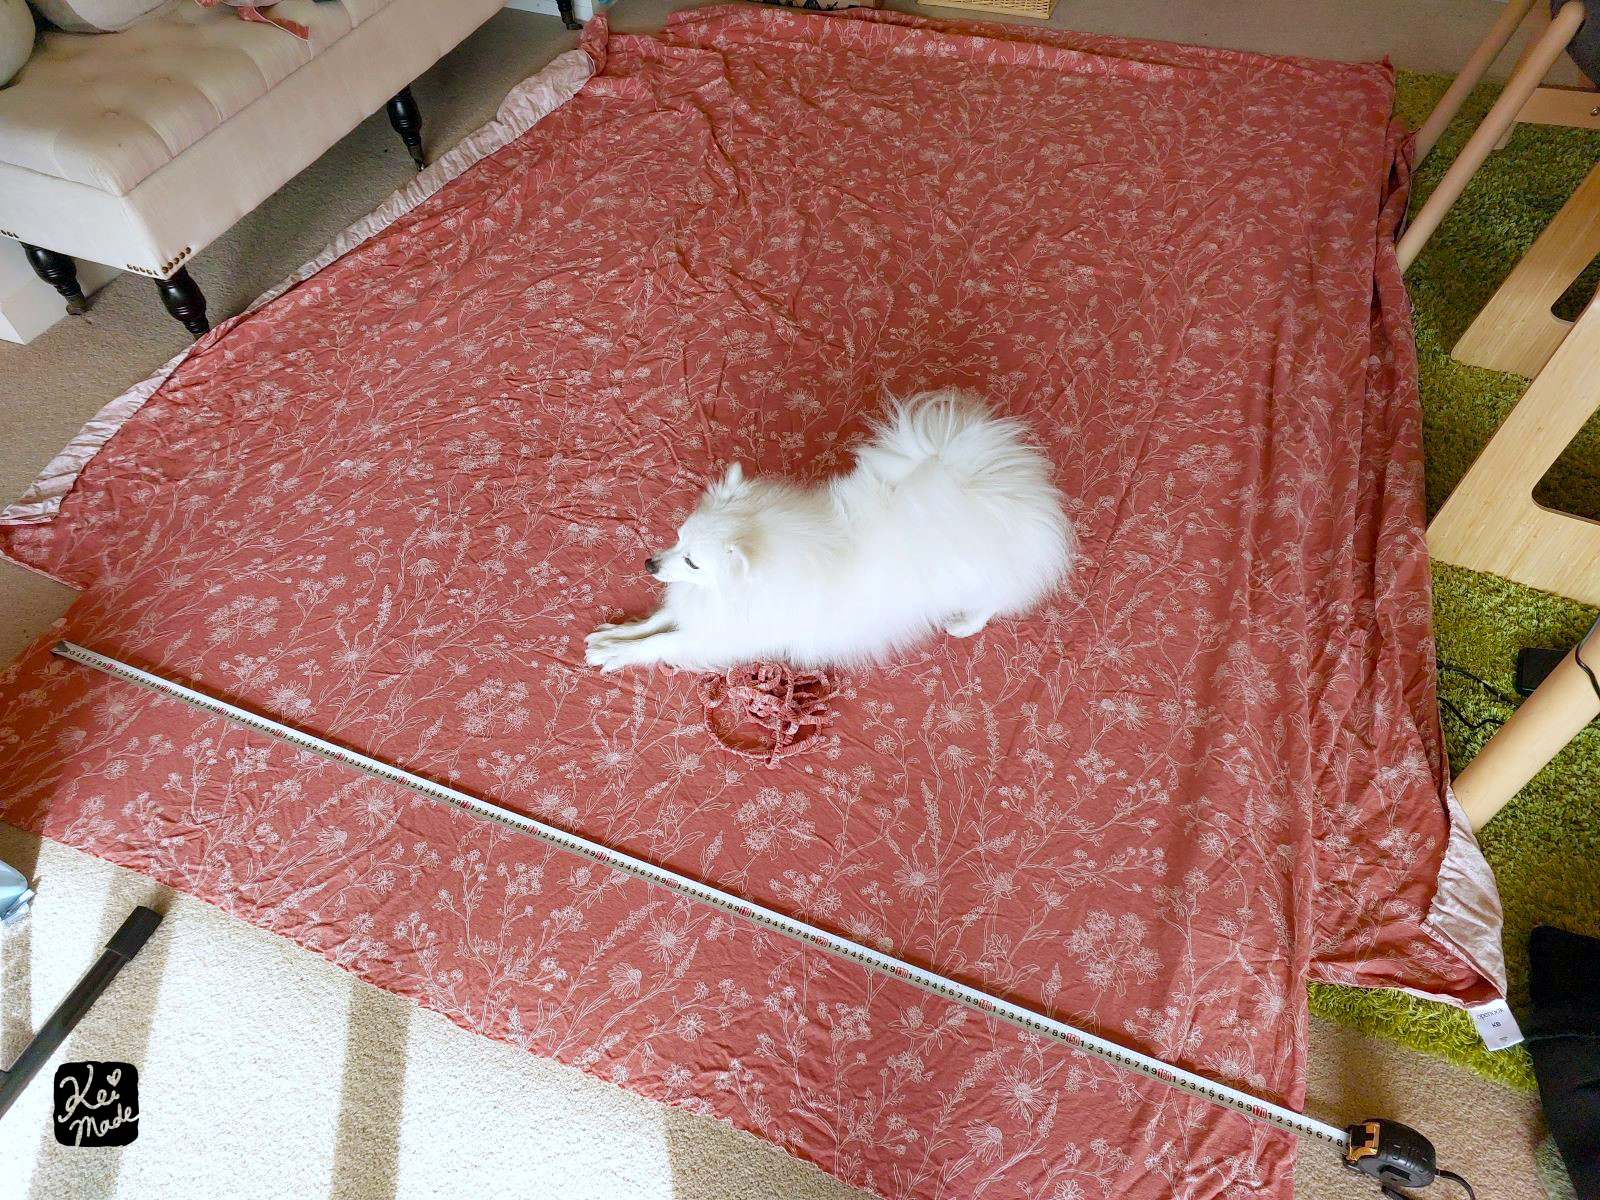
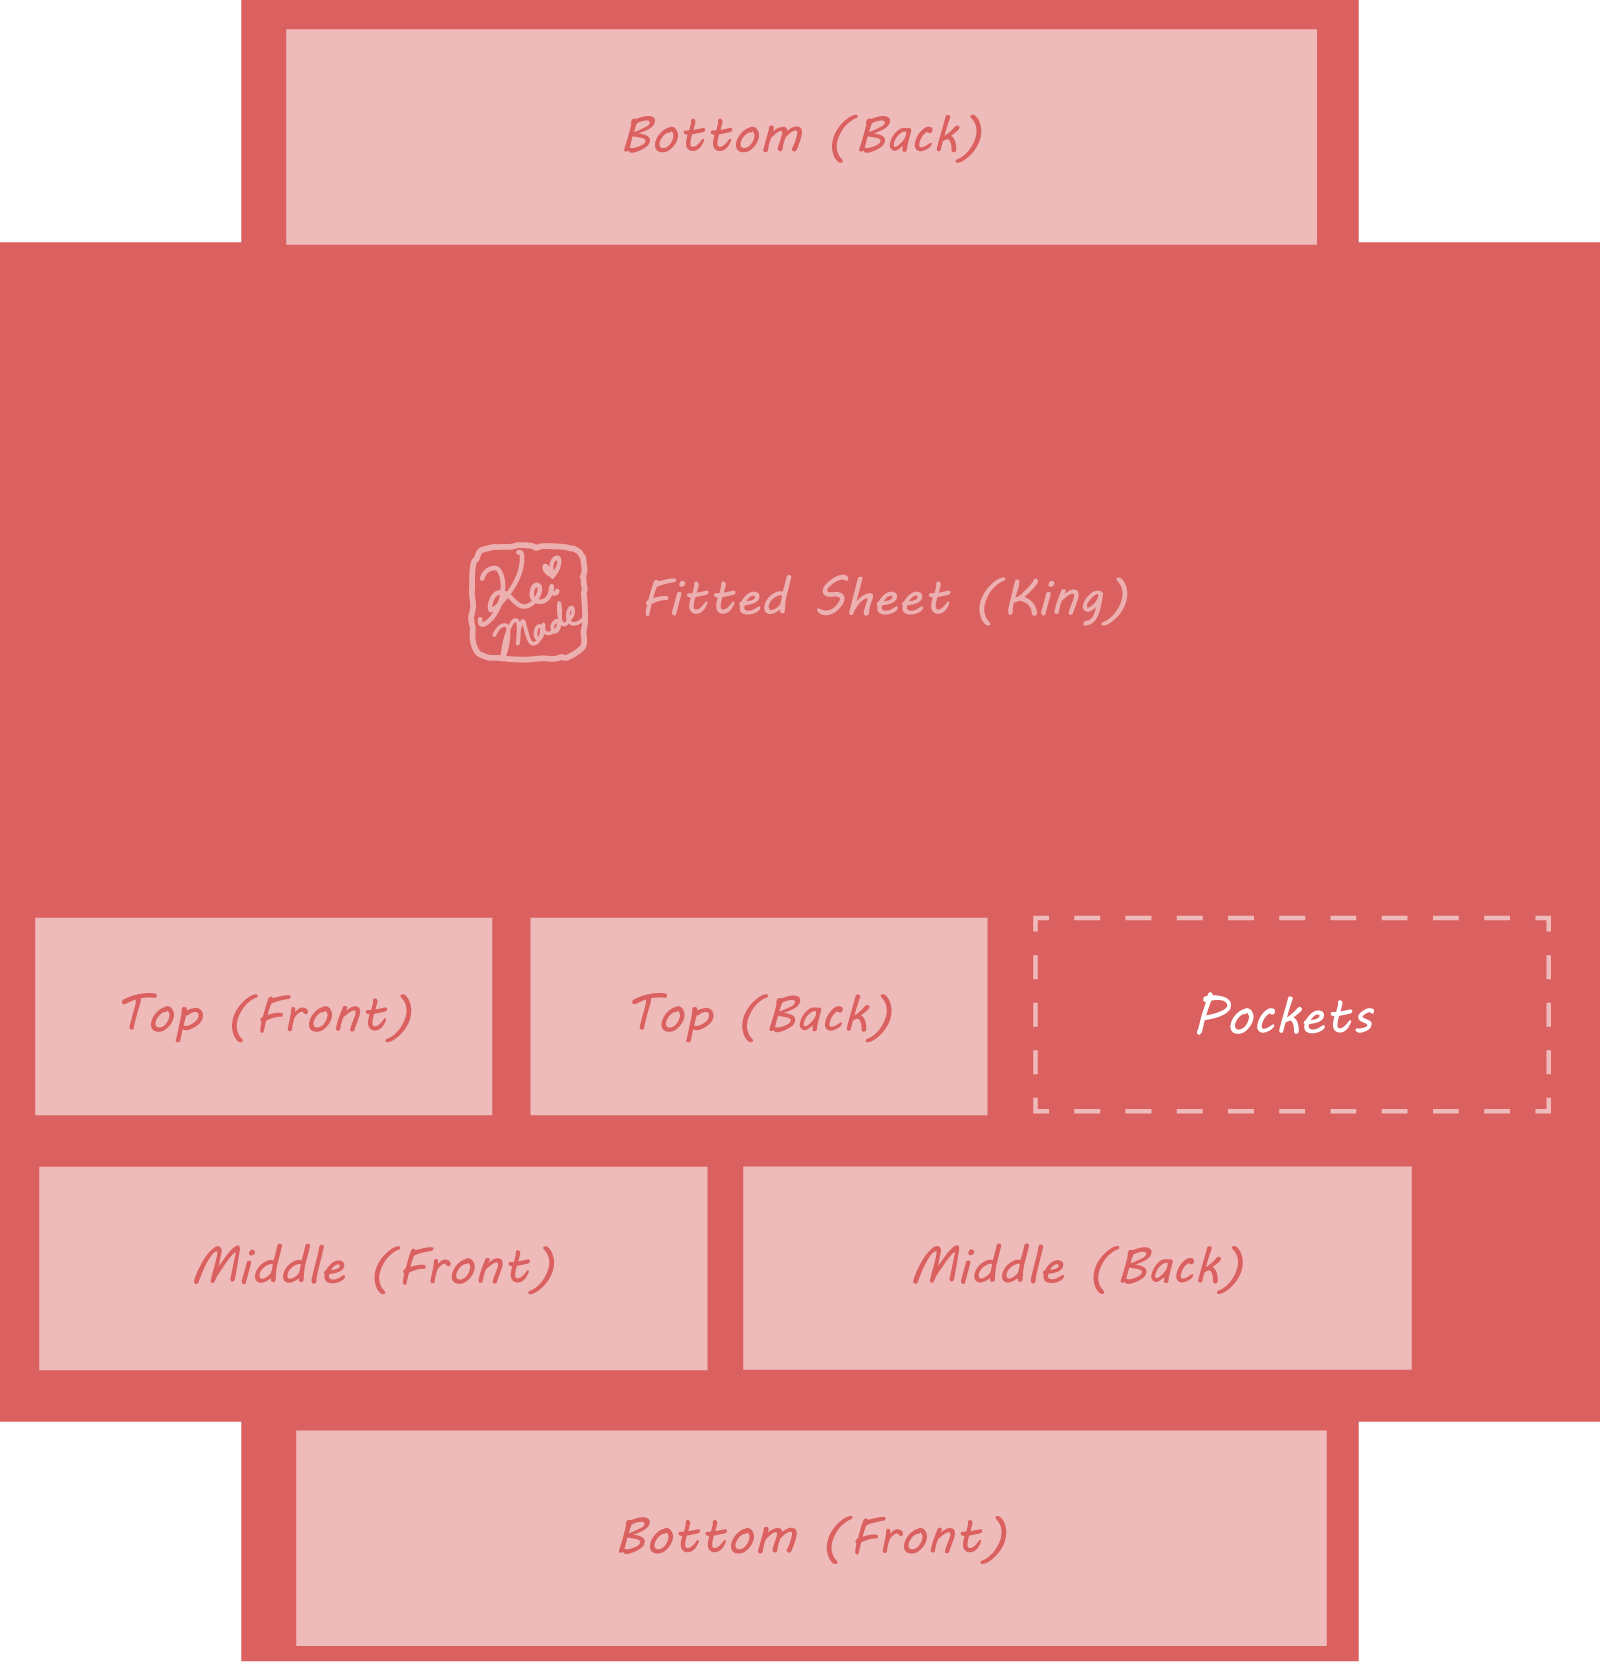
Once the fitted sheet was flat, it was time to cut out the skirt panels. Since the king-size sheet was wide enough to fit my longest skirt panel in at the sides, I’d still have half a sheet left over 😀
Tiered Skirt Pattern

From here, it doesn’t matter whether you start from a bed sheet or from a dress fabric.


–Advertisement–
I decided on the tier panels’ heights and widths based on a dress in my wardrobe that I like:
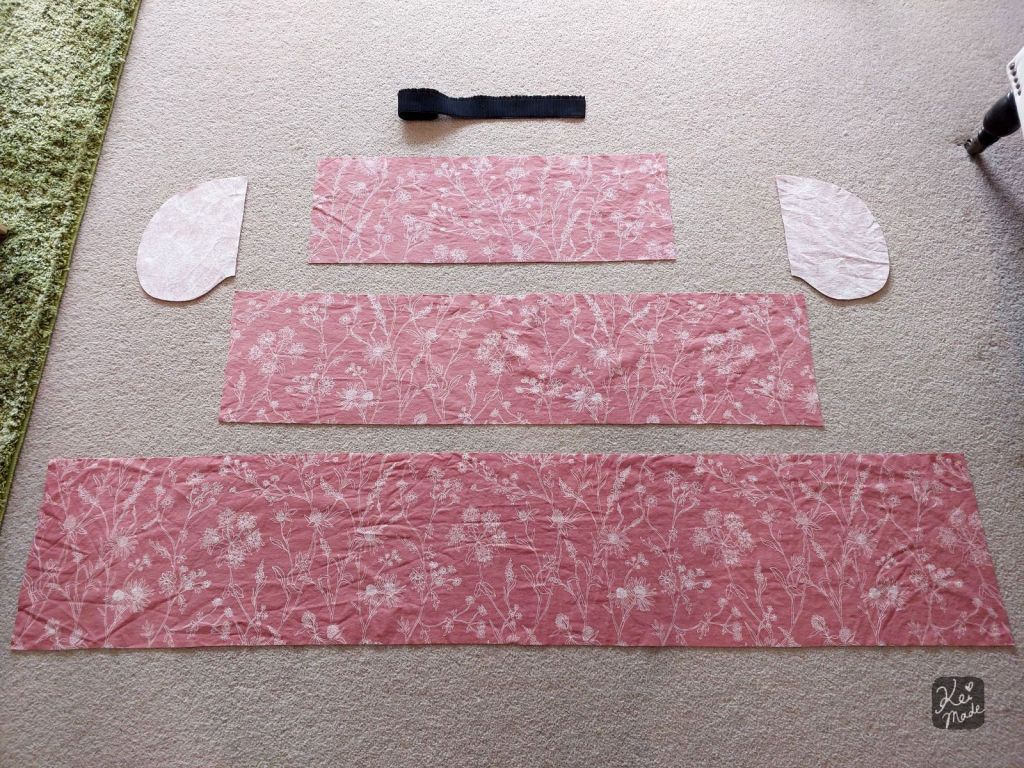
- Top tier: 75cm x 25cm (two rectangles)
- Middle tier: 113cm x 27cm (two rectangles)
- Bottom tier: 170 x 33cm (two rectangles)
The tiered skirt formula turned out to be x1.5 for each row. These rectangles were simply drawn onto the fabric with a pen and ruler and cut out – no sewing pattern needed 🙂

DIY Tiered Skirt (Step-by-step)
Being only two months old into my sewing life, I referenced tiered skirt recipes from Nunocoto Fabric and Clover. I wanted big pockets, an exposed elastic waist band, and a rolled hem though; so I altered the recipes to suit.
Bottom tier
Once all the pieces were cut, the top edge of the bottom skirt panel was gathered so that its length matches the middle tier.
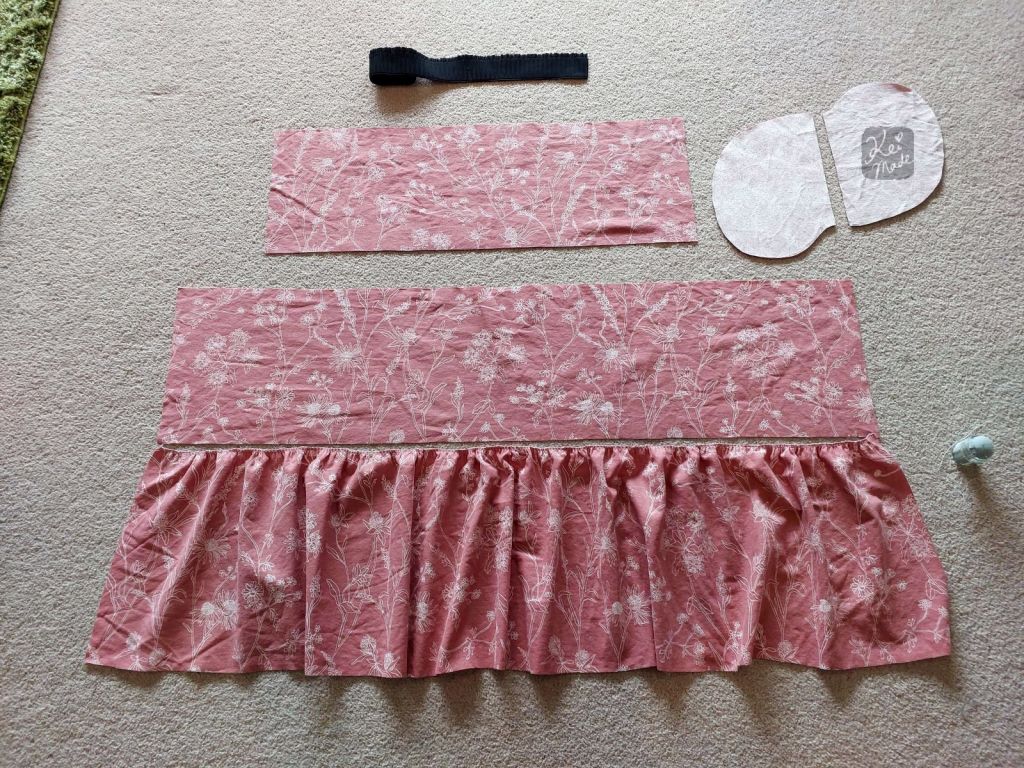
My babylock overlocker was used to do the gathering, with Differential Feed set to 2, Length to 4, and Width to 6.5.
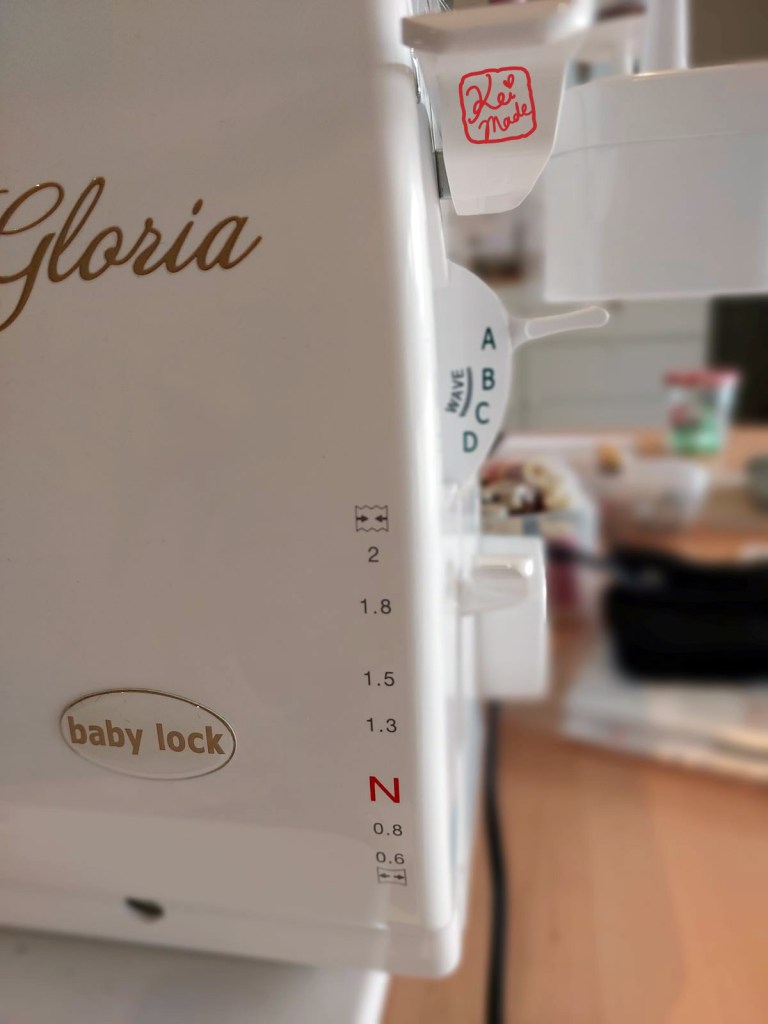
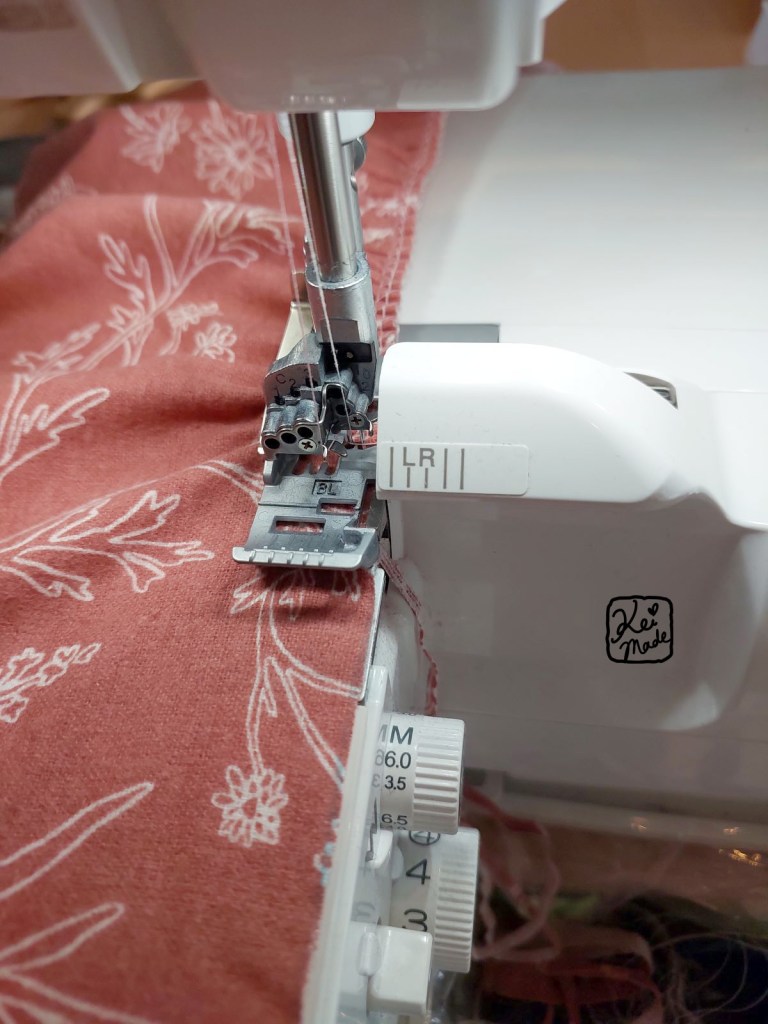
This didn’t gather it enough though, so the needle threads were pulled from both sides until its length matched the middle tier.
Once the gather was evened up, the top edge of the bottom tier was serged together with the bottom edge of the middle tier. The Differential Feed was set at N, Length at 3, and Width at 7.5.
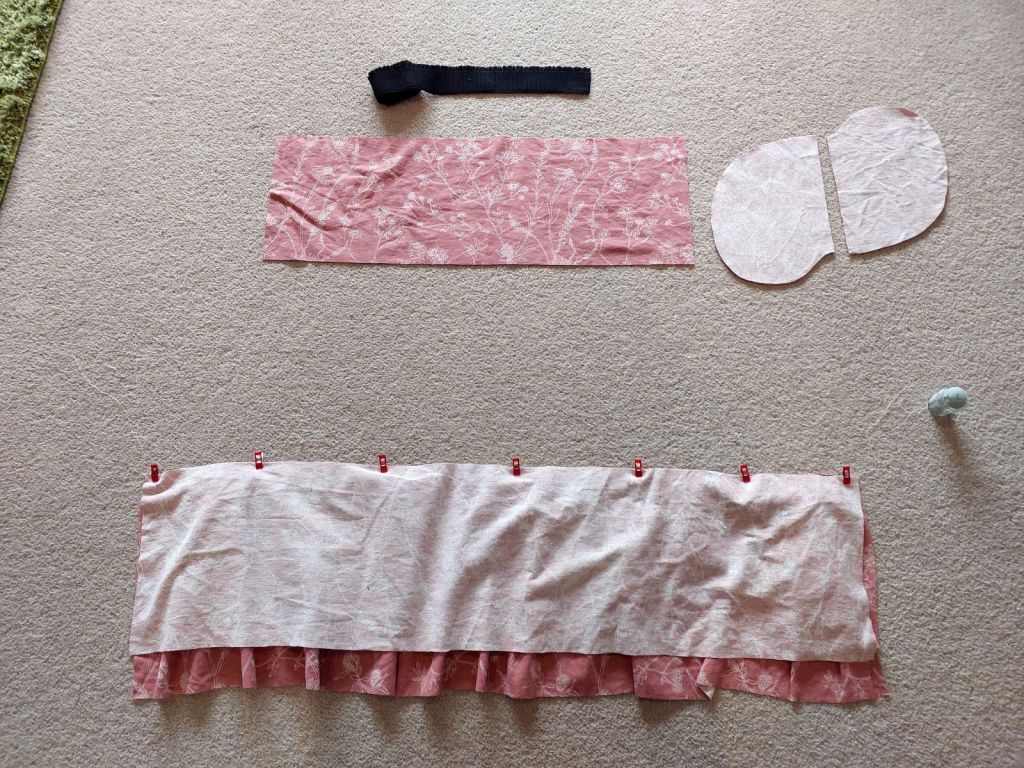
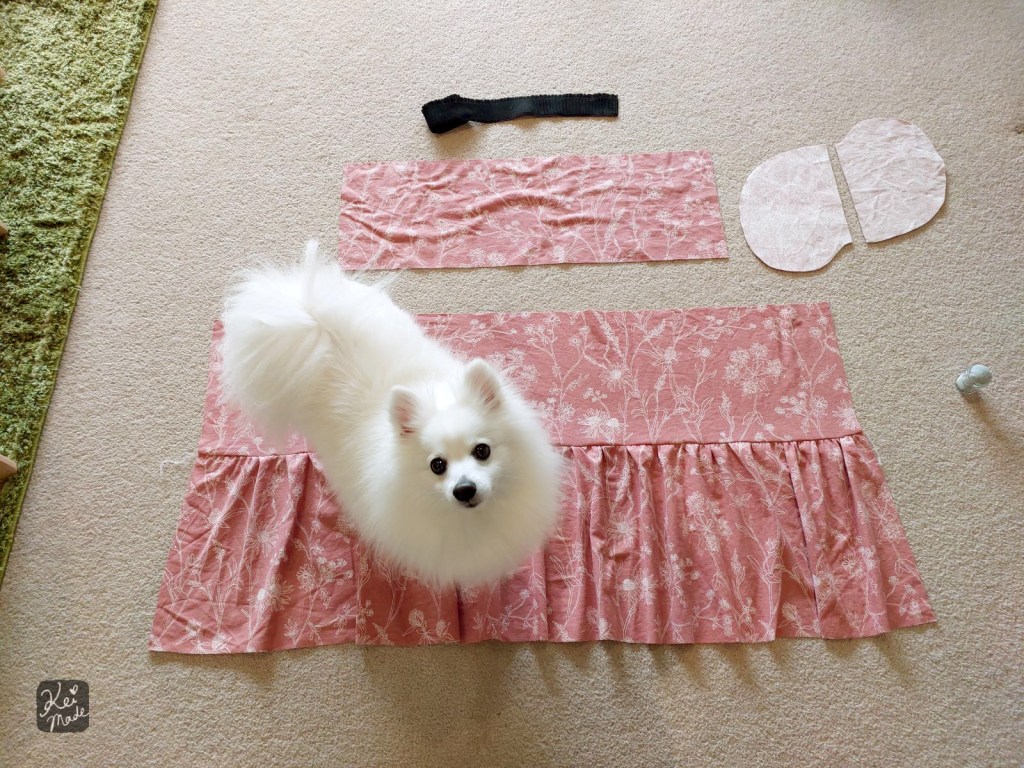
To neaten the finish, a normal sewing machine was used to sew along the connected edge with the serged seam flipped upwards.
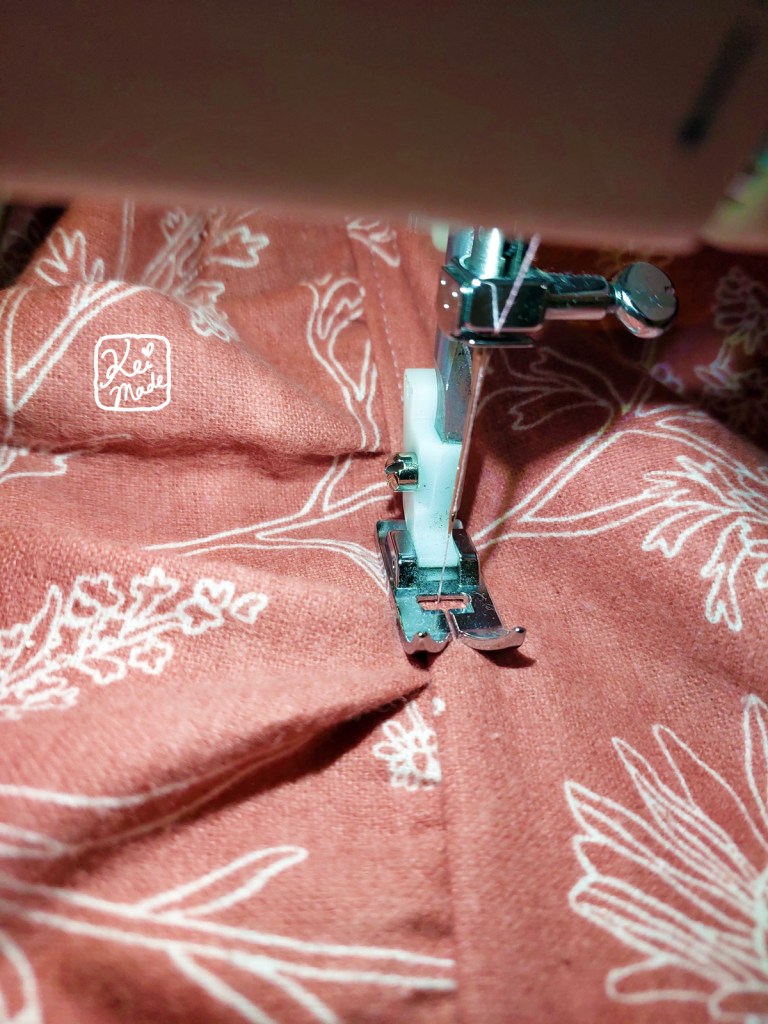
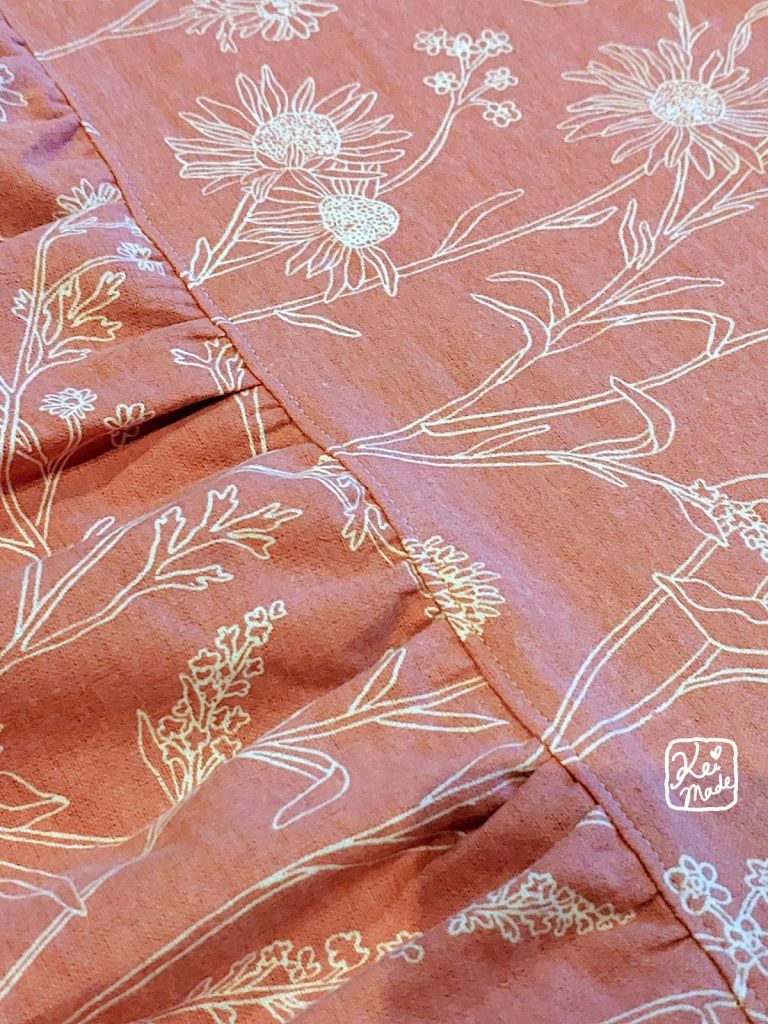
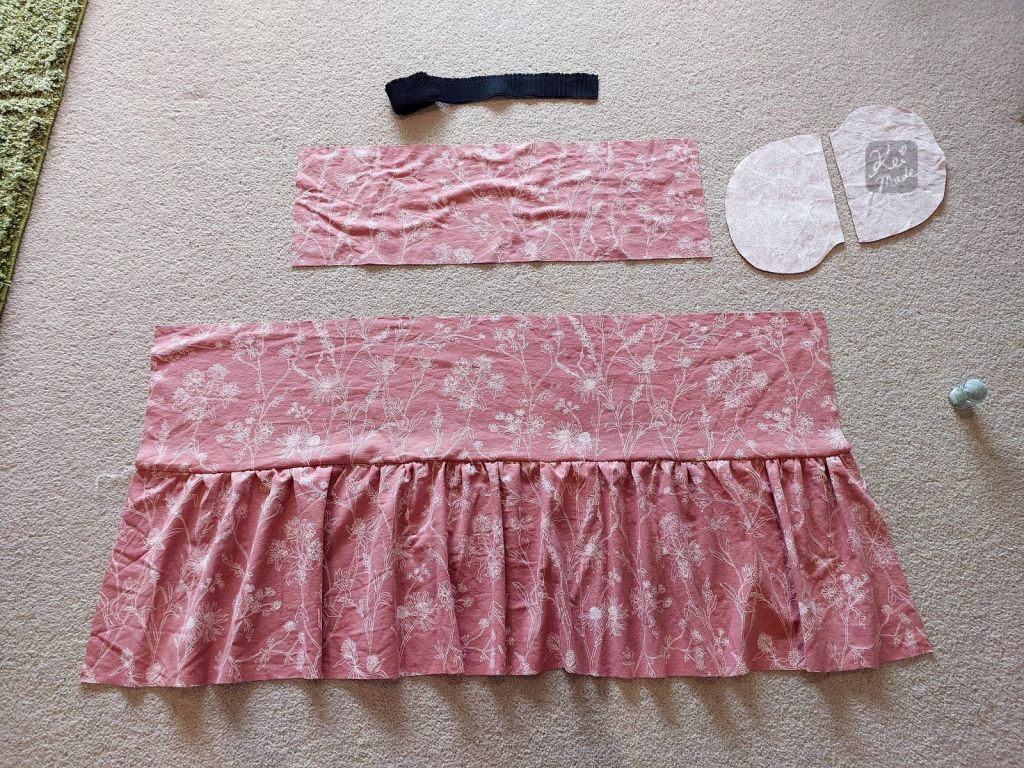
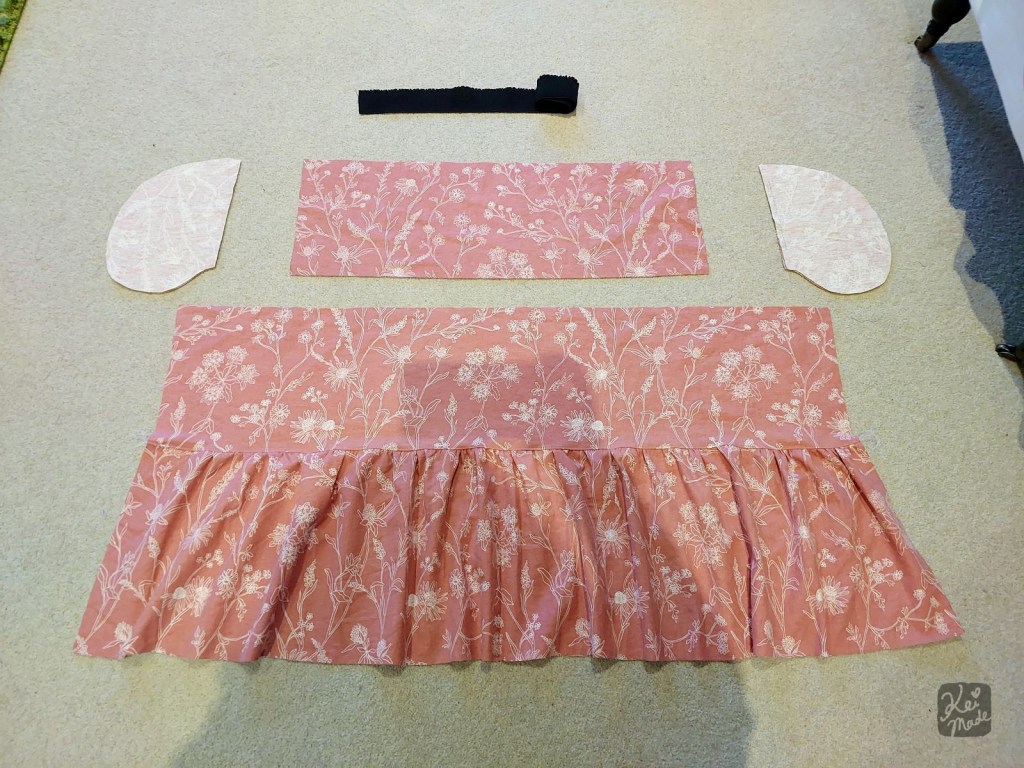
These steps were repeated to the back farbric panels of the skirt.
Middle tier
Just like the bottom tier, the top edge of the middle tier was gathered so that its length matches the top tier. The two panels were serged together, and the connected edge was stitched over to give it a neater finish.
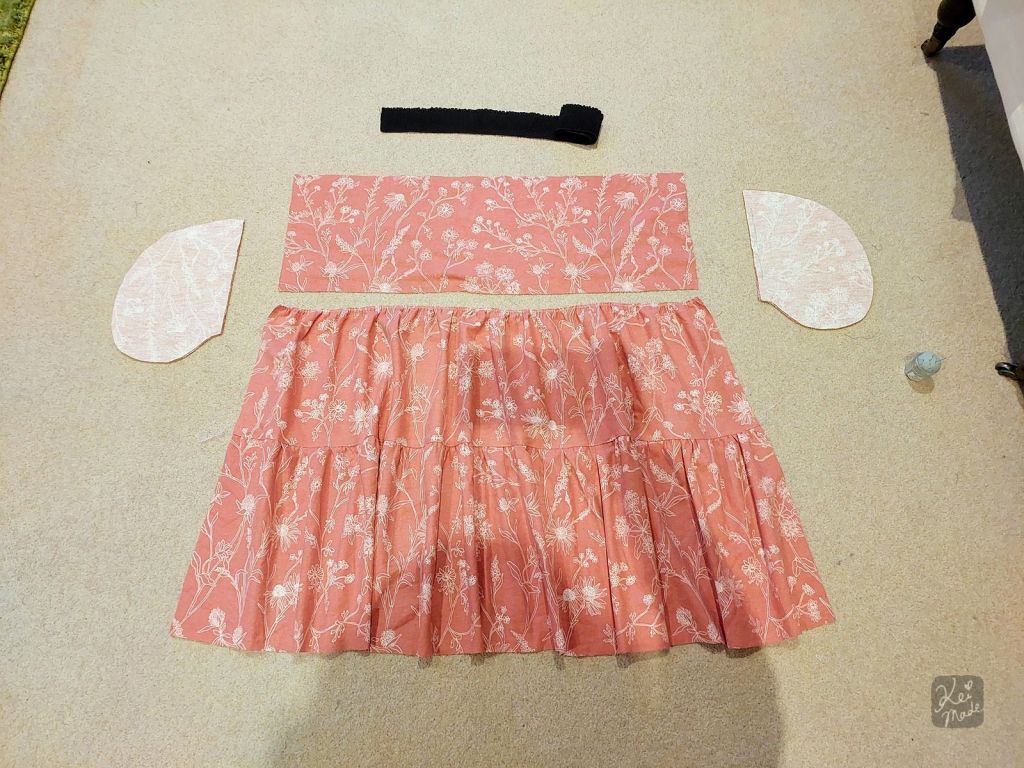
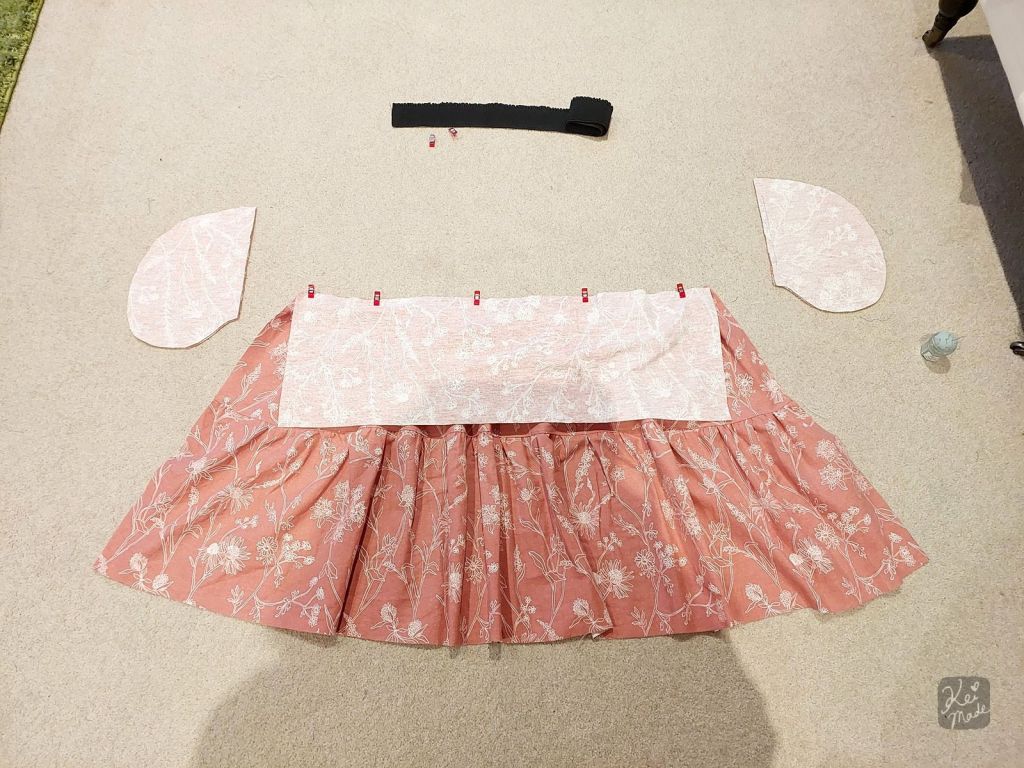
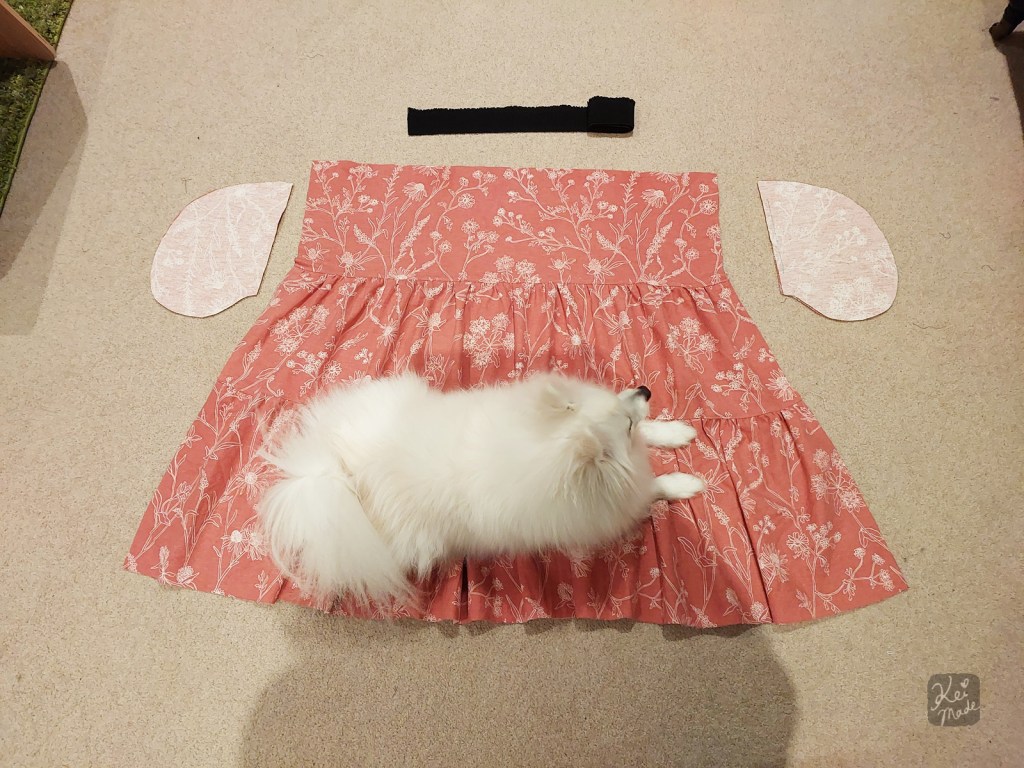
The same was done to the back skirt fabrics too.
Pockets
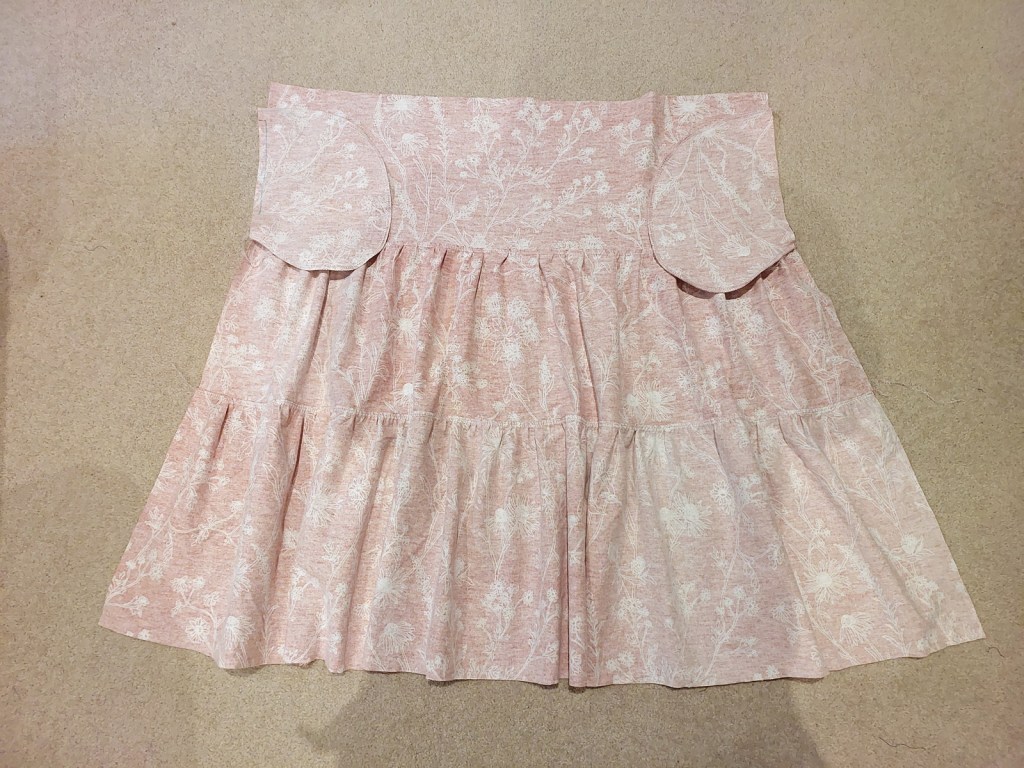
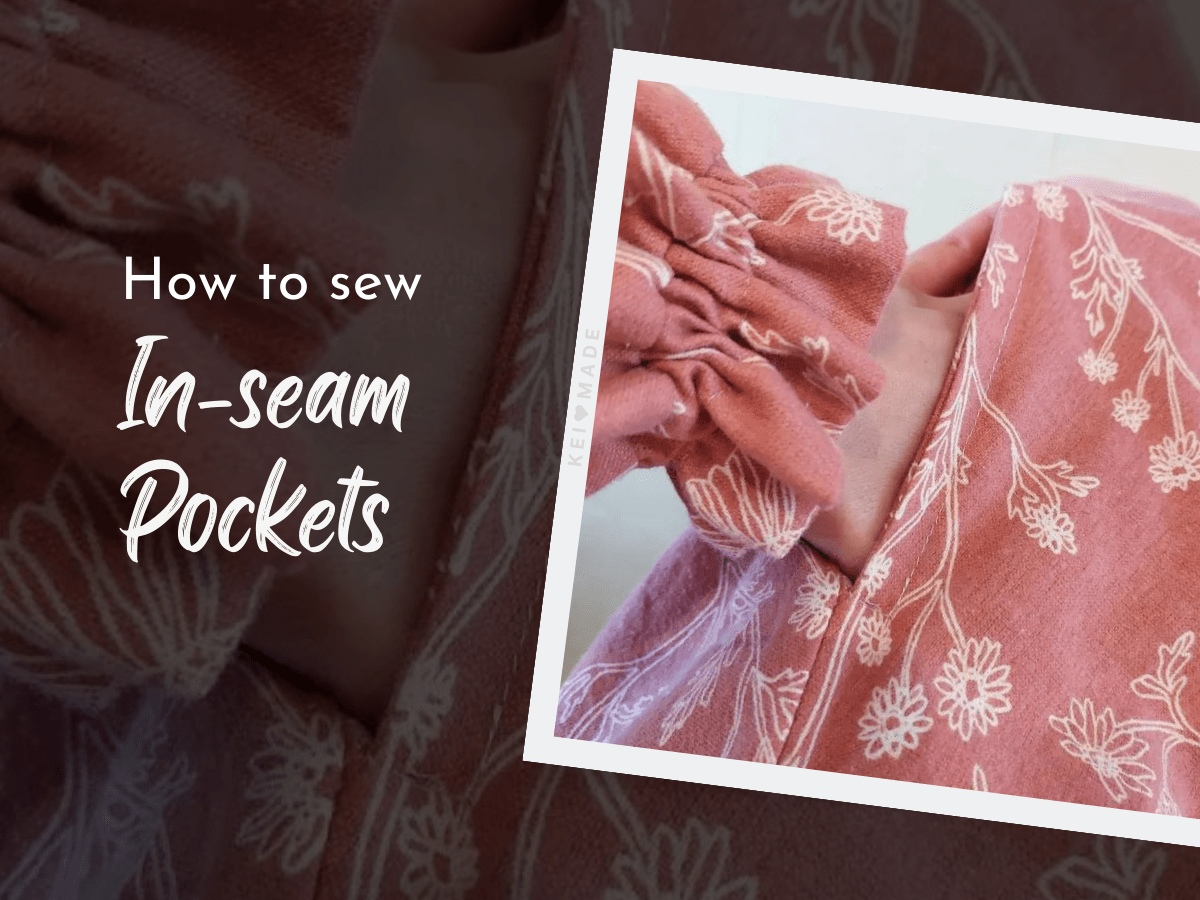
Pockets were added to the top tier of the front skirt. The bottom of the pocket opening was aligned with the bottom of the top panel, leaving about 3cm of seam allowance at the top. (See how I sewed side seam pockets)
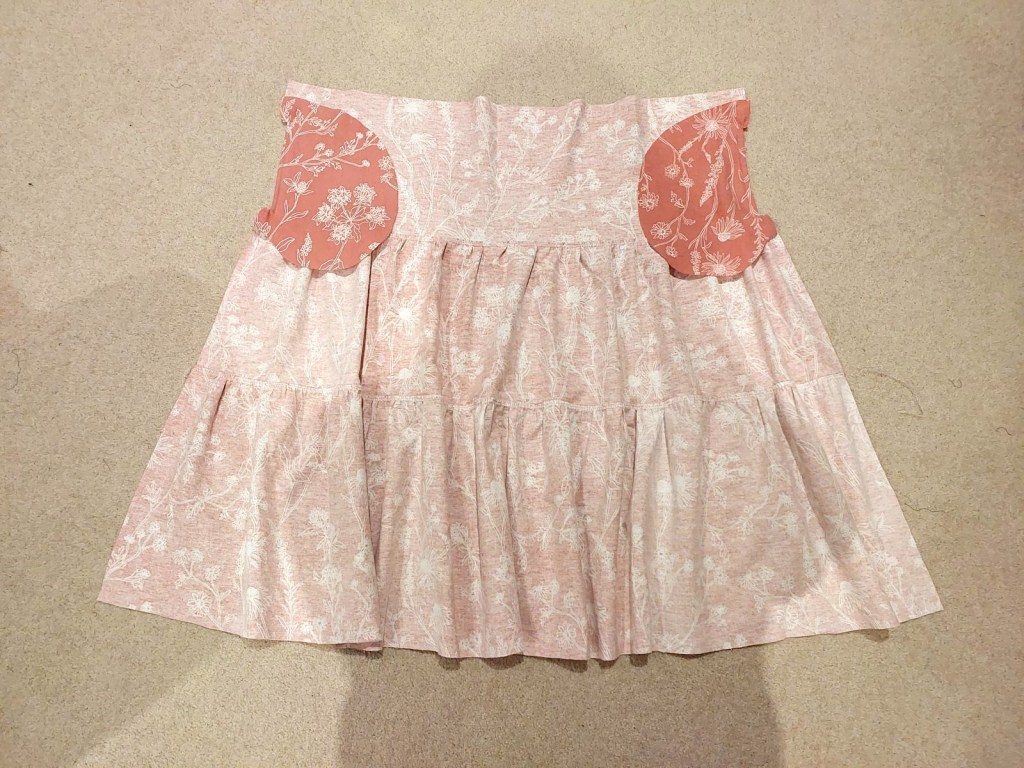

Top tier
The top tier will be affixed to an exposed elastic band that will have a circumference of 70cm. The elastic is able to stretch to about x1.5 its length, and I want this skirt to easily fit over a 90cm hip. So the top tier of the skirt would need to be about 100cm.
The top of the top tier panels were gathered to become 50cm. Then, the front and the back skirt pieces were serged together along the vertical sides, inside out, now resembling a skirt.
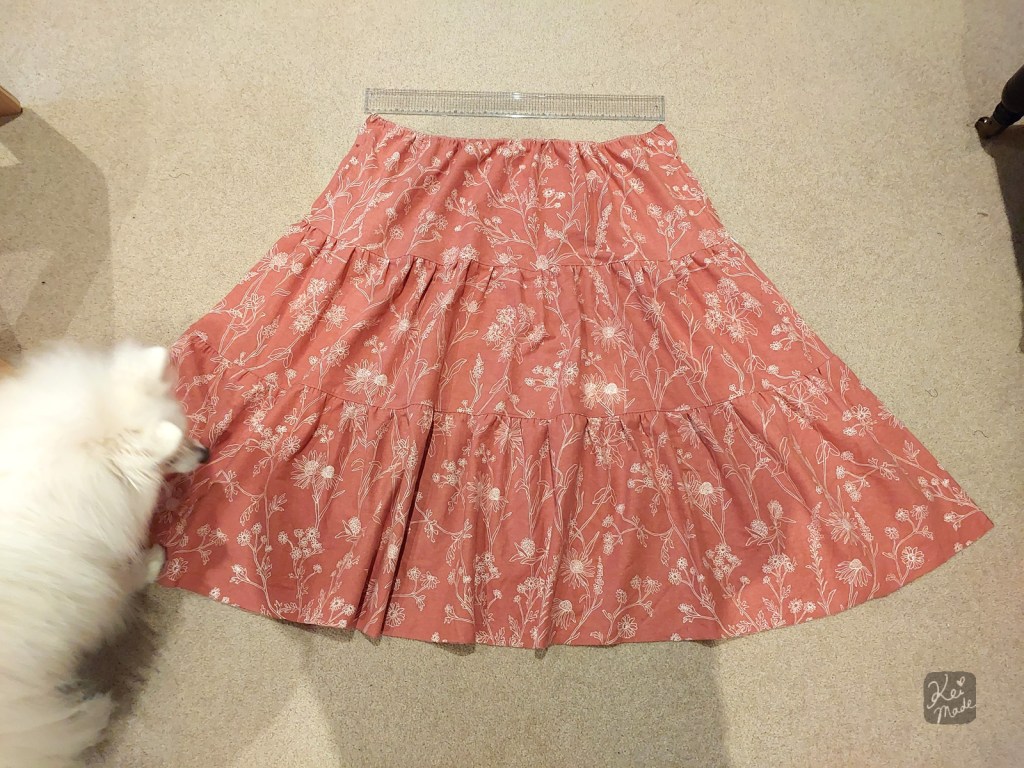
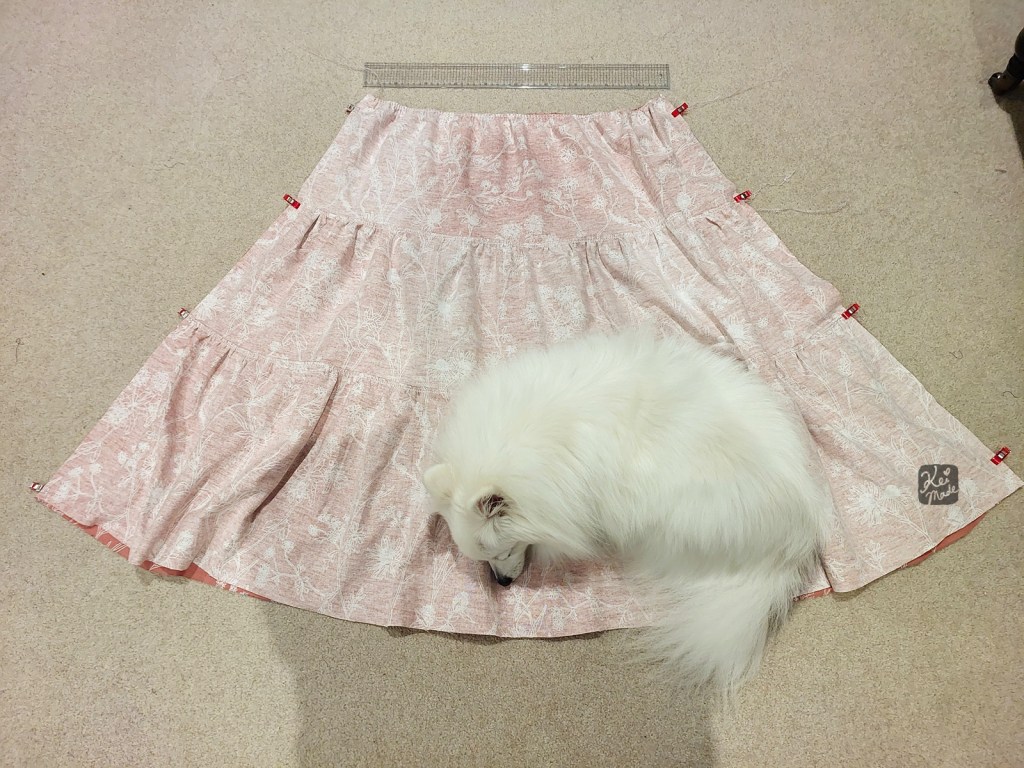
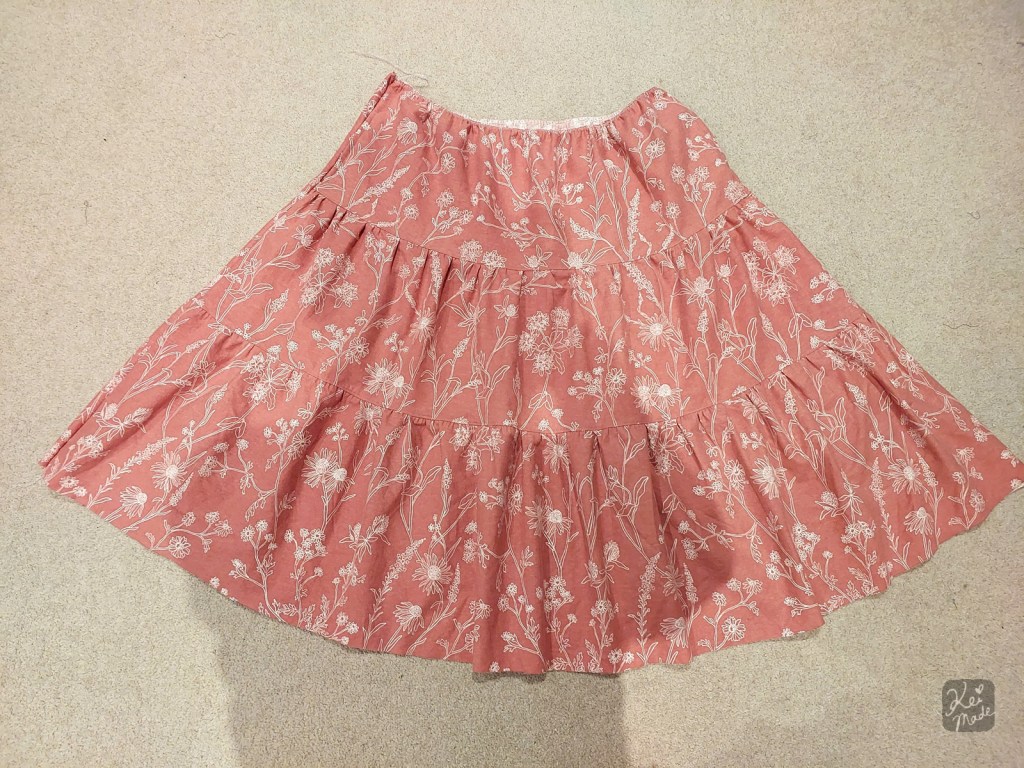
Phew, almost there! Time for a coffee break ☕

Waist band
Aiming for a 70cm waist band, a 6cm-wide elastic band was cut to 72cm, then sewn into a loop.
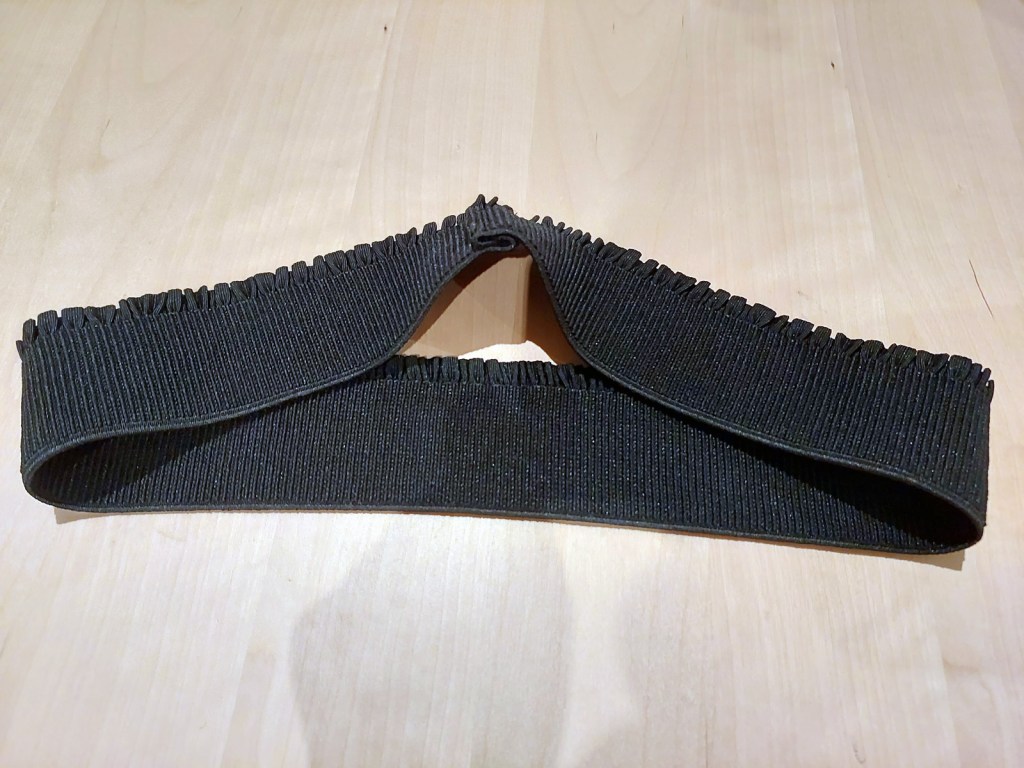
The elastic loop was sewn onto the skirt fabric in the round using a normal sewing machine with:
- the wrong side facing each other
- 5mm of elastic peeking out
- pulling on the elastic while sewing to match the fabric length
When sewn all around and the elastic is flipped up and outwards, they’ll both face the right way.
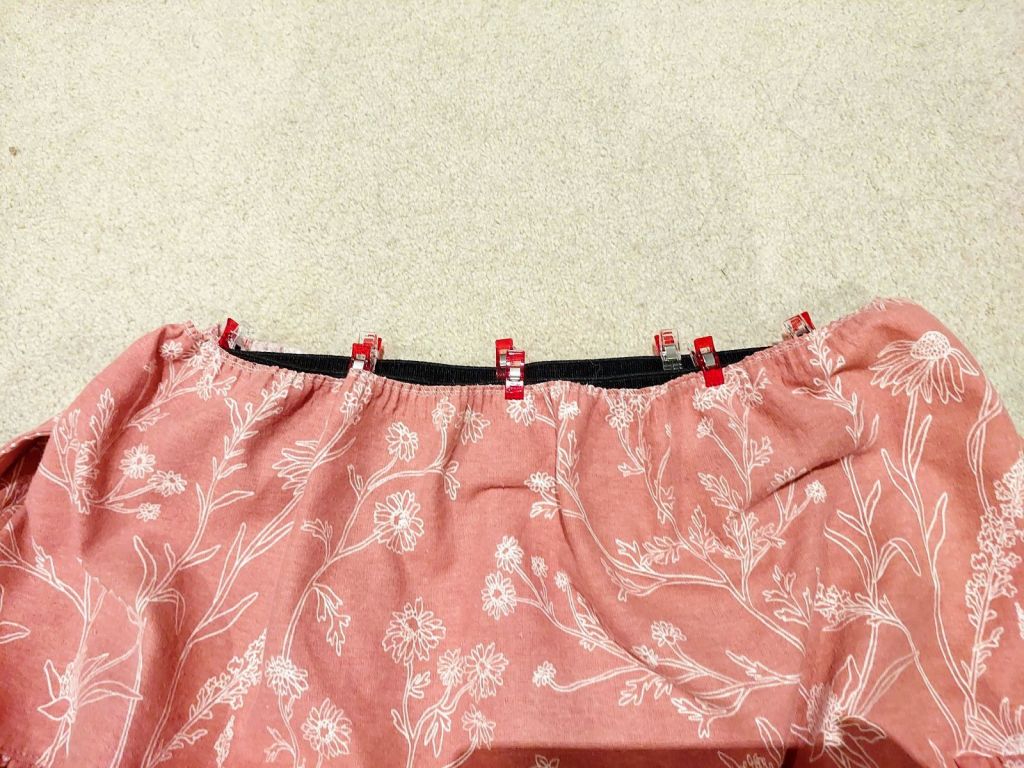
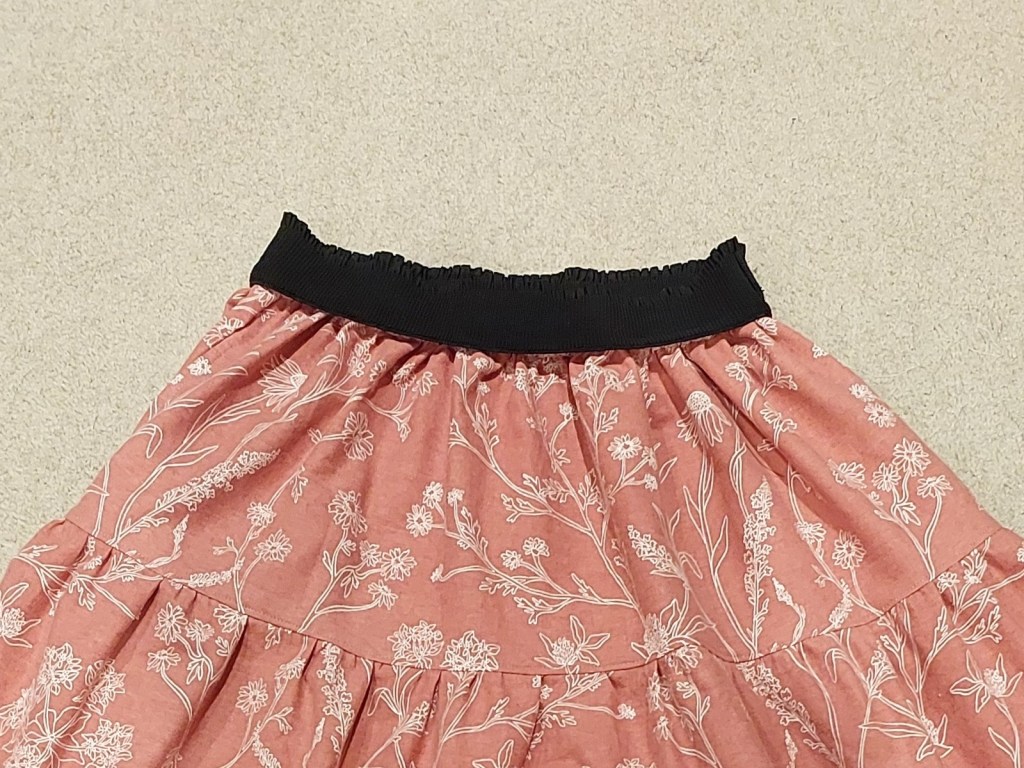
At this point, the elastic was still floating and not secured neatly, so another stitch was done in the round, close to the elastic’s bottom edge to secure it down. This trapped the skirt’s seams inside the stitch too :).
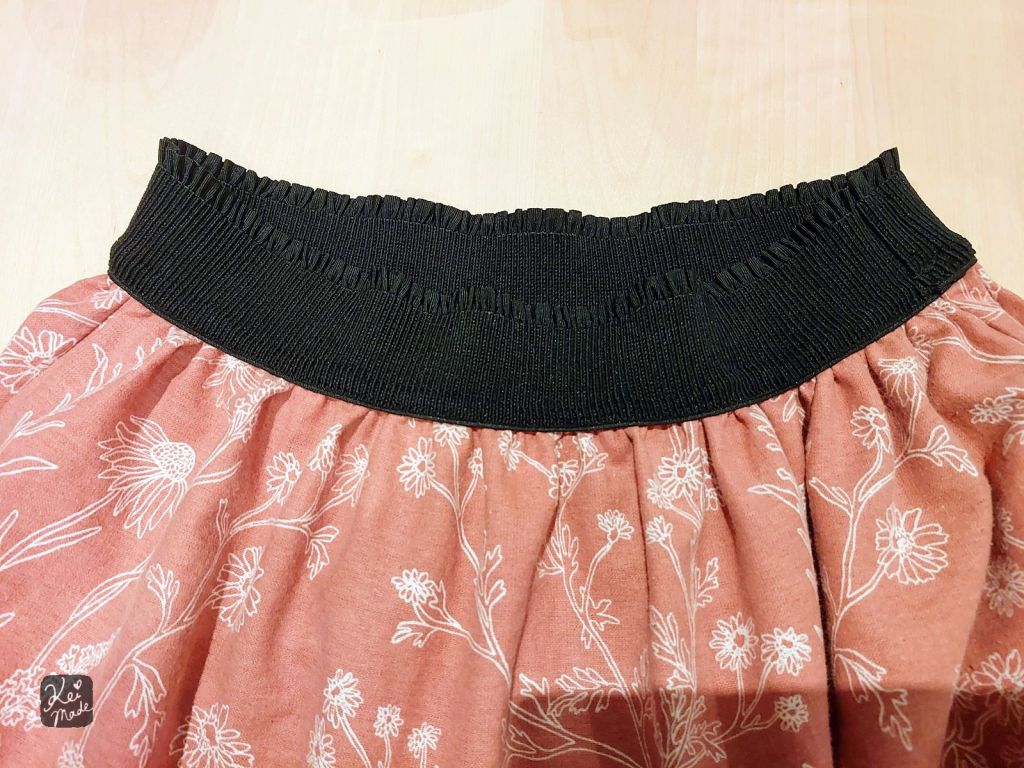
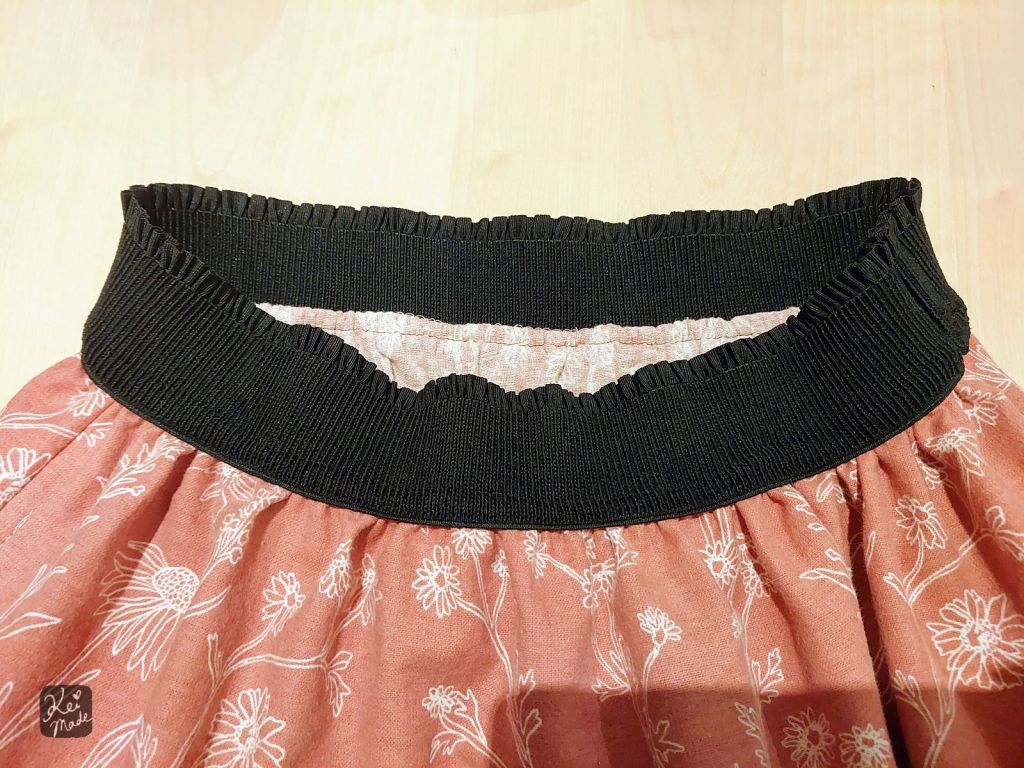
Hem
Now for the very last bit!
But just before we move on, this was a great time to try the skirt on to see if any adjustment is needed to its total length. I expected to shorten it a little to make it easy to walk in, but no adjustments were needed. 🙂
For the hem, I decided to make a contrast rolled hem in black. This would match the waist band, and the hem won’t fold outwards after a wash. (And I didn’t have pink or cream thread for roll hemming.)
I used a wooly nylon thread in the upper looper of my Babylock serger, and put it into “3-thread overlock rolled hem mode” and roll hemmed the entire perimeter of the skirt’s bottom.
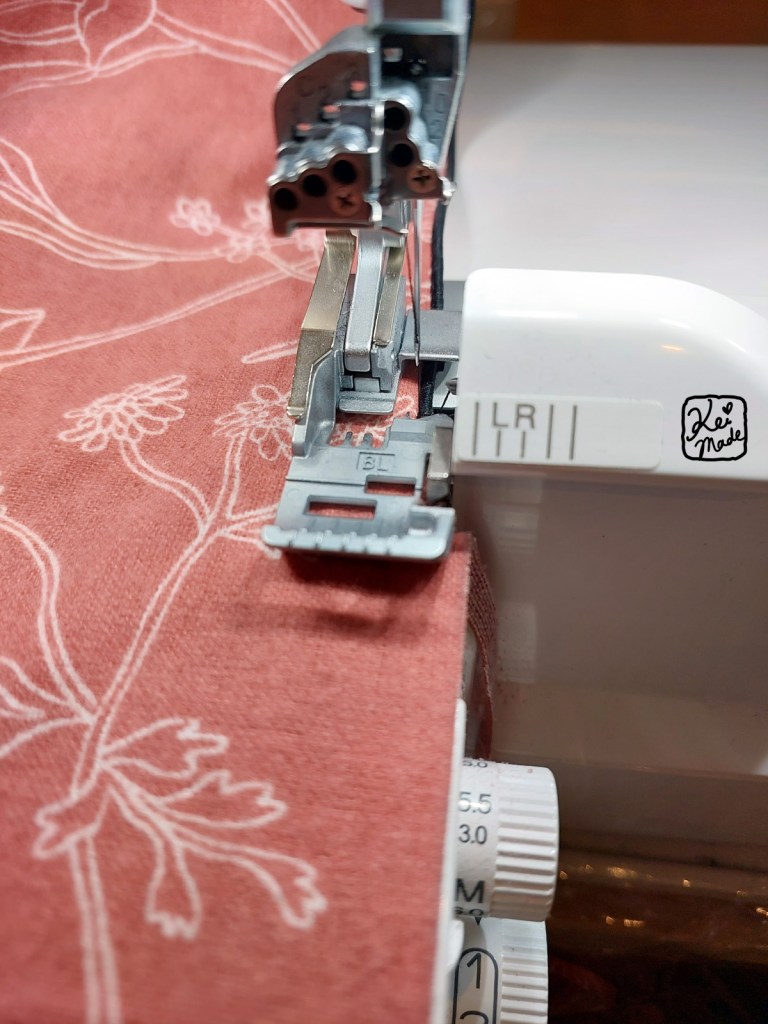
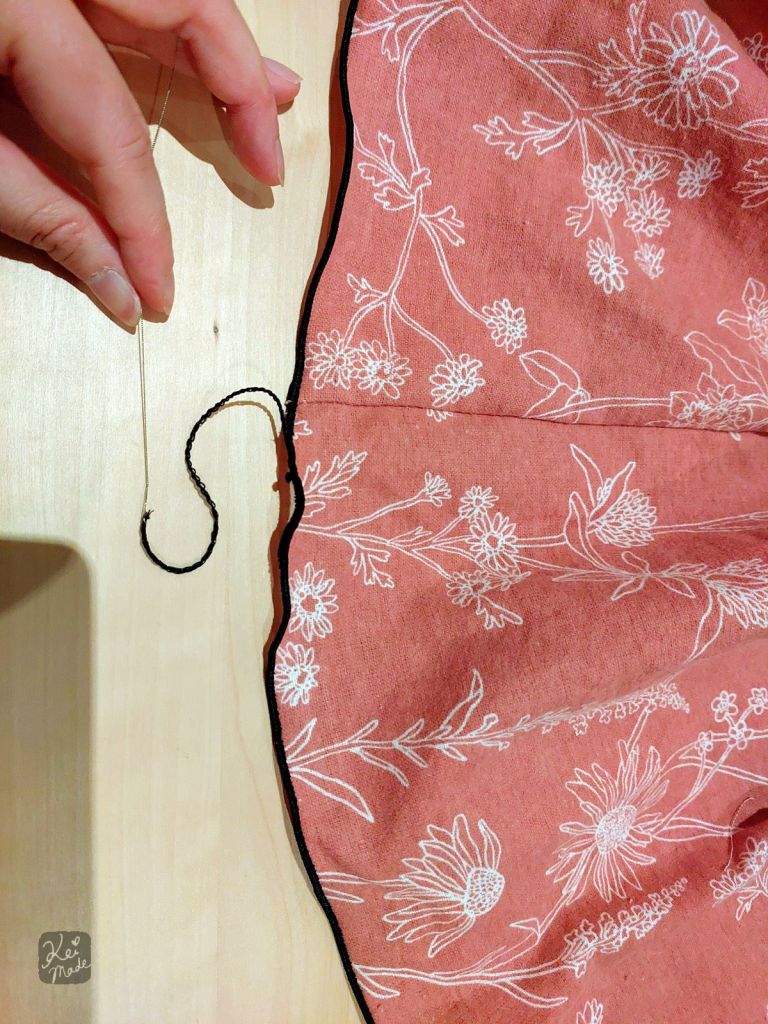
The end of the rolled hem thread was tucked in using the looper threader that was used to thread the wooly nylon into the serger – a tip from Babylock direct 😀

The 3-tier Gathered Skirt
And here’s the completed skirt!


I can’t tell this used to be a fitted bed sheet 😀
The stitch details and the contrast rolled hem makes it look very neat 🙂
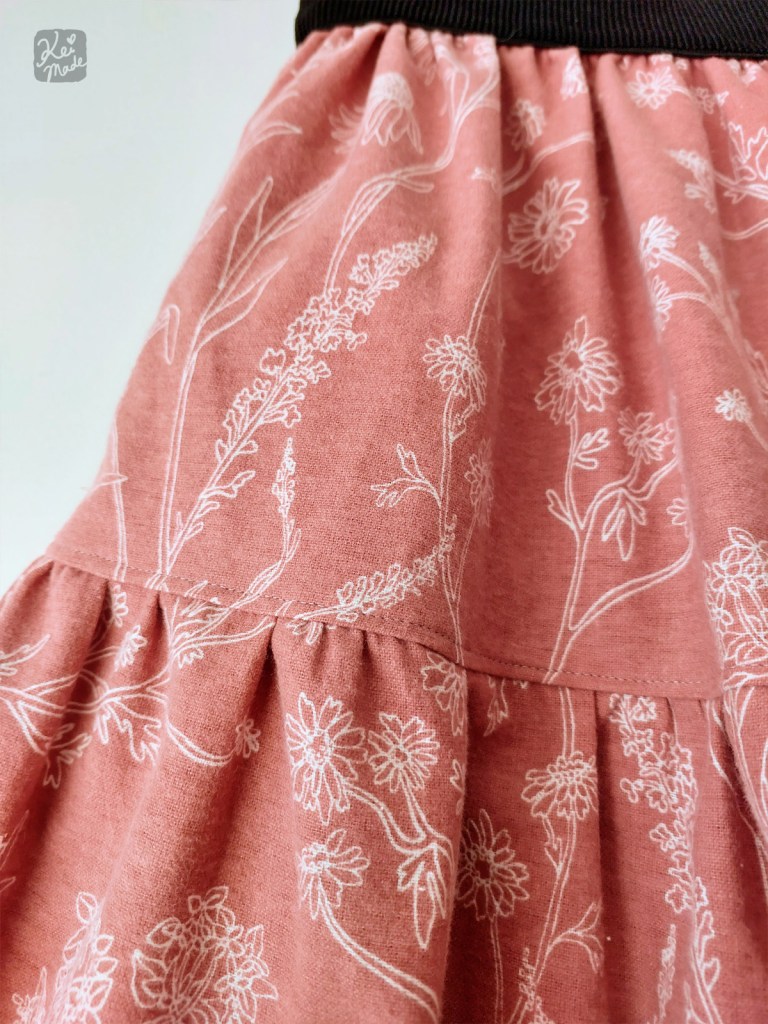

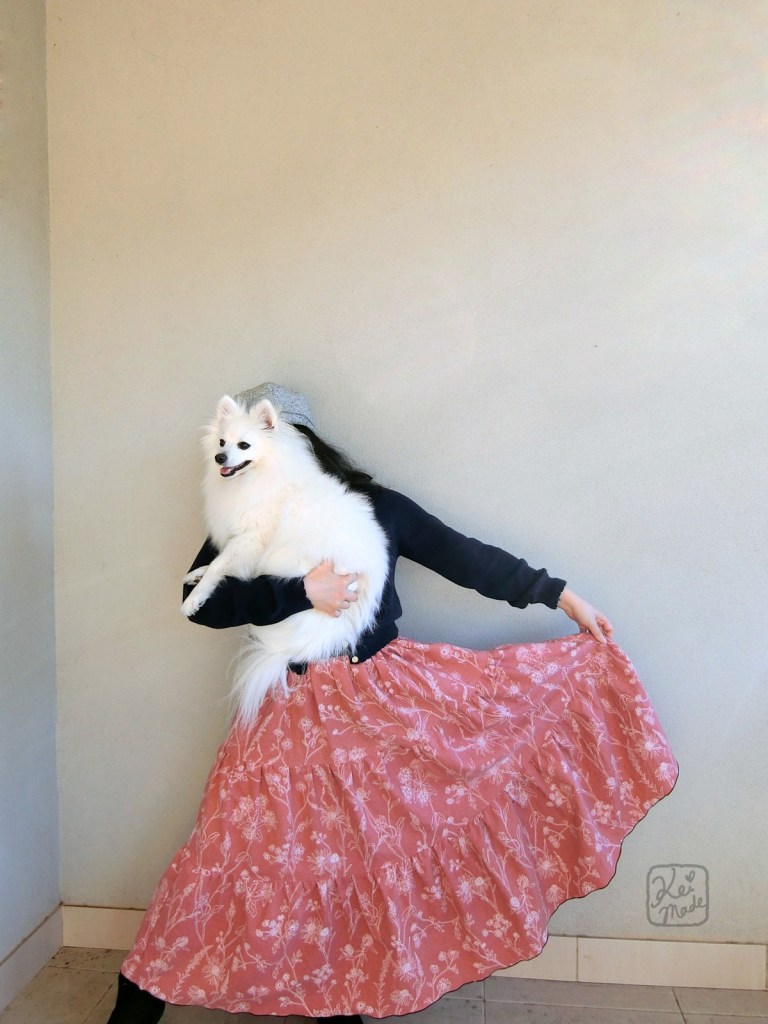

I love the volume of the skirt; it’ll be great to see it flow while walking 😀
I’m super comfy with it too!
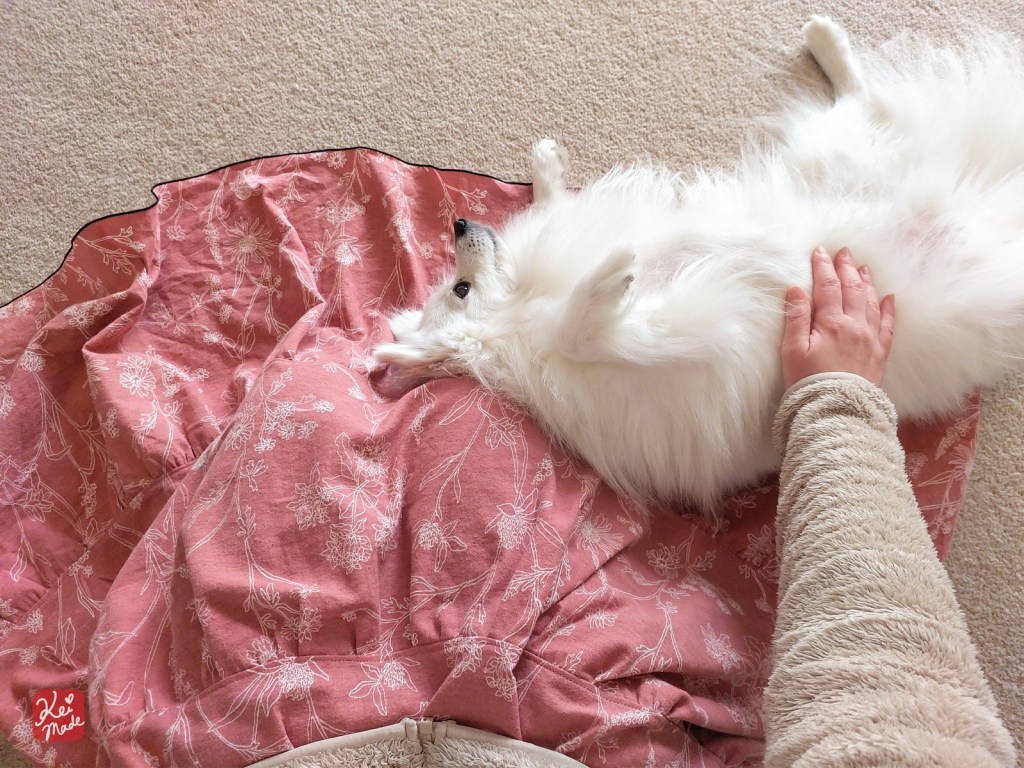

Thanks for all your help along the way, my little fluffypants!
I still have some bed sheet remaining, so I’m thinking of sewing a pair of culotte shorts!


↑ Support my blog ↑



Leave a Reply